Designing a fruit-themed surface pattern is one of the most joyful creative projects you can take on as an artist or illustrator. Whether you want to see your work printed on cotton fabric, wrapped around a notebook, or plastered across a tote bag, repeating surface patterns built around bold, colourful fruit motifs are endlessly versatile and genuinely commercial. This guide walks you through the whole process, from sketching your first strawberry to uploading your final file to a print-on-demand platform.
The best part? You do not need years of training. You need curiosity, a sketchbook, and a willingness to experiment with colour and composition until something clicks.
Choosing Your Fruit Motifs and Building a Visual Library
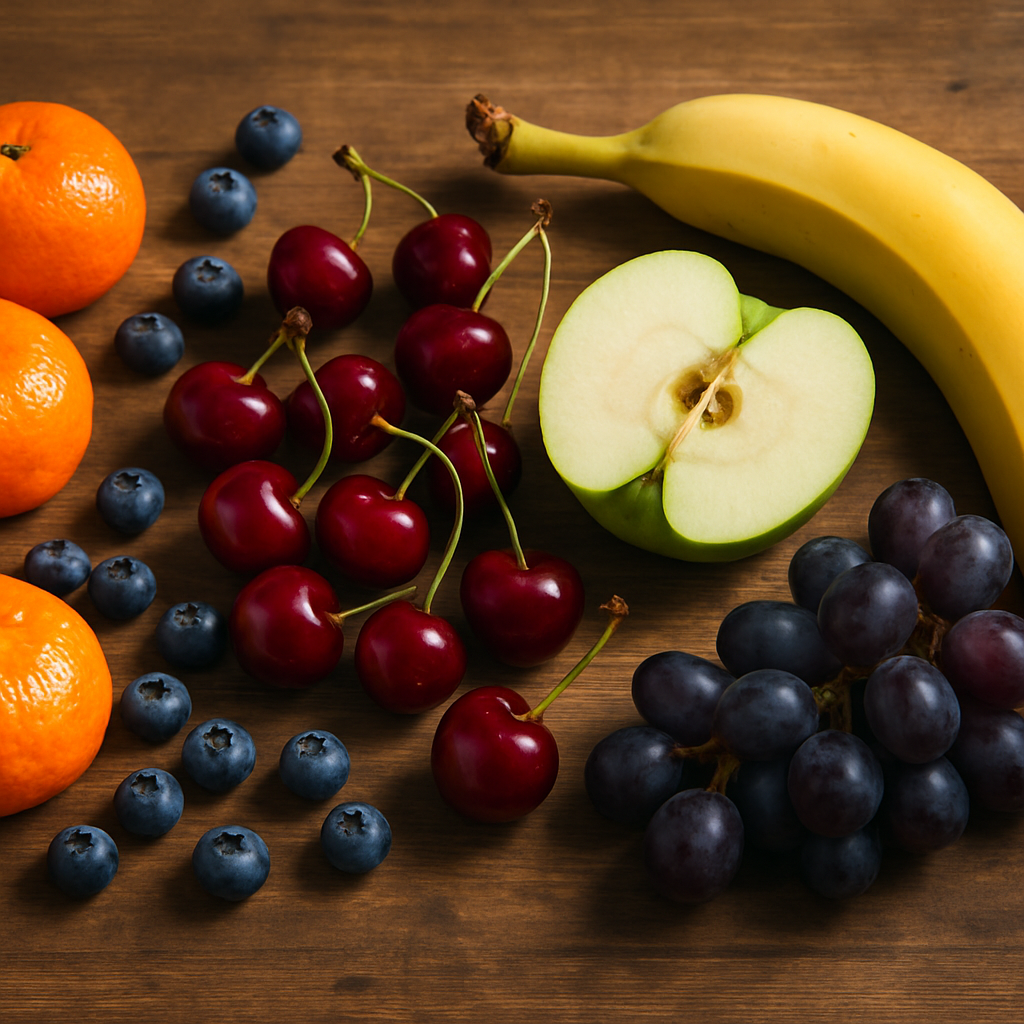
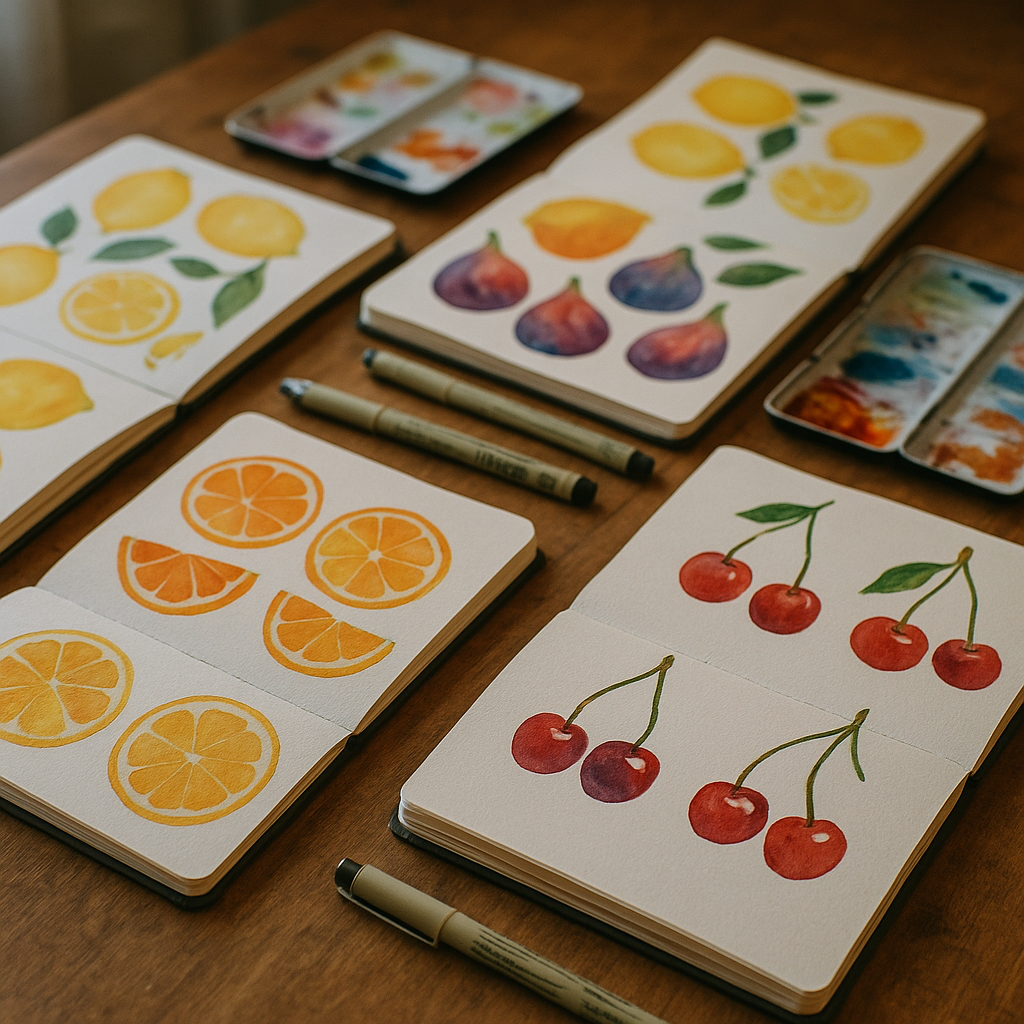
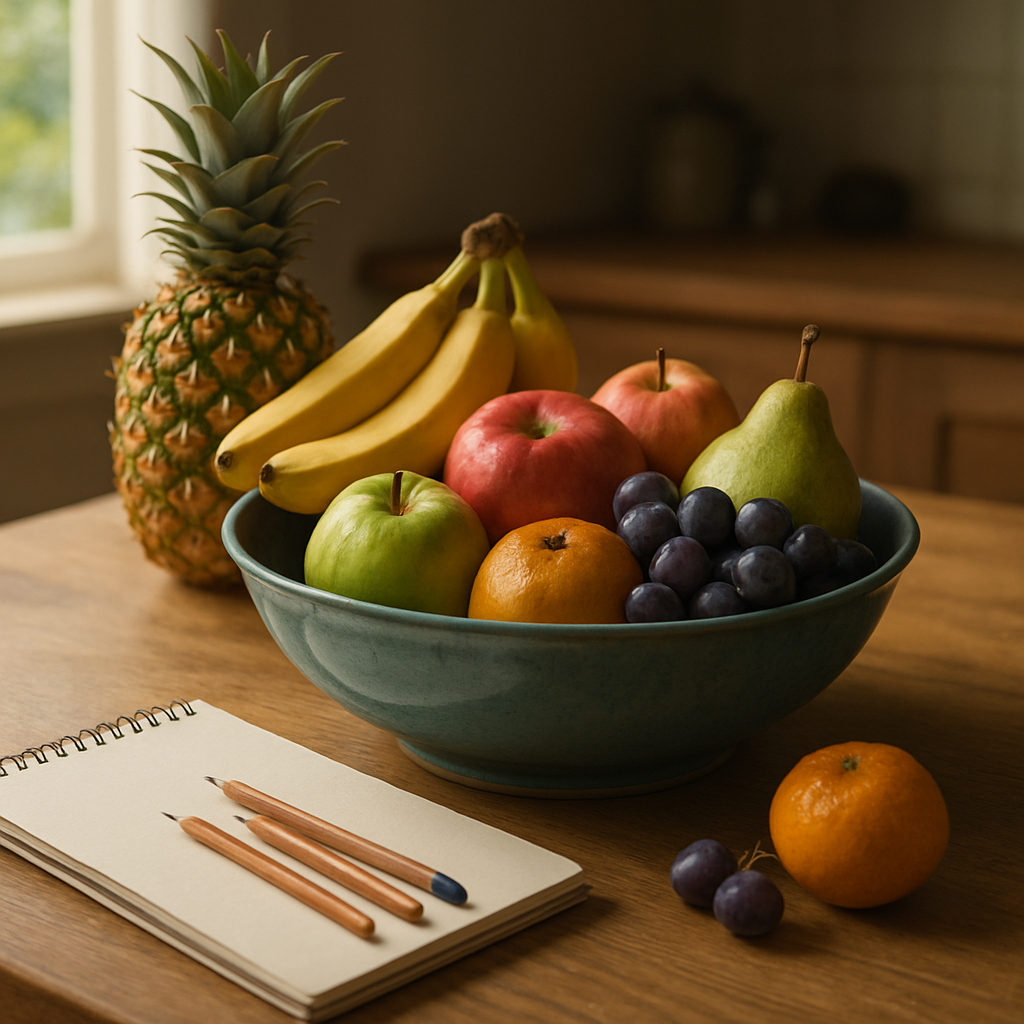
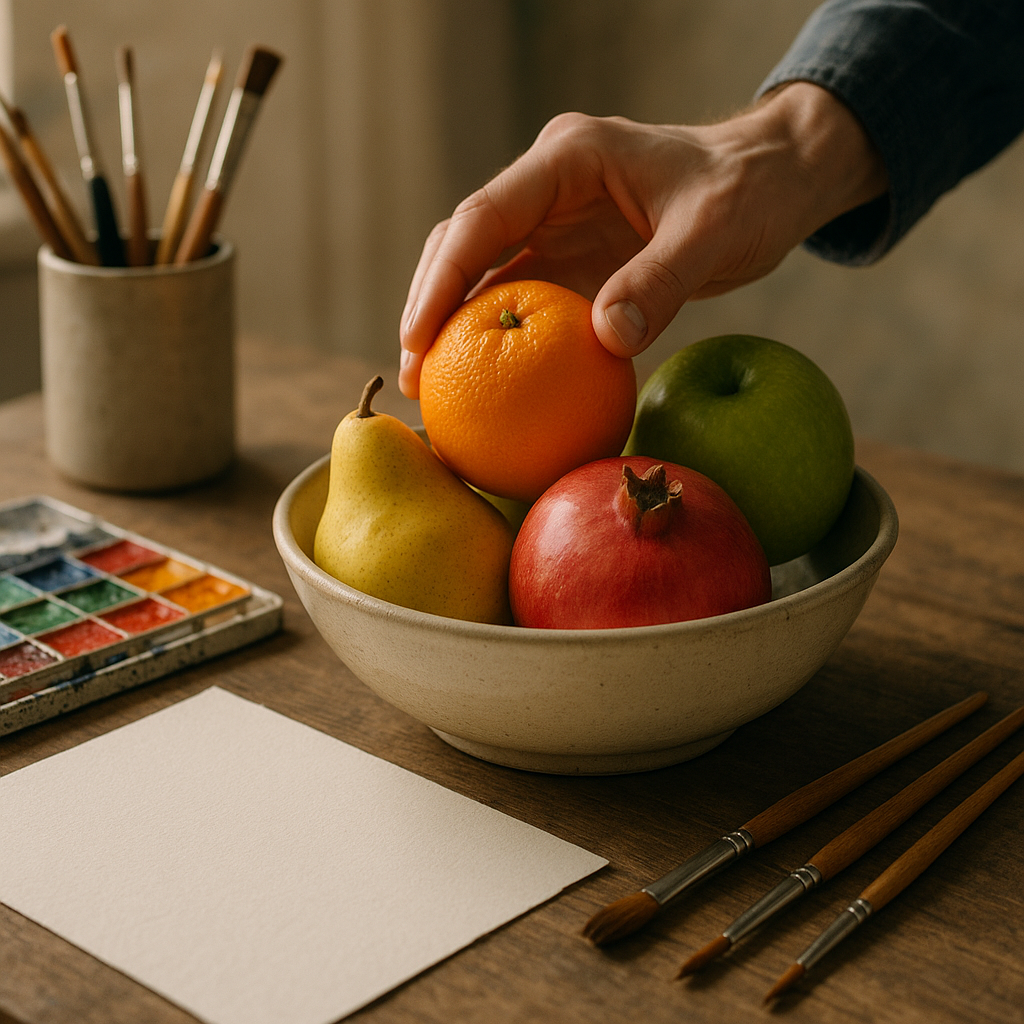
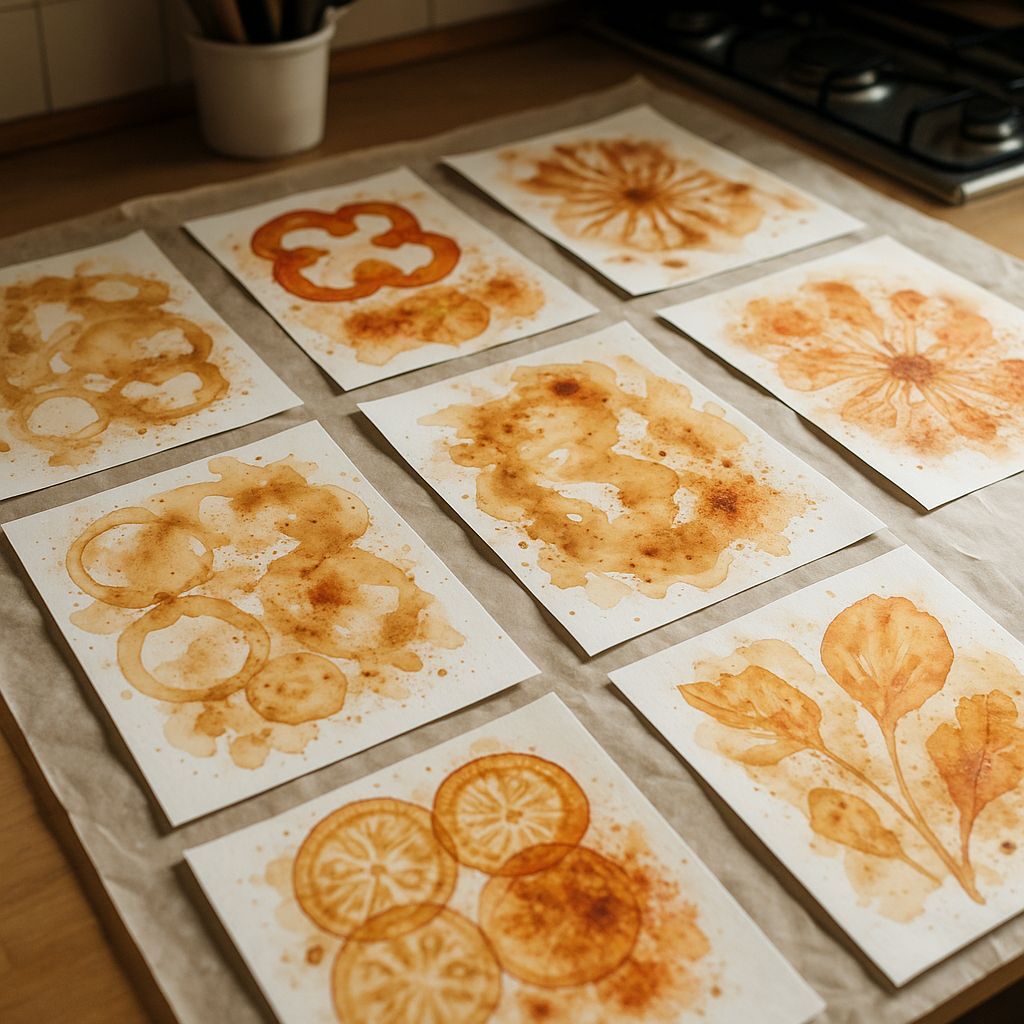
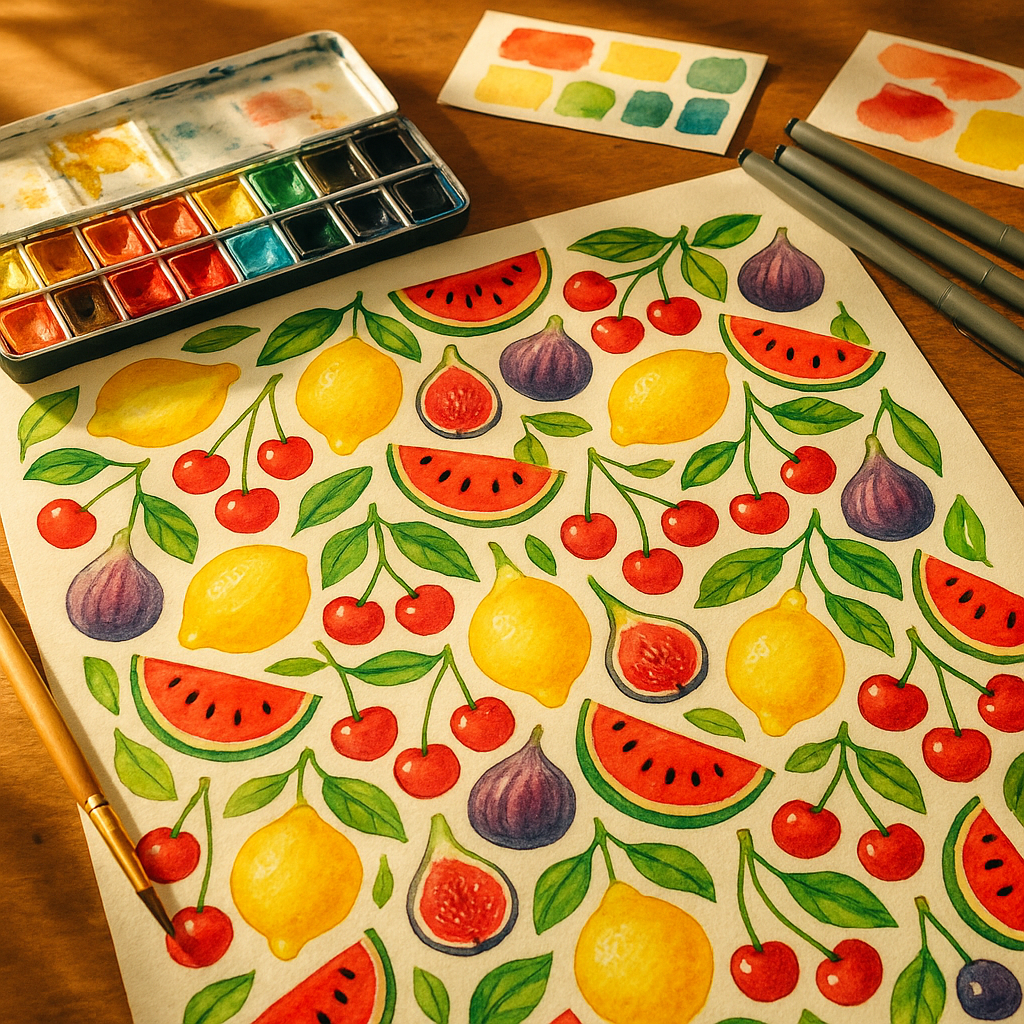
Before you think about repeat structures or digital tools, you need a strong set of motifs to work with. Start by drawing the same fruit multiple times at different scales and from different angles. A lemon sliced in half reads very differently to a whole lemon with a leaf attached. Both are useful, and having variety gives you flexibility when you begin arranging your pattern.
Aim for a mix of anchor motifs (larger, more detailed pieces like a halved watermelon or a pineapple), secondary motifs (medium-sized elements like cherries or figs), and filler motifs (small details like leaves, seeds, tiny blossoms, or dots). This three-tier approach keeps the eye moving across a pattern without any single element becoming overwhelming. Sketch everything loosely at first; tight, polished drawings can come later once you know which shapes are working.
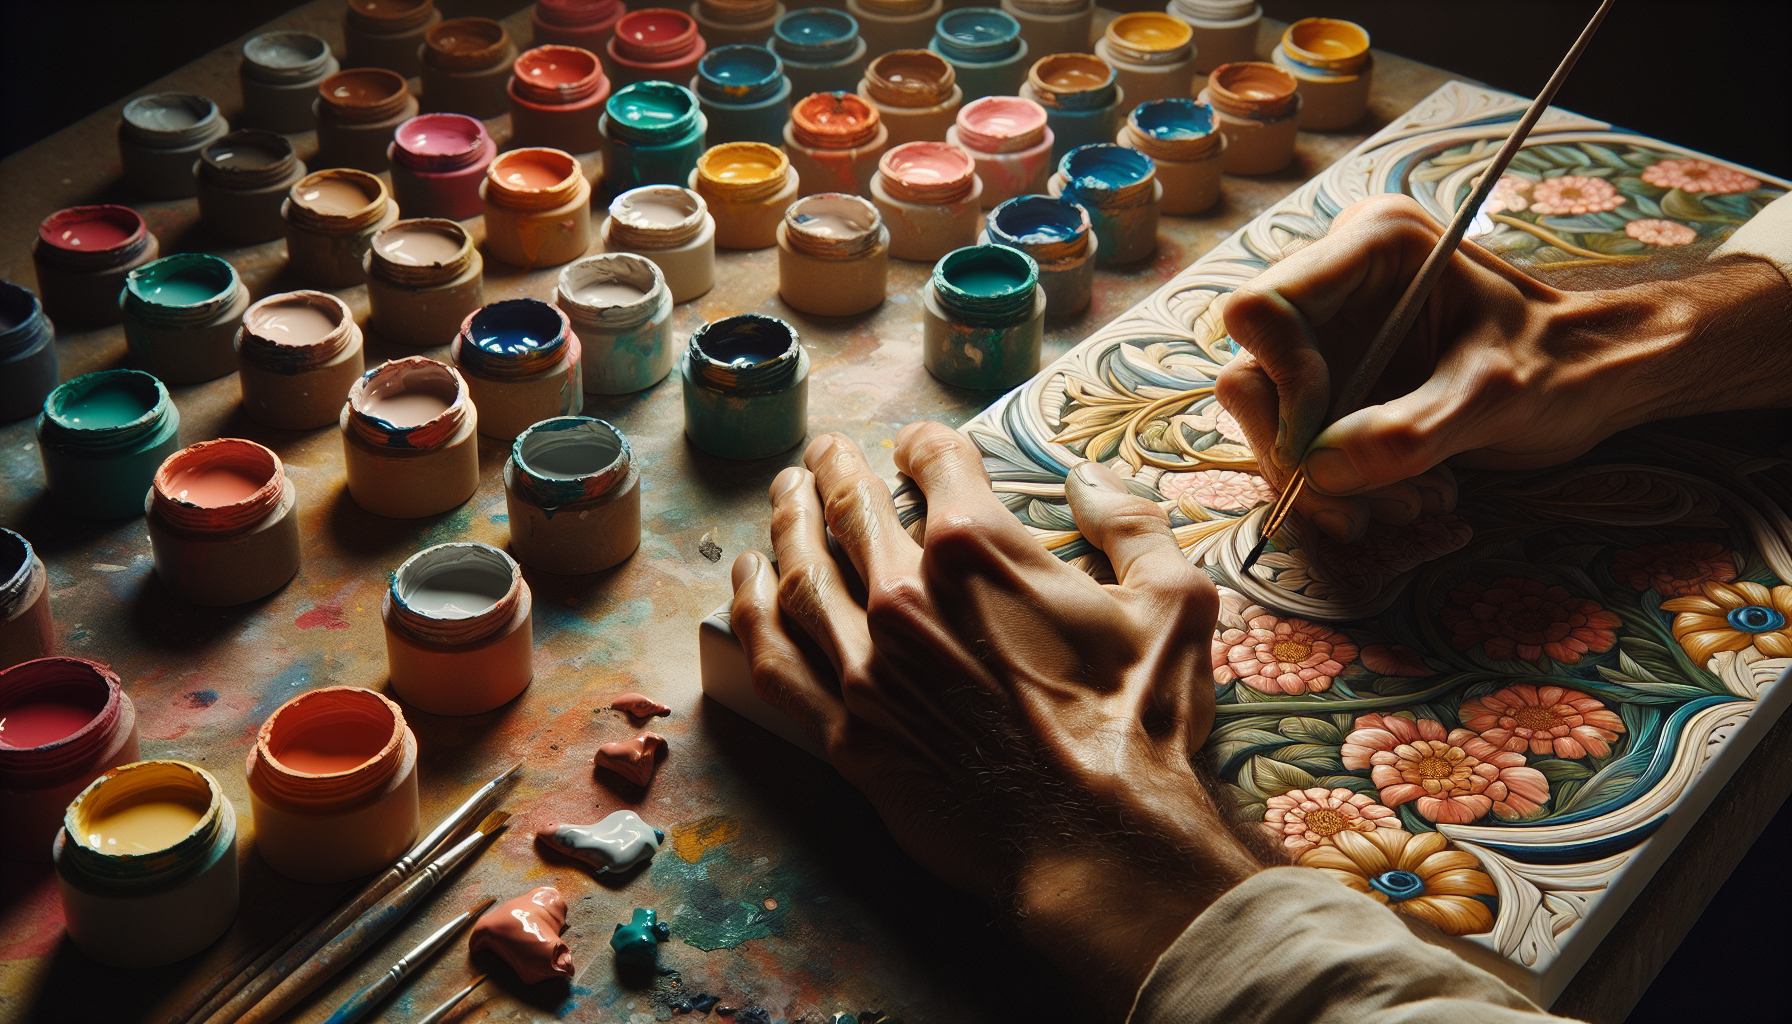
Colour Selection for a Fruit-Themed Surface Pattern
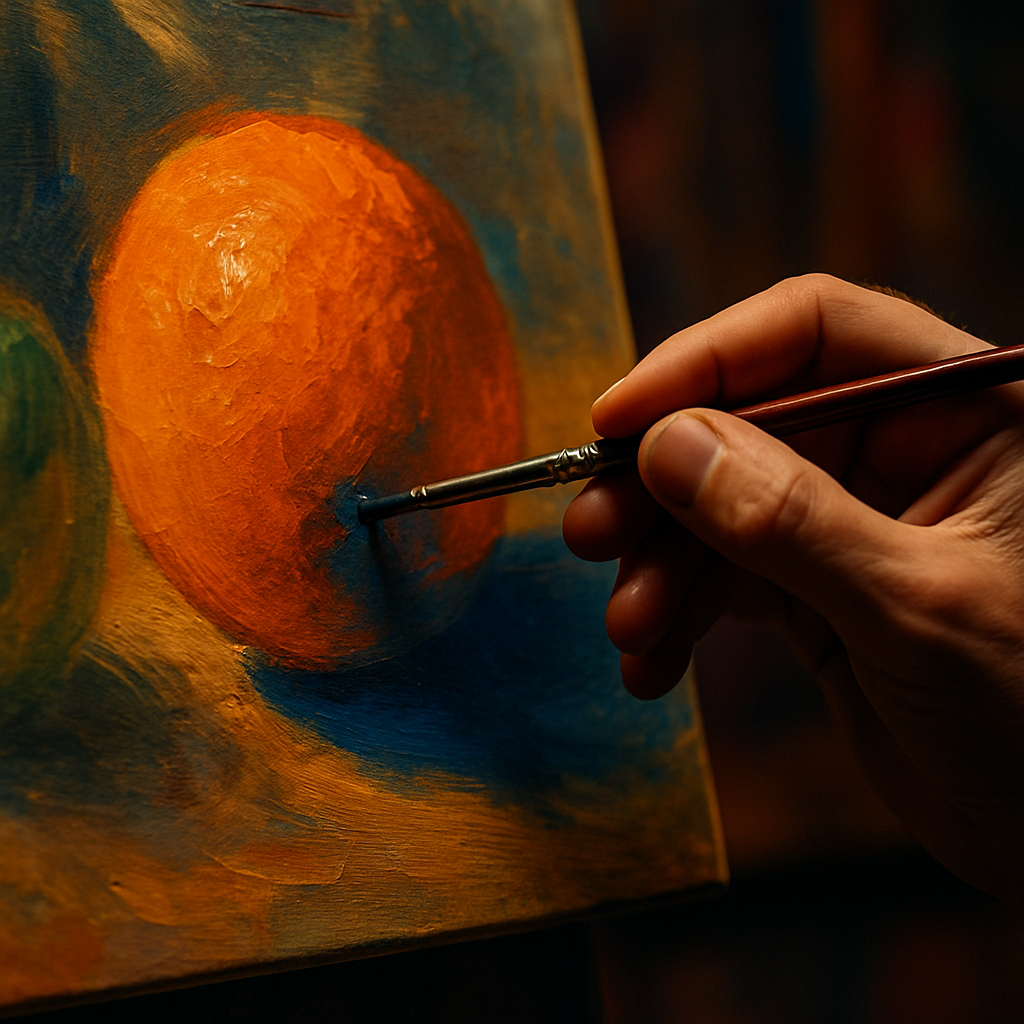
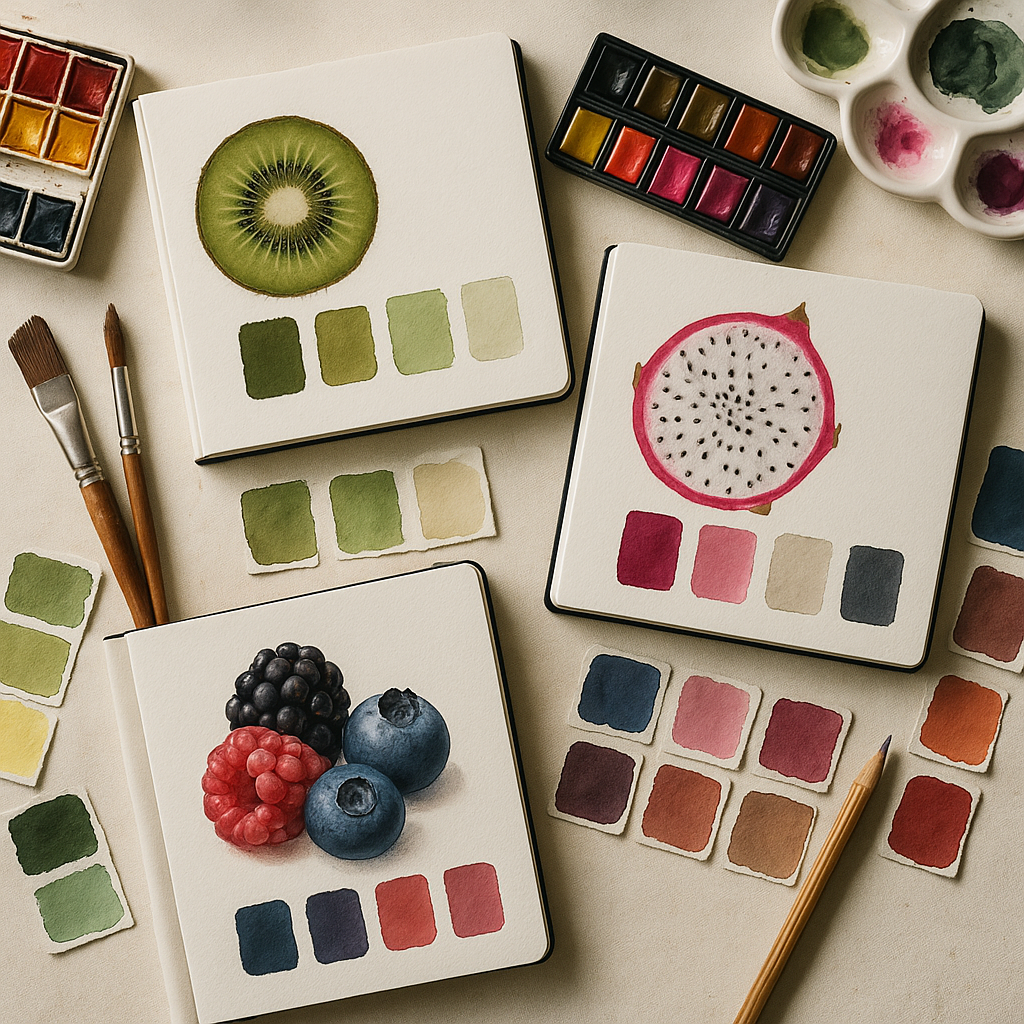
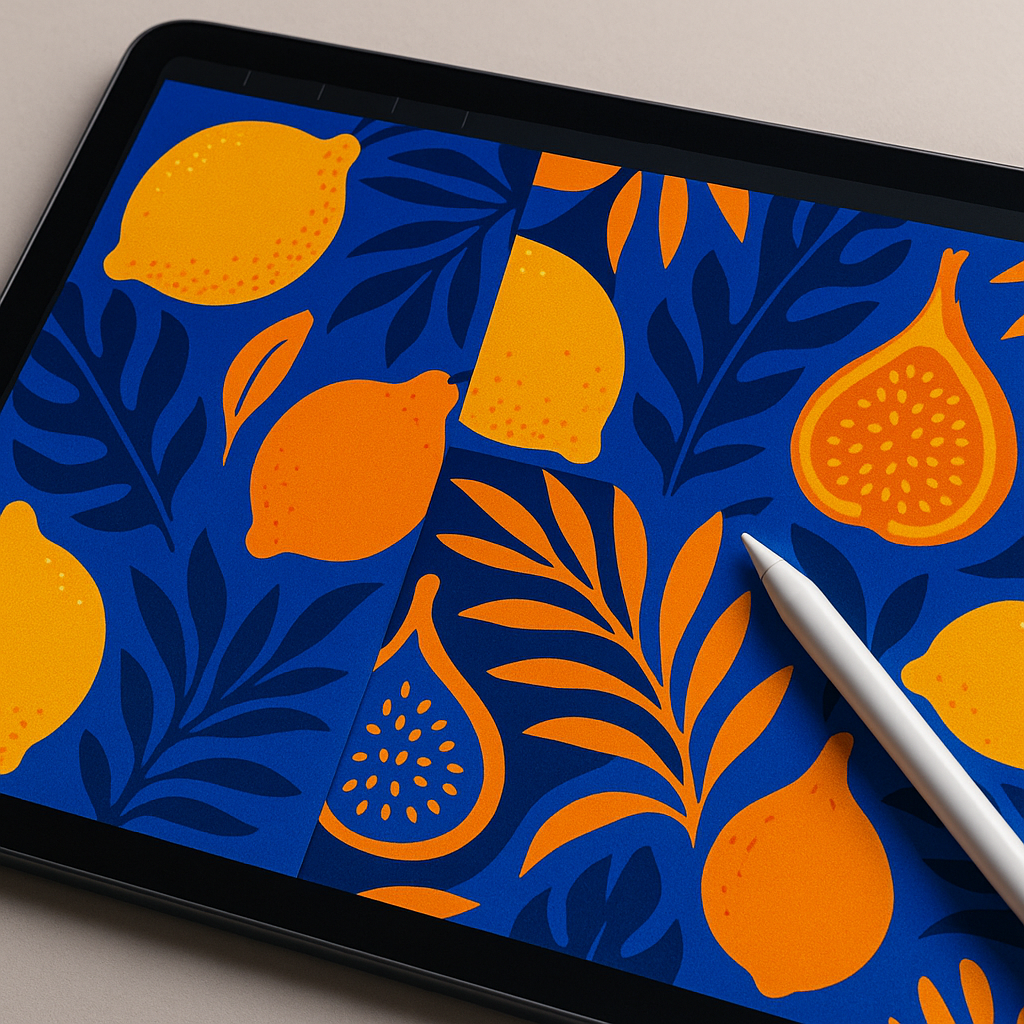
Colour is where your fruit-themed surface pattern really comes alive. A common mistake is reaching straight for realistic fruit colours, which can actually feel flat on a pattern. Instead, consider pushing your palette. Dusty pinks, terracotta oranges, sage greens, and warm creams give a retro feel. Electric citrus yellows paired with cobalt blue feel graphic and modern. Soft pastels work brilliantly for baby and children’s products.
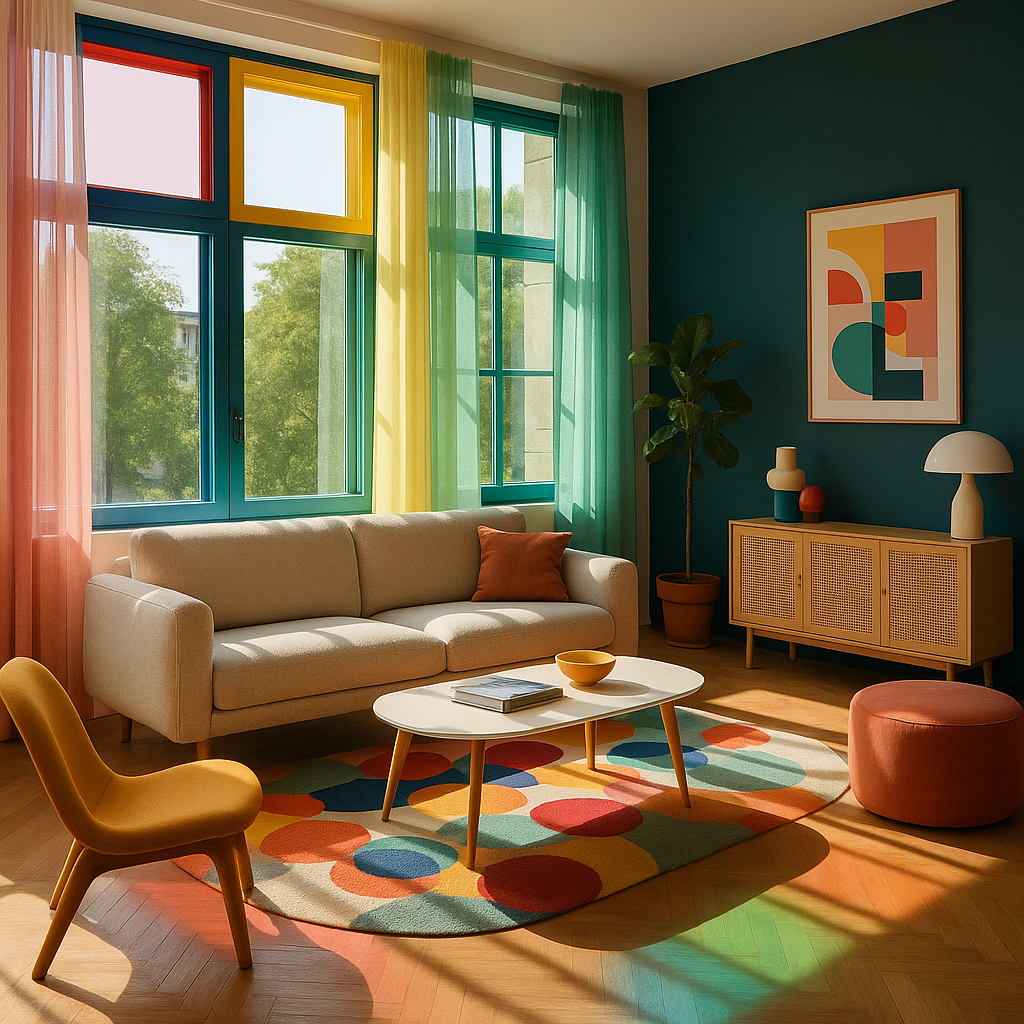
Pick a background colour early, because it changes everything. A deep forest green background makes the same set of motifs feel lush and botanical. A warm off-white makes them feel vintage. Limit yourself to five or six colours in total, including the background. This constraint forces cohesion and also makes the pattern much easier to digitise and colour-separate for printing.
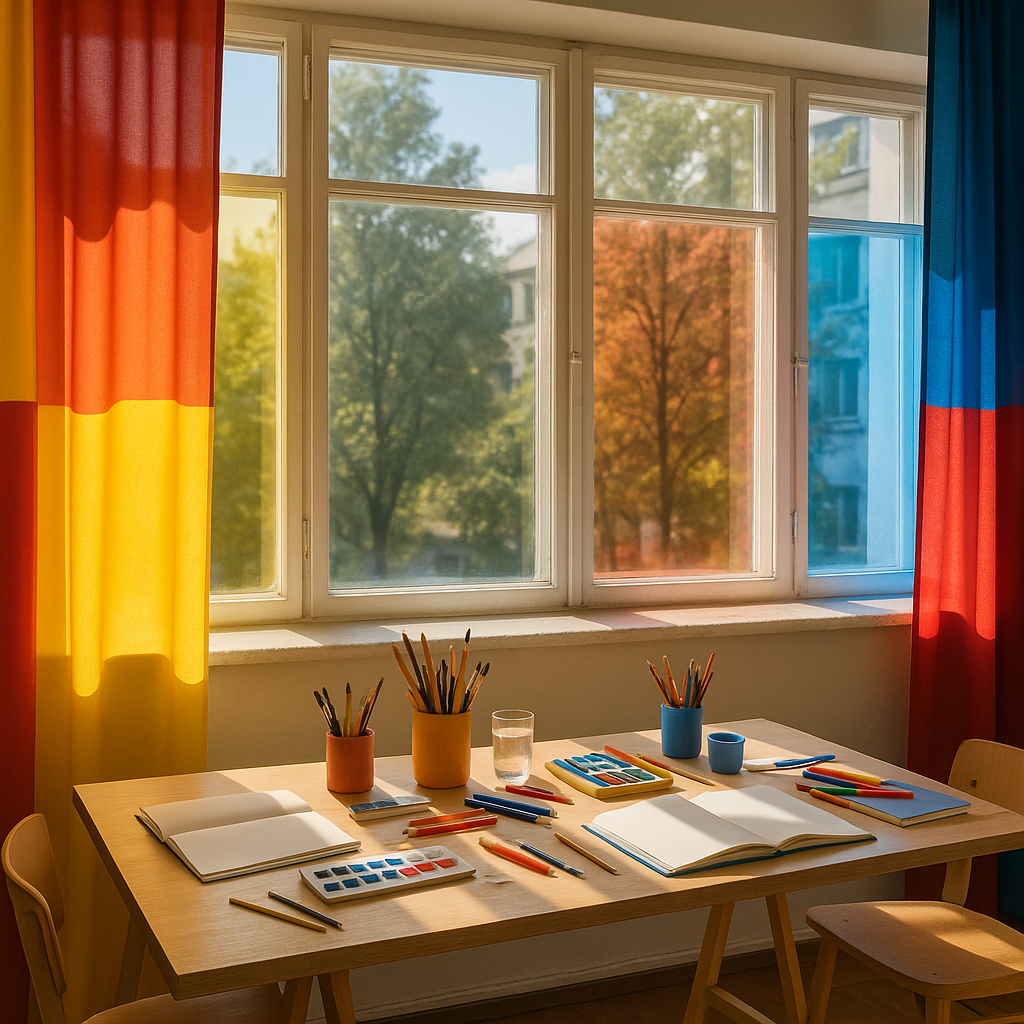
When thinking about your workspace, it is worth keeping your creative environment as pleasant as possible. Just as a tidy studio feeds your focus, other areas of your home benefit from regular upkeep too; even something as unglamorous as wheelie bin cleaning makes the whole space feel fresher when you are in a creative flow.
Understanding Repeat Structures
A repeat structure is the grid system that tiles your motifs across a surface without visible seams. For beginners, there are three main types worth knowing.
Full Drop Repeat
This is the simplest structure. Your motifs are arranged in a straight grid, with each row directly below the last. It is predictable but works well for bold, graphic patterns where symmetry is intentional.
Half Drop Repeat
Each column is shifted down by half the height of the tile. This creates a more flowing, diagonal feel that suits organic motifs like fruit beautifully. Most textile designers default to half drop for illustrated patterns because it avoids the rigid grid effect.
Brick Repeat
Similar to half drop, but the offset is horizontal rather than vertical. Imagine the pattern of bricks in a wall. This works especially well when your motifs have a strong horizontal orientation.
For a fruit-themed surface pattern aimed at fabric or stationery, the half drop repeat is usually the most satisfying starting point. It keeps things looking lively without demanding complex arrangement skills.
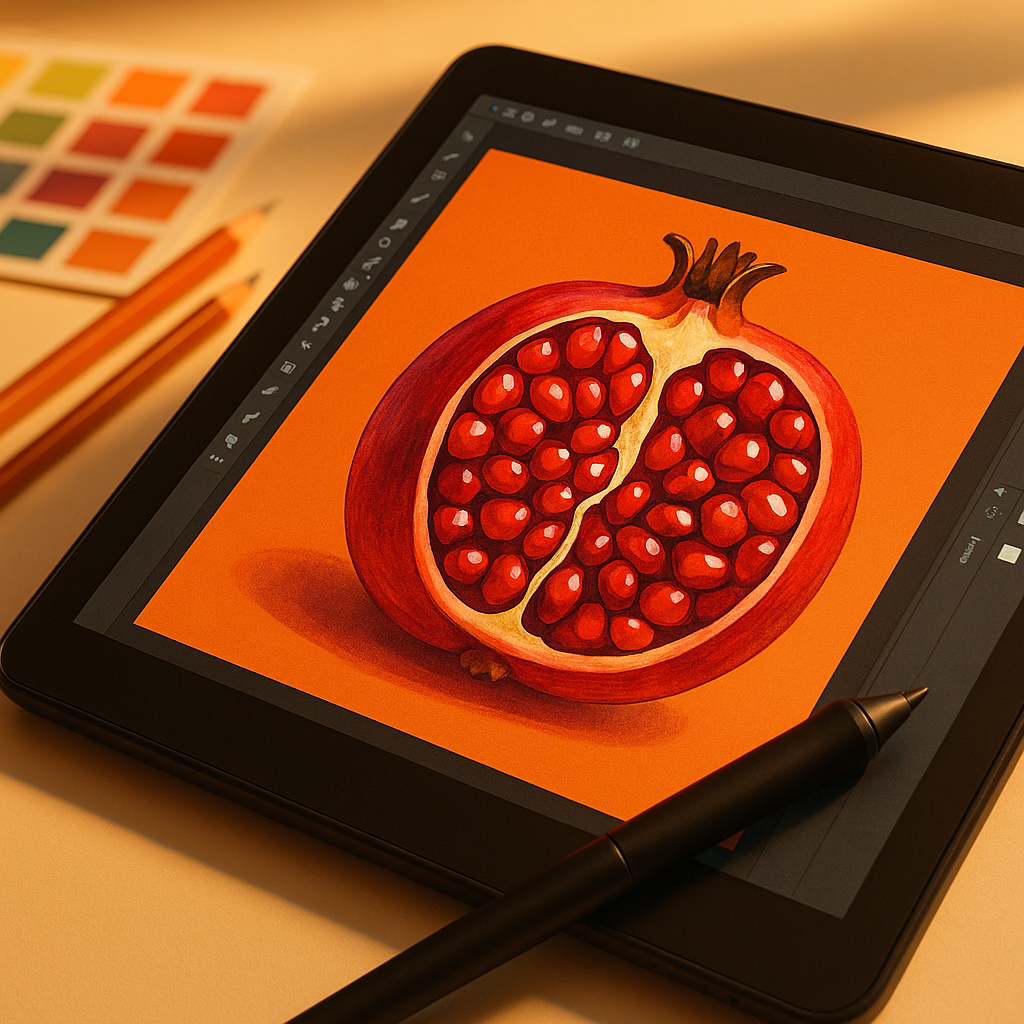
How to Digitise Your Hand-Drawn Artwork
Once your motifs are sketched and refined, it is time to bring them into a digital space. Scan your drawings at a minimum of 600 DPI for clean lines. If you do not have access to a scanner, a well-lit photograph taken flat against a neutral background works surprisingly well as a starting point.
Adobe Illustrator remains the industry standard for surface pattern design, particularly because vector files scale without any loss of quality. Trace your scanned sketches using the Live Trace function, then clean up the paths manually. If Illustrator feels like a steep investment, Affinity Designer offers a very capable alternative at a one-off cost, and Procreate on iPad is an excellent option for those who prefer drawing digitally from the start.
Build your repeat tile by setting up an artboard to a specific size (20cm x 20cm is a practical starting point), arrange your motifs within it, and then use the offset path technique or the pattern tool to check how the tile repeats seamlessly. Adjust spacing and scale until the rhythm feels balanced, neither too cramped nor too sparse.
Preparing Files for Licensing and Print-on-Demand
Once your fruit-themed surface pattern is complete, the exciting part begins: getting it out into the world. For print-on-demand platforms like Spoonflower, Society6, or Redbubble, you will typically upload a high-resolution JPEG or PNG of your repeat tile, and the platform handles the actual tiling and printing. Each platform has its own specifications, so check their upload guidelines before exporting.
For licensing your pattern to manufacturers directly, you will usually need to supply a layered file (PSD or AI format) along with a colour breakdown. Licensing means a brand pays you a fee or royalty to use your design on their products, which can generate ongoing income from a single piece of work. Build a small portfolio of six to ten coordinating patterns in the same colour palette, since buyers almost always want a collection rather than a single design.
Tips to Make Your Pattern Stand Out
The surface pattern market is competitive, so a few intentional choices go a long way. Mixing unexpected fruit combinations, say, a durian alongside a British gooseberry, creates talking points and memorable designs. Adding texture to your digital files, such as a subtle paper grain overlay, gives the pattern warmth and keeps it feeling hand-crafted rather than sterile. And always print a test swatch before committing to a final product; colours shift between screen and fabric in ways that are genuinely surprising until you have experienced it first-hand.
Designing a fruit-themed surface pattern is creative, commercial, and completely addictive. Once you see your first repeat tile spinning out endlessly across a bolt of fabric, you will want to make another one immediately.
Frequently Asked Questions
What software is best for designing a fruit-themed surface pattern as a beginner?
Procreate on iPad is a brilliant starting point for beginners because the interface is intuitive and it supports repeat pattern canvases natively. For those ready to move into professional vector work, Affinity Designer is a cost-effective alternative to Adobe Illustrator and handles surface pattern creation very well.
How do I make a seamless repeat pattern from hand-drawn artwork?
Scan your hand-drawn motifs at 600 DPI or higher, then bring them into a digital programme and arrange them within a fixed-size tile. Use the offset method (shifting the tile by half its width and height) to check that edges align without visible seams. Most design programmes have a dedicated pattern or repeat tool that automates this process once your tile is set up.
Can I sell fruit surface pattern designs on print-on-demand platforms?
Yes, platforms like Spoonflower, Redbubble, and Society6 allow you to upload your surface pattern designs and earn a royalty on every item sold. You retain the copyright to your work, and the platform handles printing, fulfilment, and customer service, making it an accessible route for independent designers.
How many motifs do I need to create a good surface pattern?
A well-rounded surface pattern typically uses between six and twelve individual motifs of varying sizes. Having a mix of large anchor shapes, medium secondary elements, and small filler details gives you enough flexibility to create a balanced composition that does not look repetitive or sparse when tiled.
What file format should I use when submitting surface patterns for licensing?
Most licensing clients prefer layered Adobe Illustrator (AI) or Photoshop (PSD) files, as these allow them to adjust colours to match their product ranges. Always include a flat high-resolution JPEG alongside the layered file for presentation purposes. Check the specific requirements of each client or platform before submitting, as specifications vary.