

Say you have a wet Sunday afternoon, a mug of tea going cold and a bag of leftover wool you can’t bring yourself to throw away. Punch needle is a very good use of both. This guide for punch needle beginners UK makers shows you how to draw a fruit design on monk’s cloth, pick juicy wool colours and turn the finished piece into a framed wall hanging.
The technique is simple: a hollow needle pushes loops of yarn through woven fabric held tight in a hoop. Nothing is knotted, and mistakes can be pulled out and redone. That forgiving quality is why it suits fruit, which wants to be fat, bold and a bit over the top.
1. Gather a small, honest kit
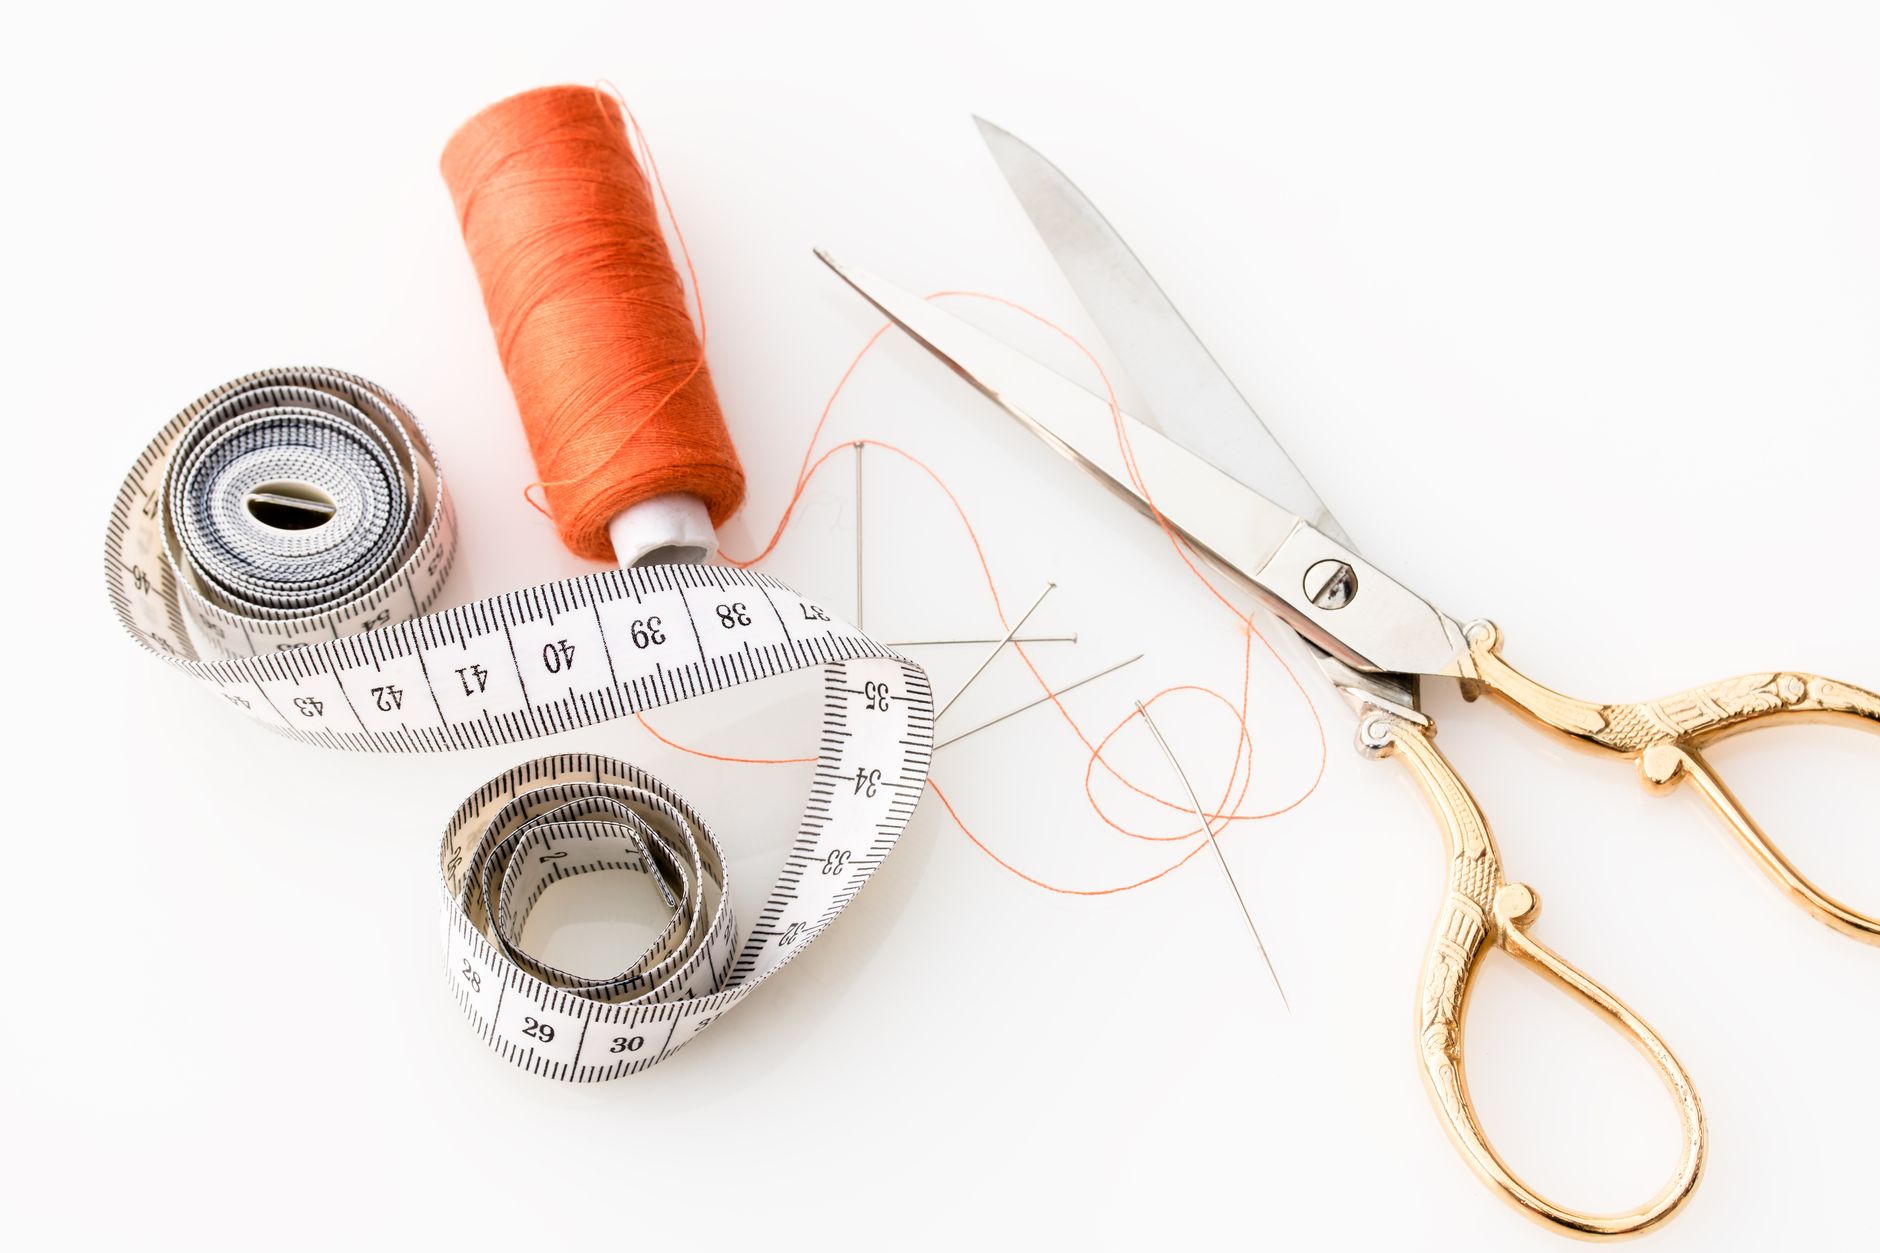
You need a punch needle tool, monk’s cloth, a hoop or frame, a pencil or fine marker, sharp scissors and wool. A beginner needle with an adjustable or single loop height is easier than a multi-size one. Choose a hoop you can grip with one hand, around 8 to 10 inches across, and a cloth with a visible, open weave.
Monk’s cloth is a loosely woven cotton, and its open grid lets the needle pass through without splitting threads. A tight quilting cotton will fight you. Cut the cloth at least 3 inches larger than your hoop all round, because punching draws the fabric in.
2. Transfer fruit motifs onto monk’s cloth
The easiest way to transfer a fruit motif onto monk’s cloth is to tape your drawing to a bright window, tape the cloth over it and trace with a pencil or fine marker. Monk’s cloth is thin enough that the lines show through clearly. A lightbox or a tablet screen turned to white does the same job.
Remember one thing: punch needle is worked from the back, so the side you draw on is the side you will see only as flat loops underneath. Your finished loops appear on the reverse. Any asymmetric design, such as lettering or a pear leaning left, must be drawn mirrored. Photocopy your sketch, flip it and trace the flipped version.
Pick shapes that punch well
Think chunky outlines: a cherry pair, a split pomegranate, a lemon wedge, a stack of strawberries. Fine details like pips are better done as a single punched dot in a contrasting colour than drawn small. For a maximalist look, crowd the fruit so that they overlap and leave almost no bare cloth.
3. Stretch the cloth drum-tight
Loose fabric gives loose, floppy loops that pop out. Place the cloth in the hoop and pull the edges until it sounds like a drum when tapped, with the weave running straight along the hoop. Tighten the screw, then re-pull the fabric. Check again every few minutes as you work, because punching slackens it.
4. How do you choose vivid wool colours?
Choose wool in saturated, contrasting colours: for each fruit pick a main shade, a deeper shadow shade and a bright highlight. A strawberry might use a pillar-box red, a darker crimson and a flash of pale pink. Place complementary colours next to each other, such as orange against blue or lime against pink, to make the fruit glow.
Wool thickness matters, since the needle size suits a specific yarn. Most beginner tools take rug yarn or a doubled or tripled strand of standard wool, so check the instructions that come with your tool and test a few loops on spare cloth. Wool grips well and holds colour richly, while slippery acrylic tends to pull out more easily.
Where to find wool in the UK
You do not need a specialist supplier. Independent yarn shops, craft shops, and online wool sellers across Britain stock rug wool and tapestry wool in wide ranges. Look at shops that sell colour cards, so you can see shades in person before ordering, and keep an eye on yarn offcuts and end-of-line bundles for cheap, mixed colour. Charity shops are a good source of unloved knitting wool.
5. Punch the outline first, then fill
Hold the needle like a pen, with the opening of the needle facing the direction you travel. Push it in all the way to the handle, then lift just clear of the fabric and glide forward a few threads before pushing in again. Keep the needle on the cloth and the yarn feeding freely. Work the outline of each fruit first, then fill the middle in tight rows or spirals.
Punch holes close together, about one thread apart, so the loops hide the cloth. Fill small areas in rounds from the outside inwards, which gives a plump, rounded look suitable for a cherry or berry. Leave the leaves and stalks until last, as a hit of green sharpens everything else.
6. Fix the loops and trim the back
Once all the punching is done, turn the piece over and paint a thin layer of fabric glue or PVA across the back, avoiding the edges you will fold. This locks the loops in place so the piece does not unravel over time. Let it dry completely, which usually takes a day.
If you want a smooth, velvety texture rather than loops, cut the loops on the front with sharp scissors, and trim them level. A mix works nicely: cut-pile for the fruit, loops for the background.
7. How do you frame punch needle as a wall hanging?
To frame a punch needle piece, take it out of the hoop, trim the cloth leaving a border of about 2 inches, and stretch it over a board or canvas stretcher before fixing it in a deep box frame. Use staples or a strong needle and thread to lace it taut. A box frame leaves space so the loops are not squashed behind glass, which is why I would avoid a flat picture frame.
If you prefer an informal look, leave the piece in its wooden hoop, trim the cloth behind it, glue a circle of felt over the back, and hang it by the screw. A bright fruit in a bare hoop looks charming on a kitchen wall.
Another option is to mount the work on a wooden dowel with a looped cord for a hanging. For a cohesive set, make three small pieces in matching frames and hang them in a row.
8. Find a punch needle community
Making alone is fine, but company helps with tension and technique. Search social media for punch needle hashtags and you will find UK makers sharing patterns, tips and swaps. Local craft shops and community centres often run beginner workshops, and many yarn shops advertise stitch-and-chat evenings. Online video tutorials also let you slow down a tricky move and rewatch it.
If you enjoy working with wool, you might also like our guide to wet felting fruit-inspired wall art, which uses a similar palette in a very different way. For more inspiration on displaying textile art, the Royal Collection Trust has a huge archive of historic textiles.
My advice for your first piece: pick one big, simple fruit, such as a single lemon or a fat pear, in three shades of wool, and finish it within a weekend. Then frame it and hang it up before you start the next, more crowded one.

Leave a Reply