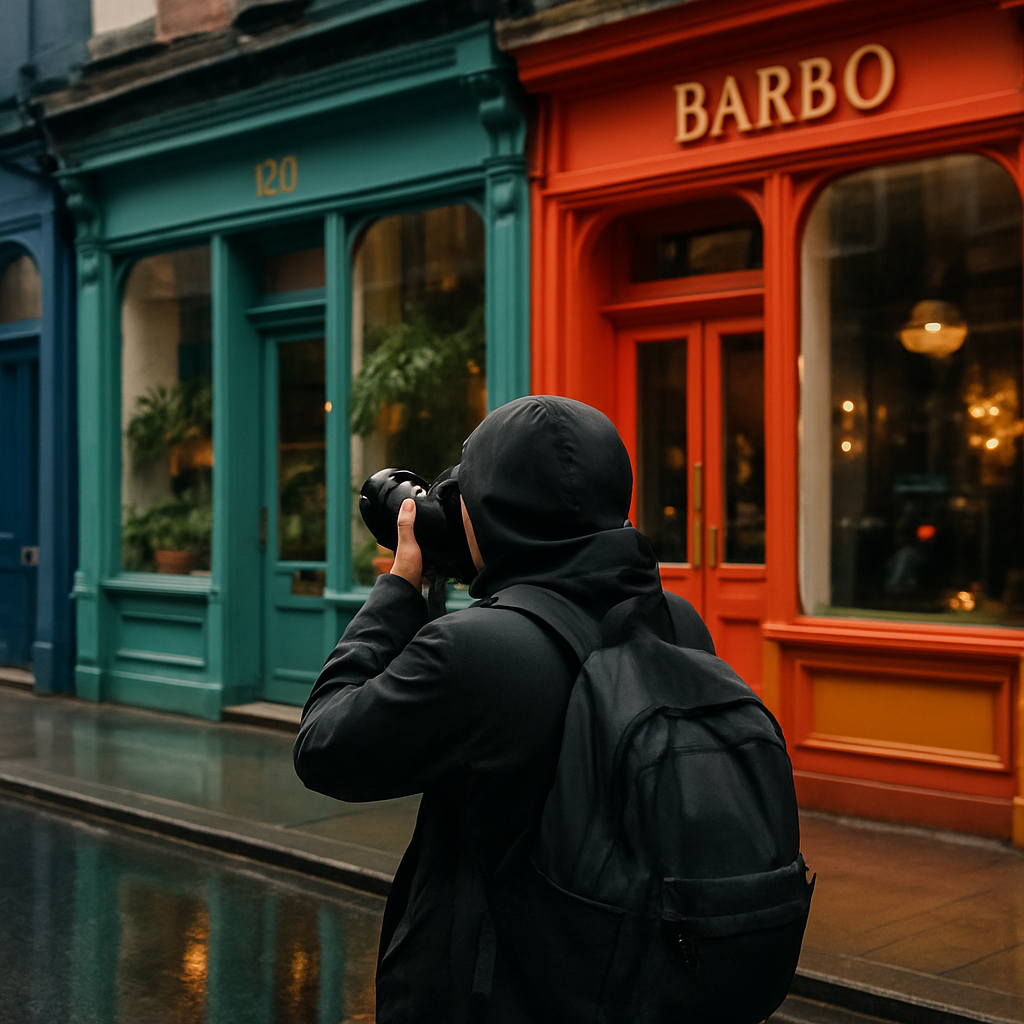
City streets are bursting with stories, and urban texture art is one of the most joyful ways to bring those stories to life. From flaky paint and crumbling brick to mossy stone and sun-bleached posters, every surface is a ready-made backdrop for colour, pattern and playful ideas.
What is urban texture art?
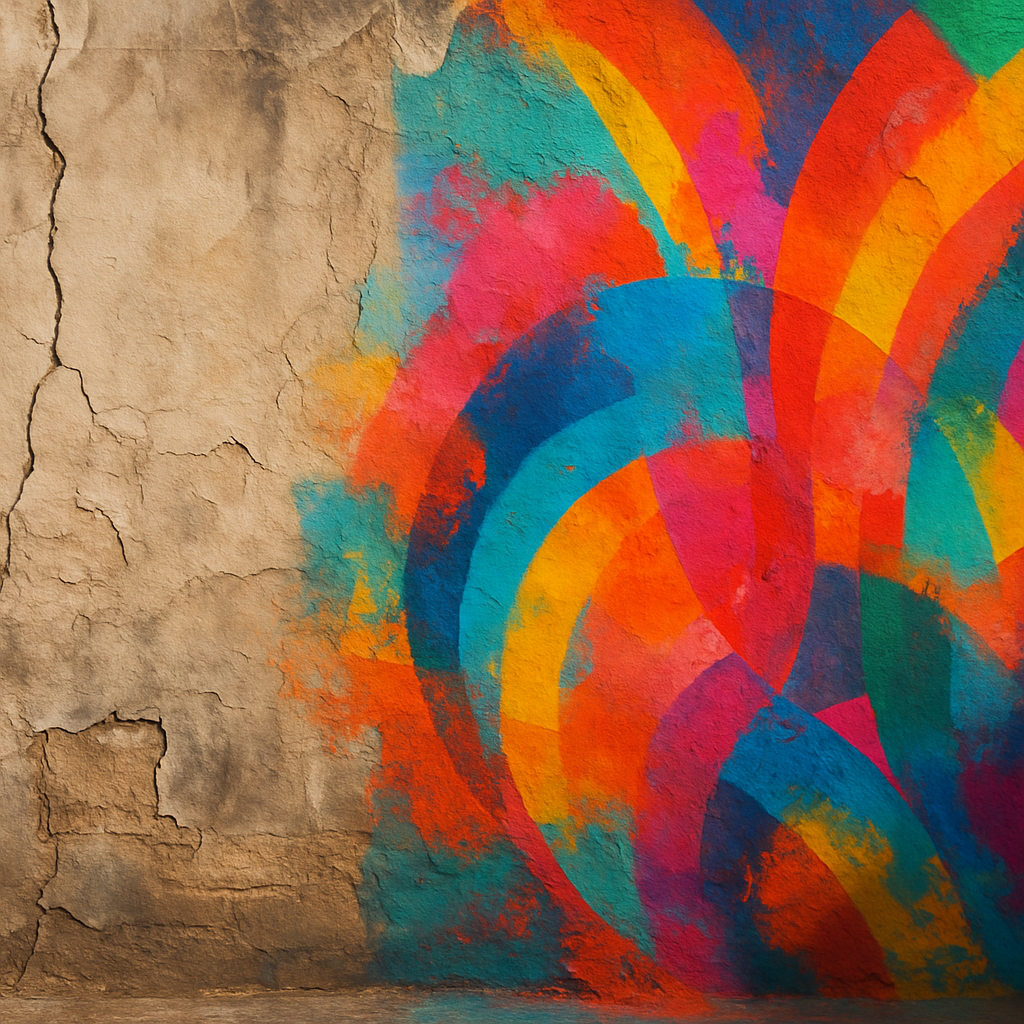
Urban texture art is all about using the existing surfaces of a city as inspiration for creative work. Instead of starting with a blank canvas, artists respond to peeling paint, rough concrete, rust stains and weathered brick, turning them into characters, landscapes and abstract bursts of colour. It can be as simple as chalk doodles on cracked pavement or as ambitious as a full mural wrapping around a corner of a building.
The magic lies in the contrast: soft, juicy colours dancing across hard, tired walls. It celebrates the imperfect and the worn, proving that the most ordinary corners of a neighbourhood can become little pockets of wonder.
Finding the perfect surfaces for urban texture art
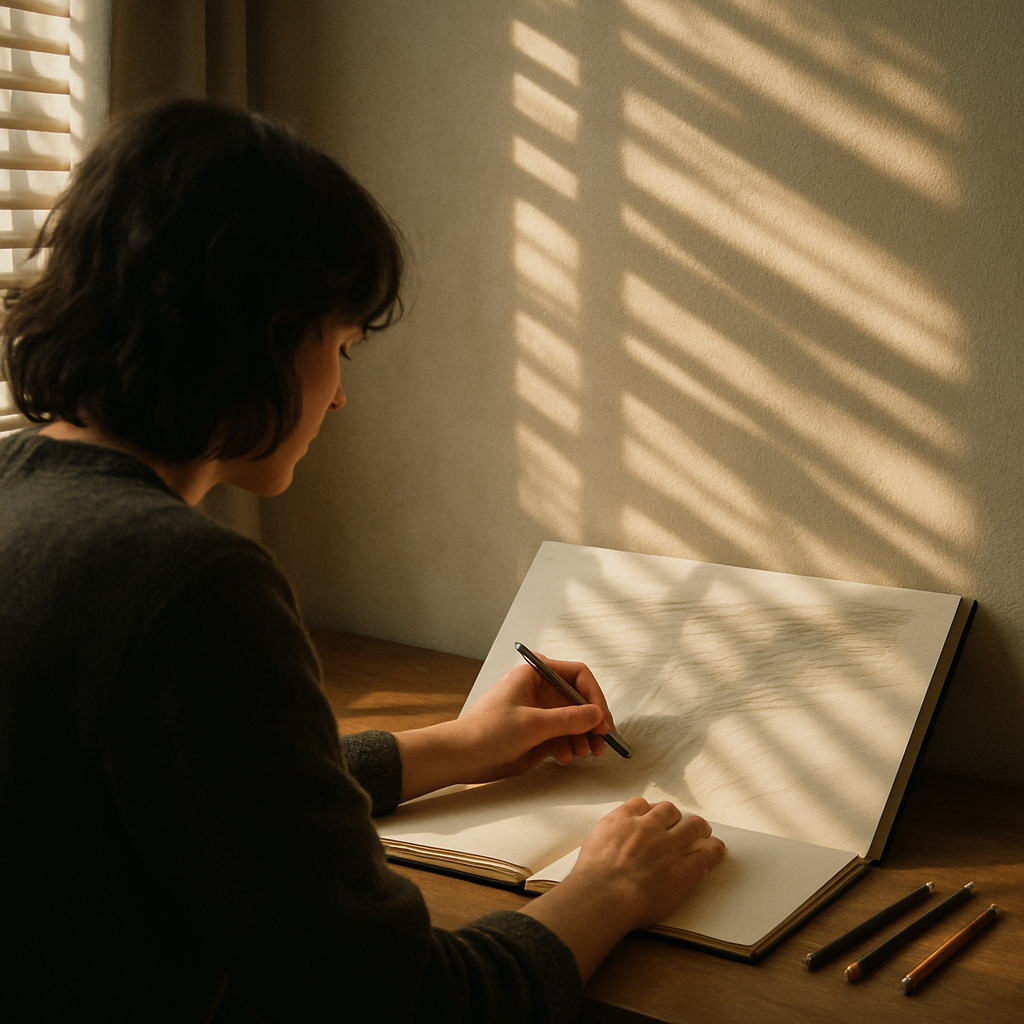
Before you reach for your paintbrushes, the first step is scouting. Wander your local area and look for surfaces with interesting patterns and textures. Flaking layers of old paint, exposed brickwork, and patchwork repairs all give you shapes to play with. Photograph anything that catches your eye so you can sketch ideas later.
Always stay on the sunny side of the rules. Only create art on walls and spaces where you have clear permission, whether that is from a local council, a community group or a private owner. Many cities now have official mural trails and legal walls, which are perfect for experimenting without causing a stir.
Safety first when working with old buildings
Old walls can hide all sorts of surprises, from loose masonry to flaking materials that are better left untouched. Before planning a bigger project, it is wise to check that the surface is safe to work on and not part of a structure that needs specialist care. Professional surveys and services like asbestos management sheffield help building owners understand what is in their walls and how to look after them responsibly.
As an artist, simple precautions go a long way. Avoid sanding or scraping unknown materials, wear a mask if there is visible dust, and step back if anything feels unstable. If in doubt, choose another wall – there are always more textures waiting around the corner.
Playful techniques for urban texture art
Once you have a safe, approved wall, it is time for the fun part. Here are some colourful techniques that make the most of city textures:
- Outline what is already there – trace around cracks, stains and patches, then fill them with fruity colours to create abstract shapes.
- Turn chips and holes into characters – a missing brick becomes a monster mouth, a rust streak becomes a rainbow tail.
- Layer translucent washes of paint so the original texture still peeks through, like watercolour on concrete.
- Use stencils to add repeating motifs, such as leaves, bubbles or geometric fruit slices.
- Mix media with chalk, paint markers and paste-up paper cut-outs for a collage effect.
Urban texture art loves imperfection, so do not worry about straight lines or exact symmetry. Let the wall guide you and enjoy the surprises that pop up as you work.
Community projects that brighten grey corners
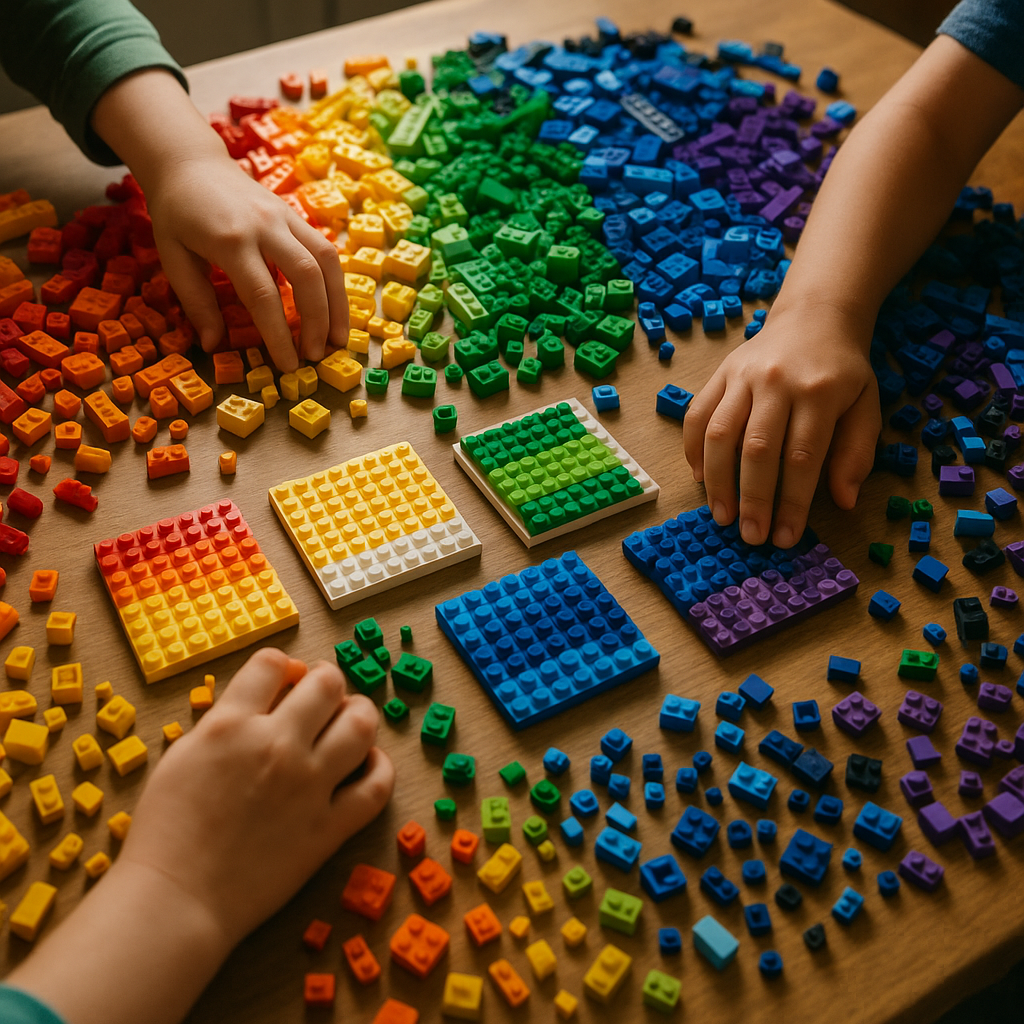
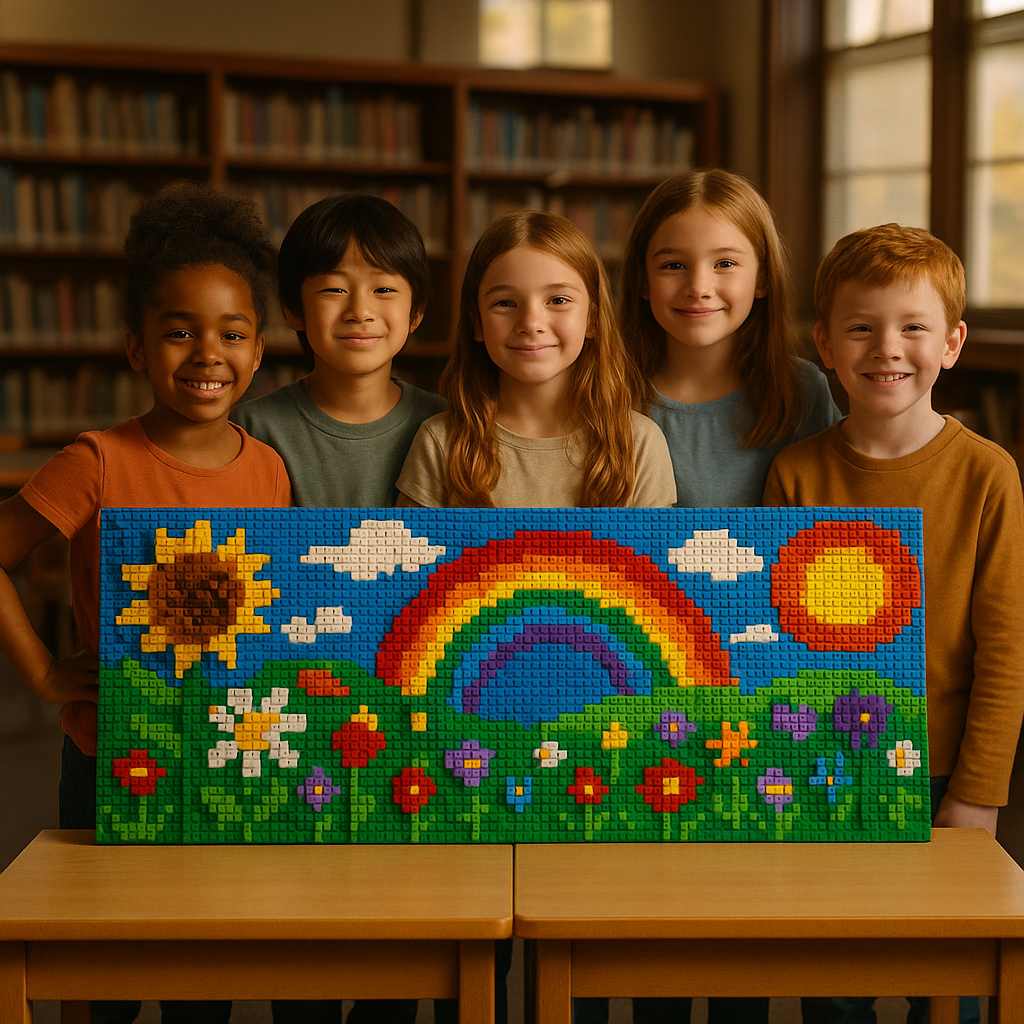
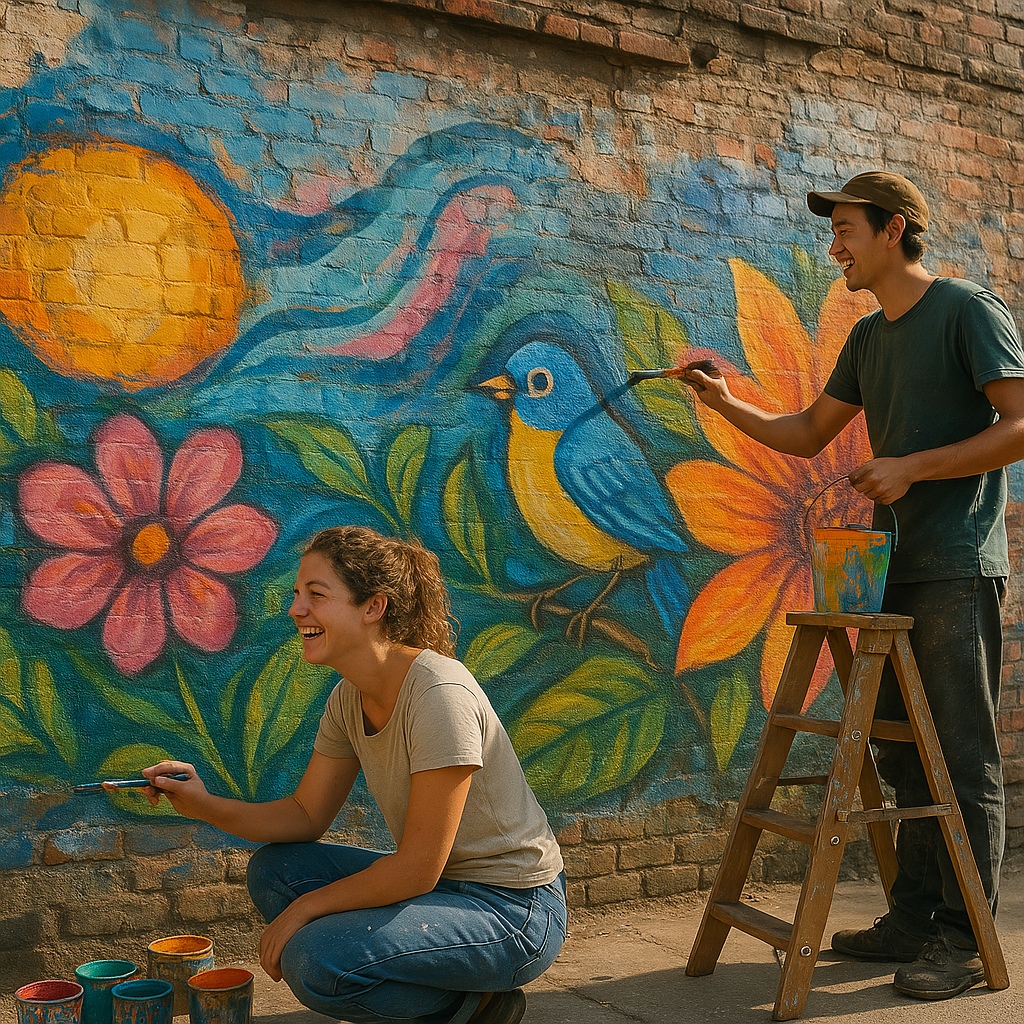
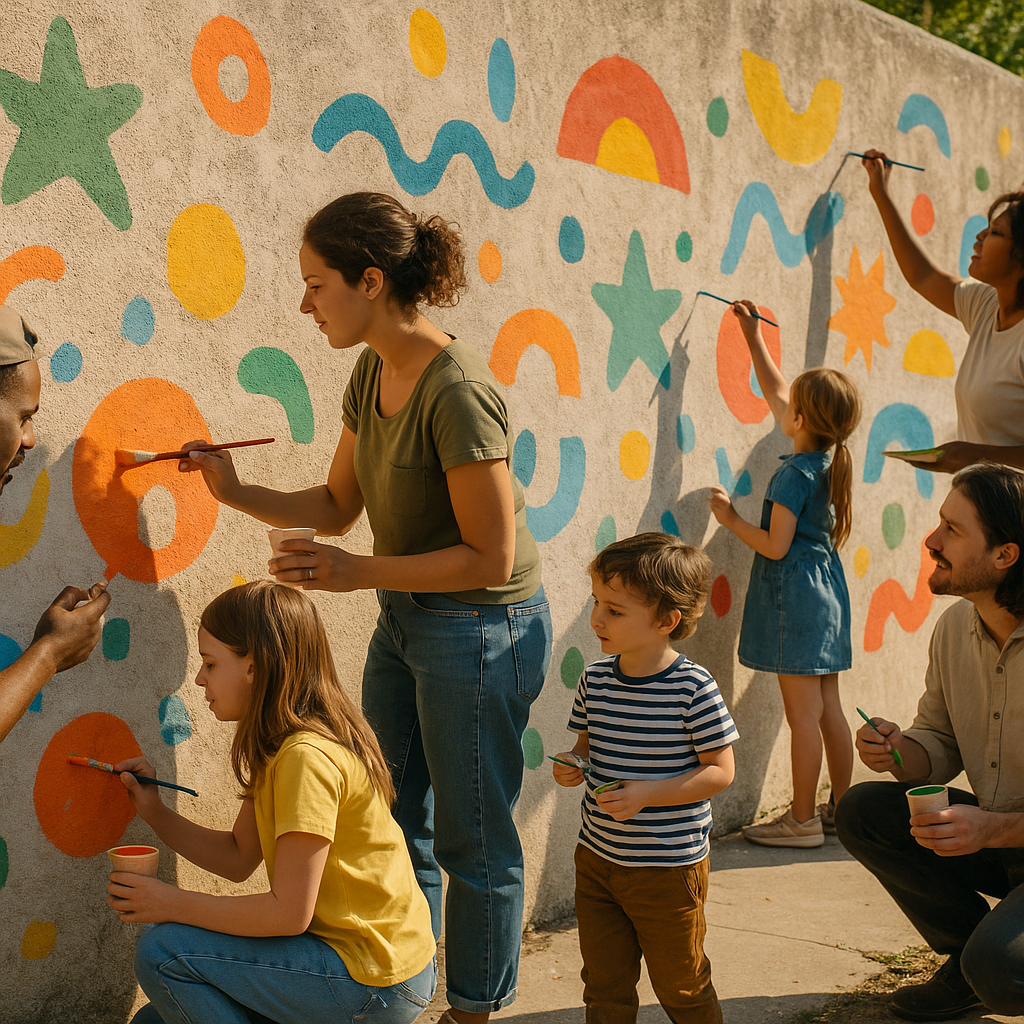
One of the happiest sides of urban texture art is how naturally it brings people together. Community groups, schools and local businesses can team up to transform dull corners into bright, welcoming spots. Children can add patterns and shapes, while adults handle ladders and logistics. Everyone gets to leave a little piece of themselves on the wall.
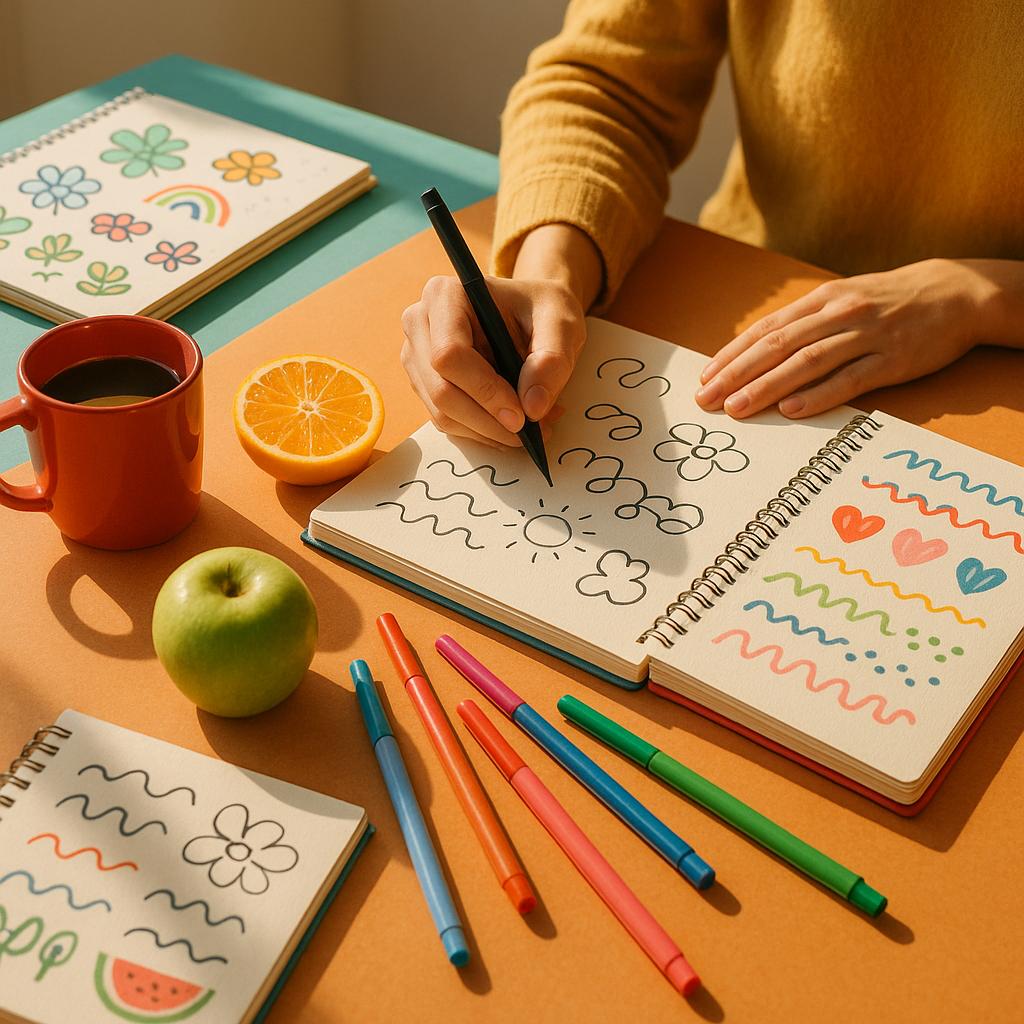
Workshops are a brilliant way to start. Begin with a walk to photograph interesting surfaces, then return to a studio or classroom to sketch ideas. Once you have a shared design, you can scale it up on the chosen wall, using chalk grids or projectors to keep things simple.
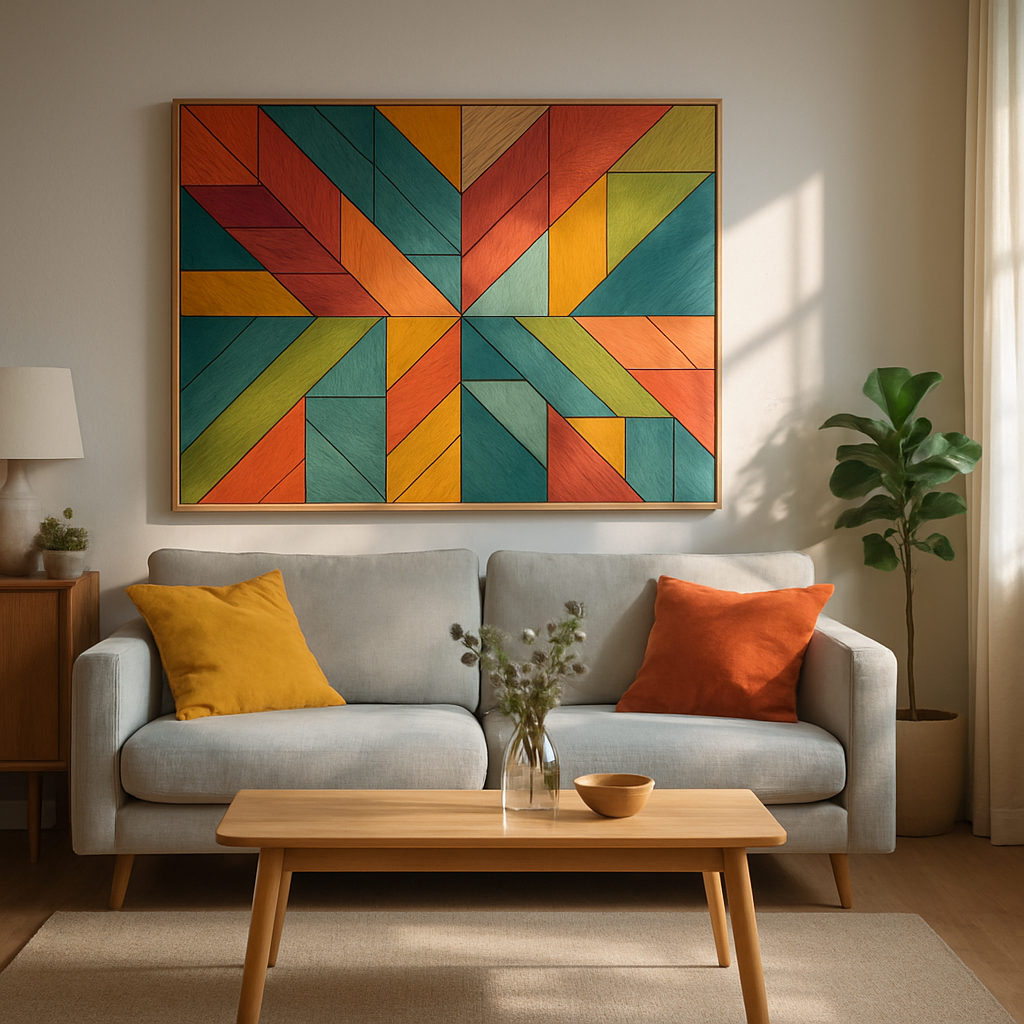
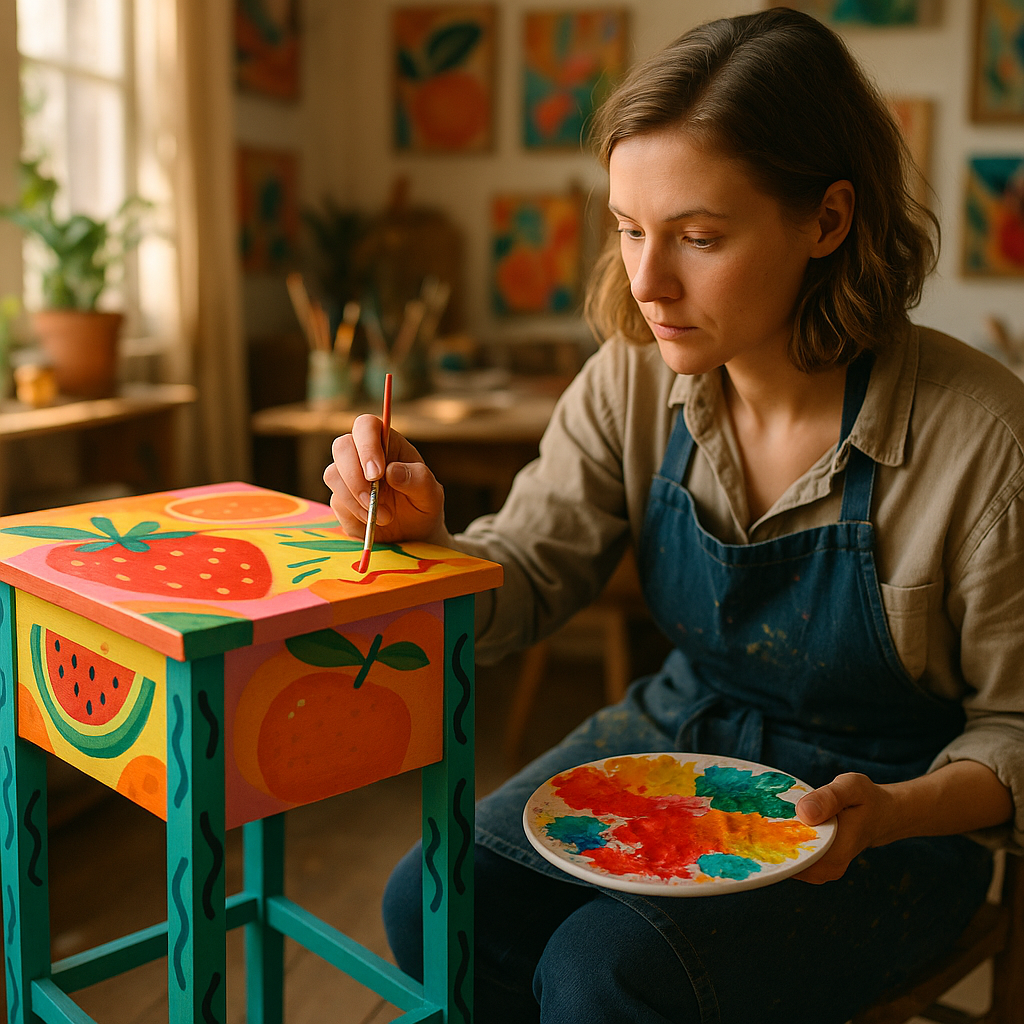
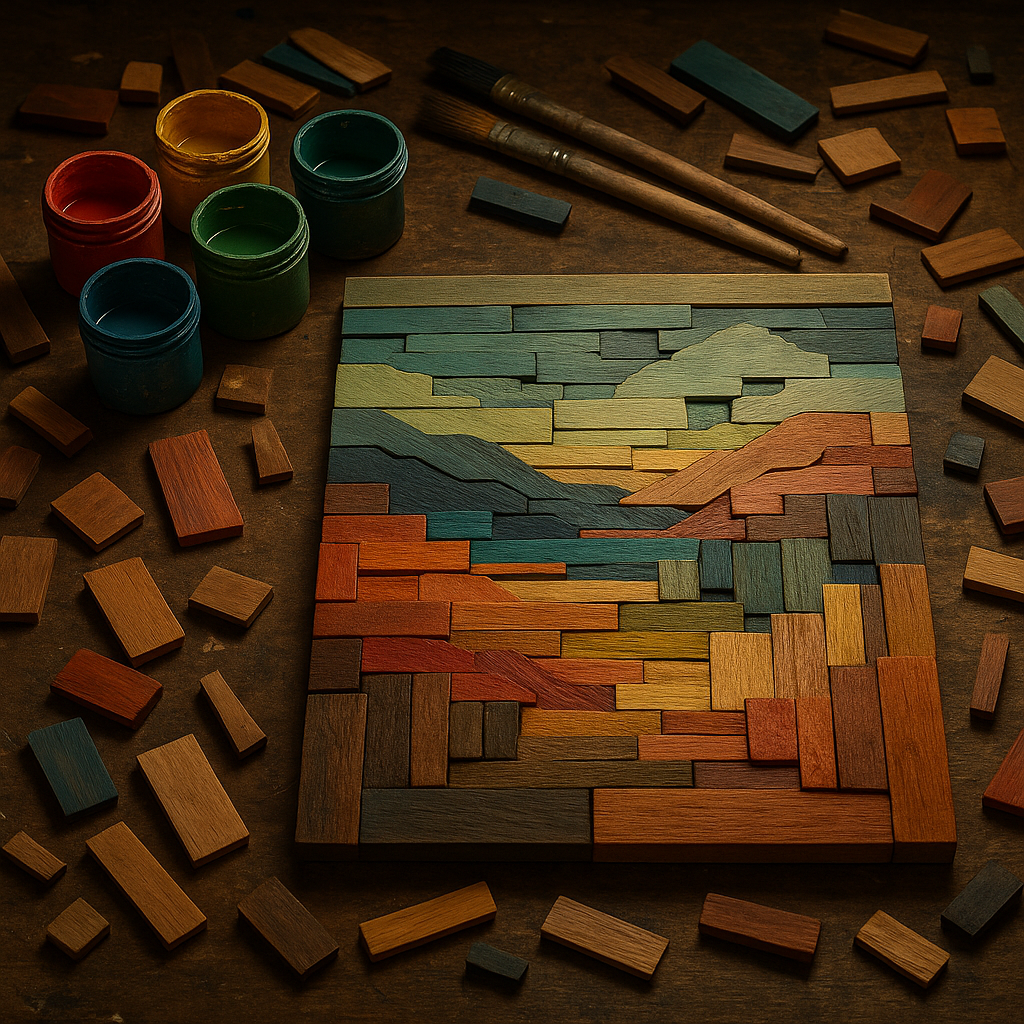
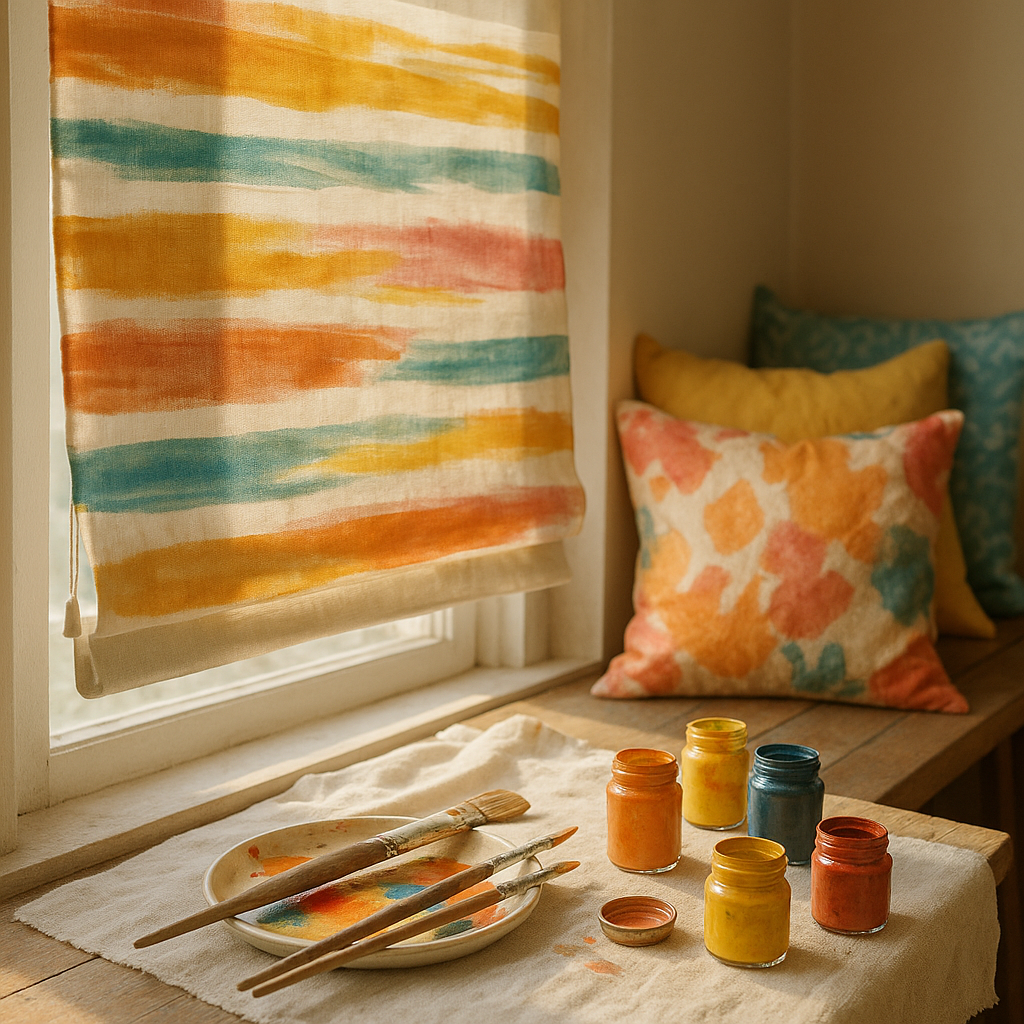
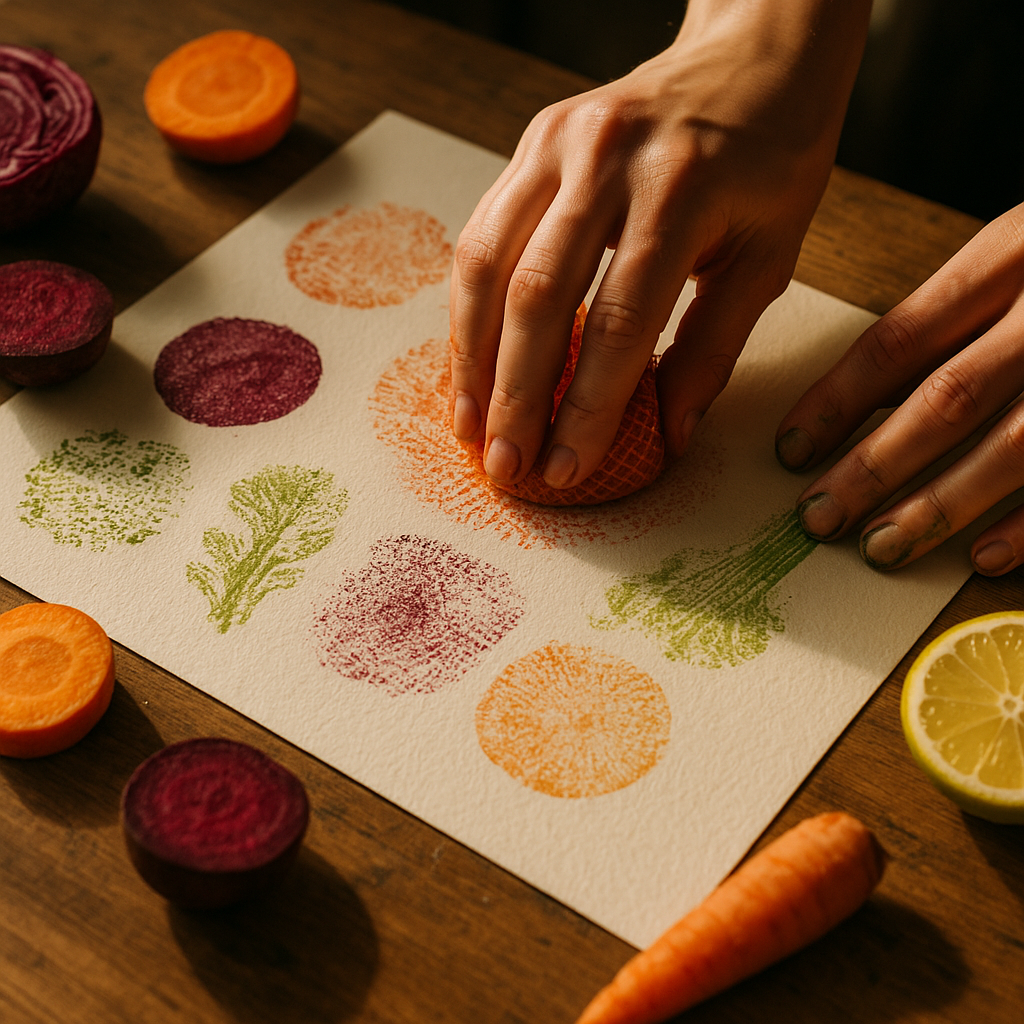
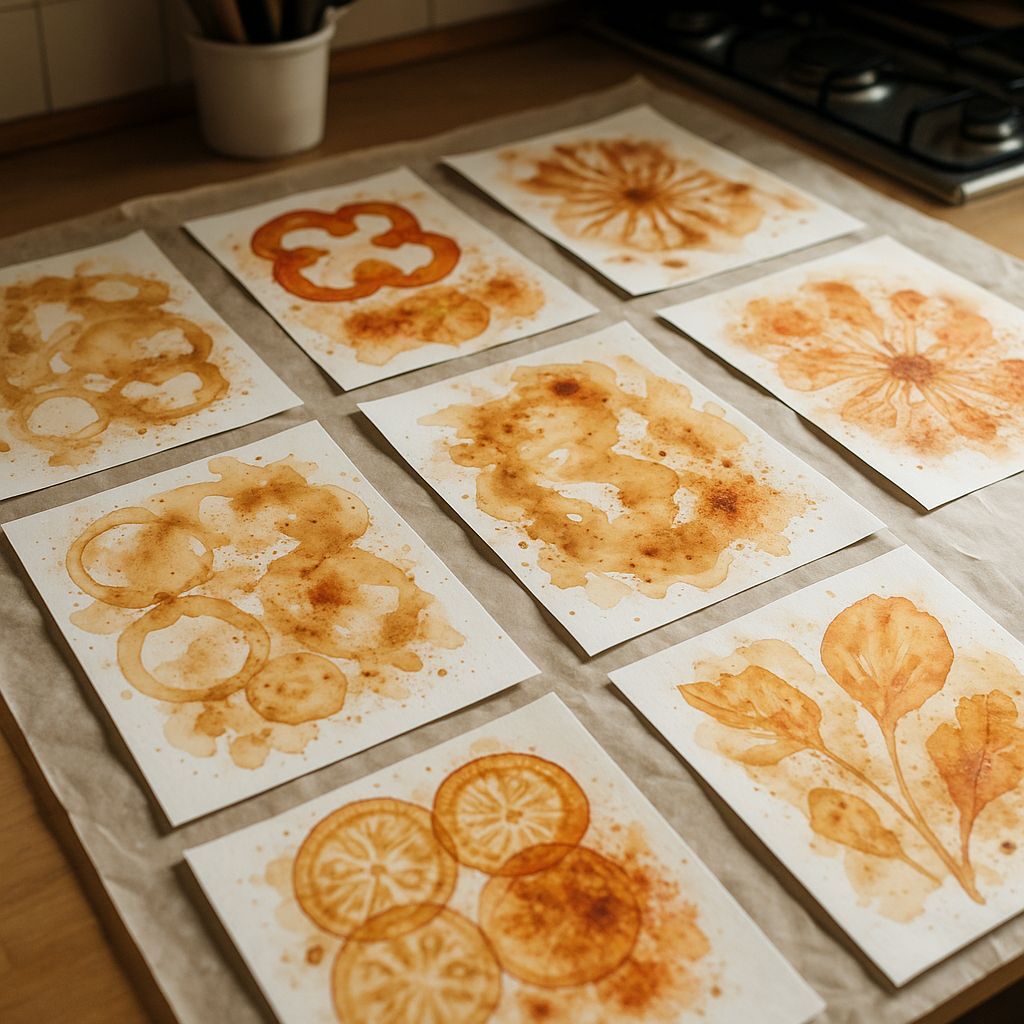
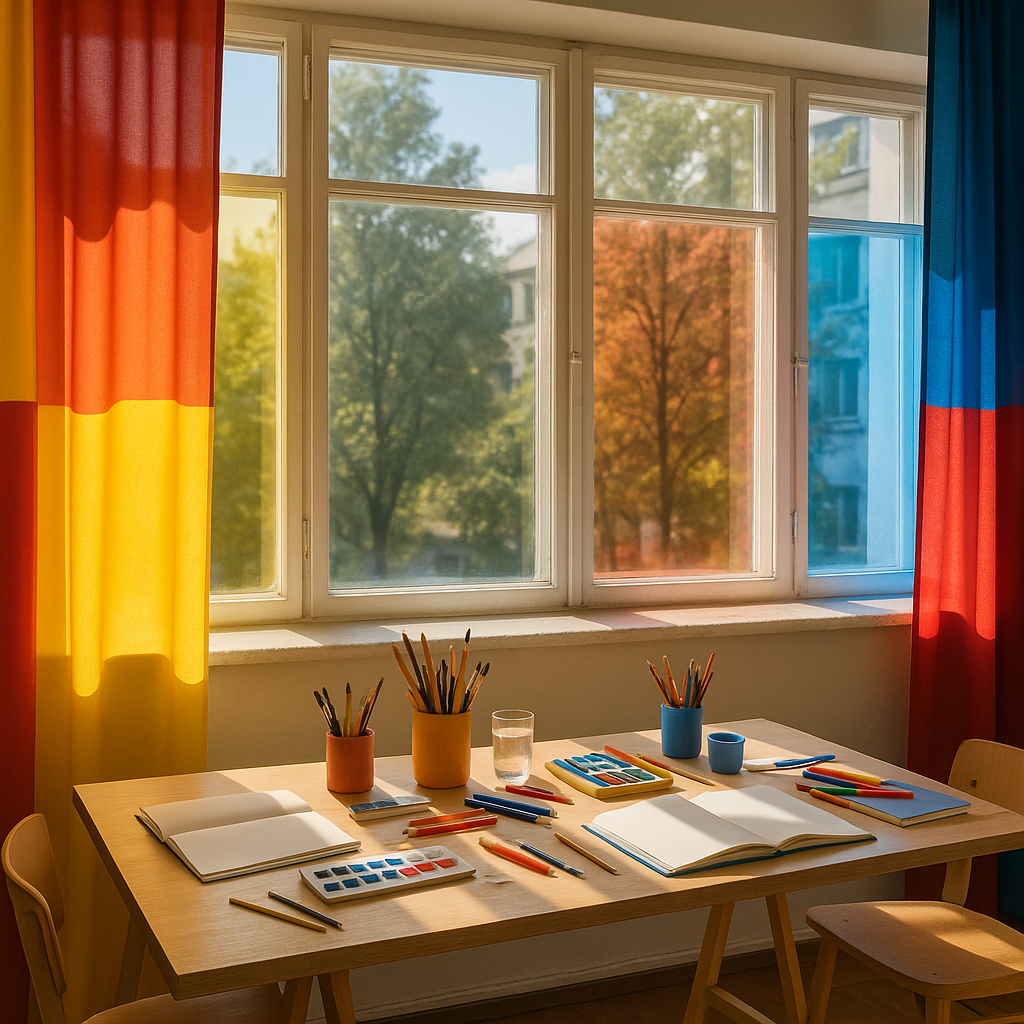
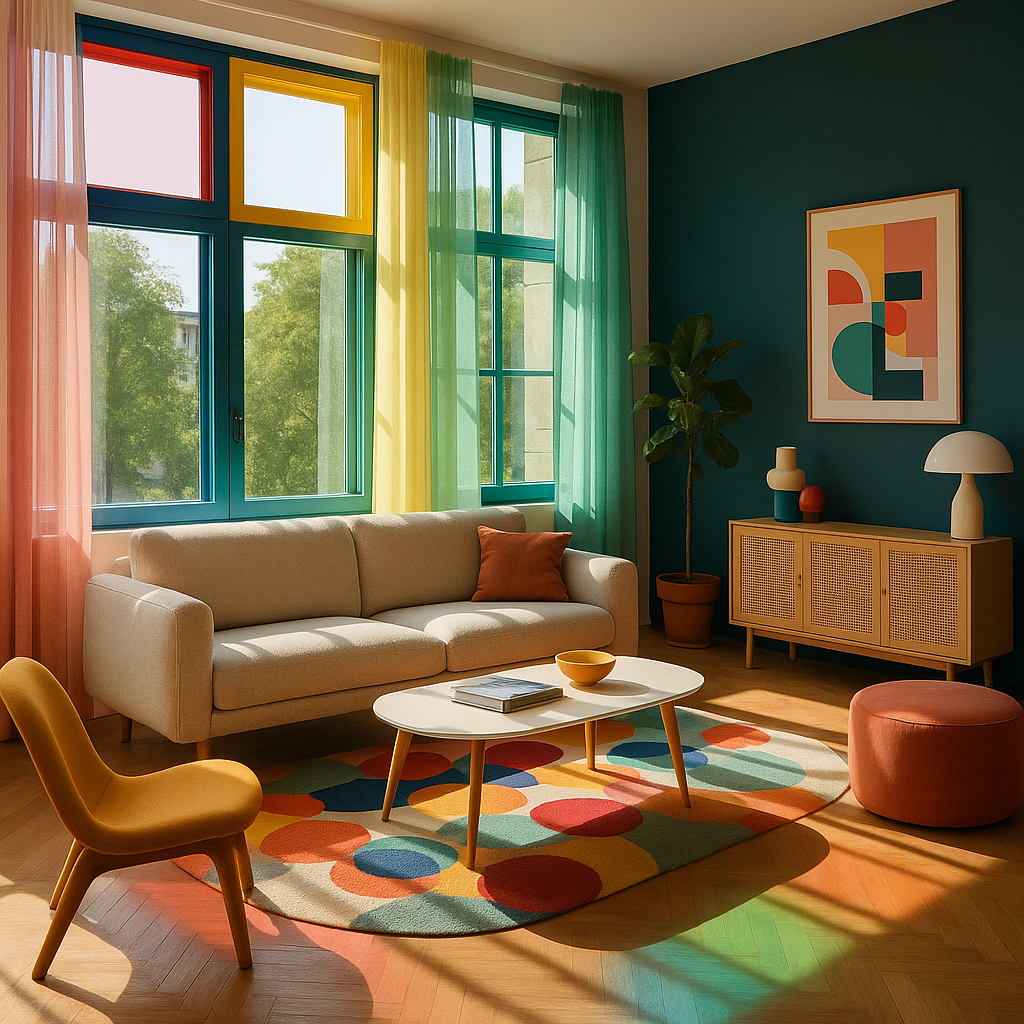
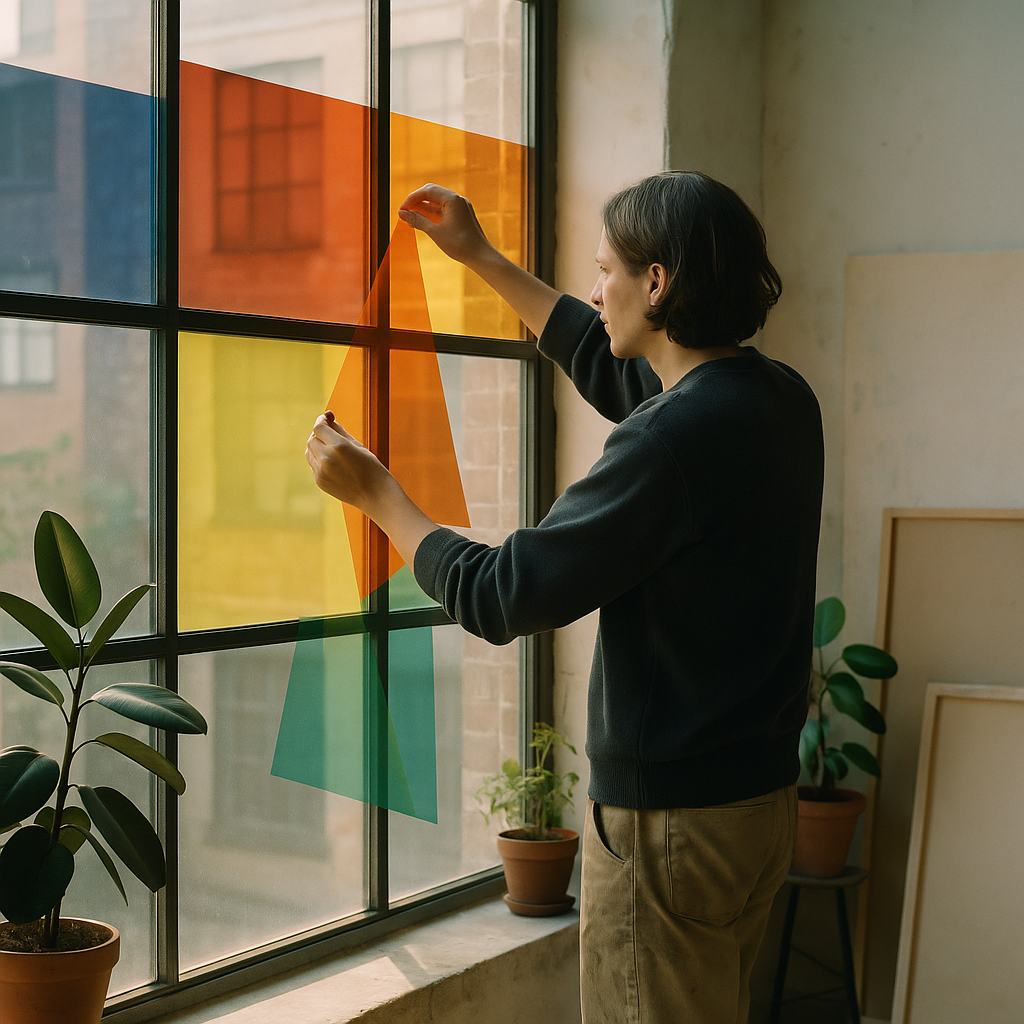
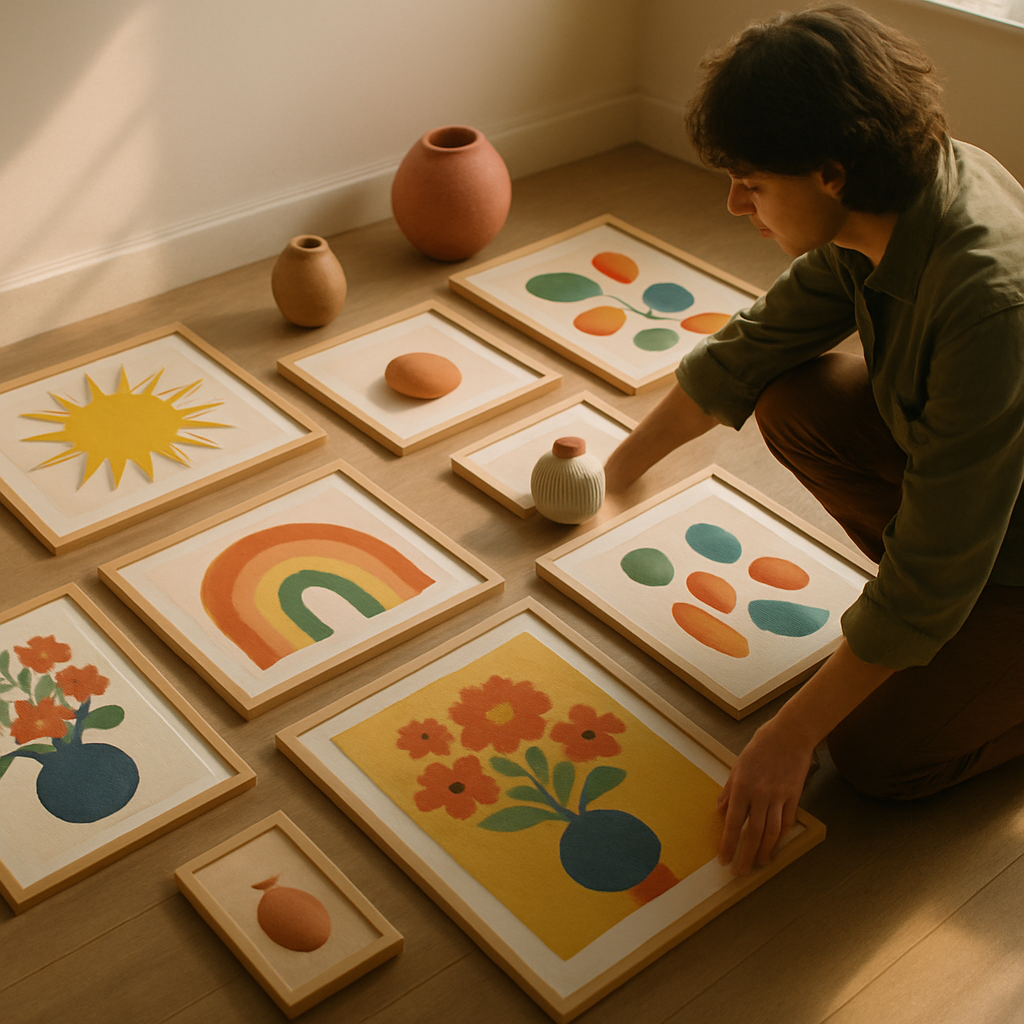
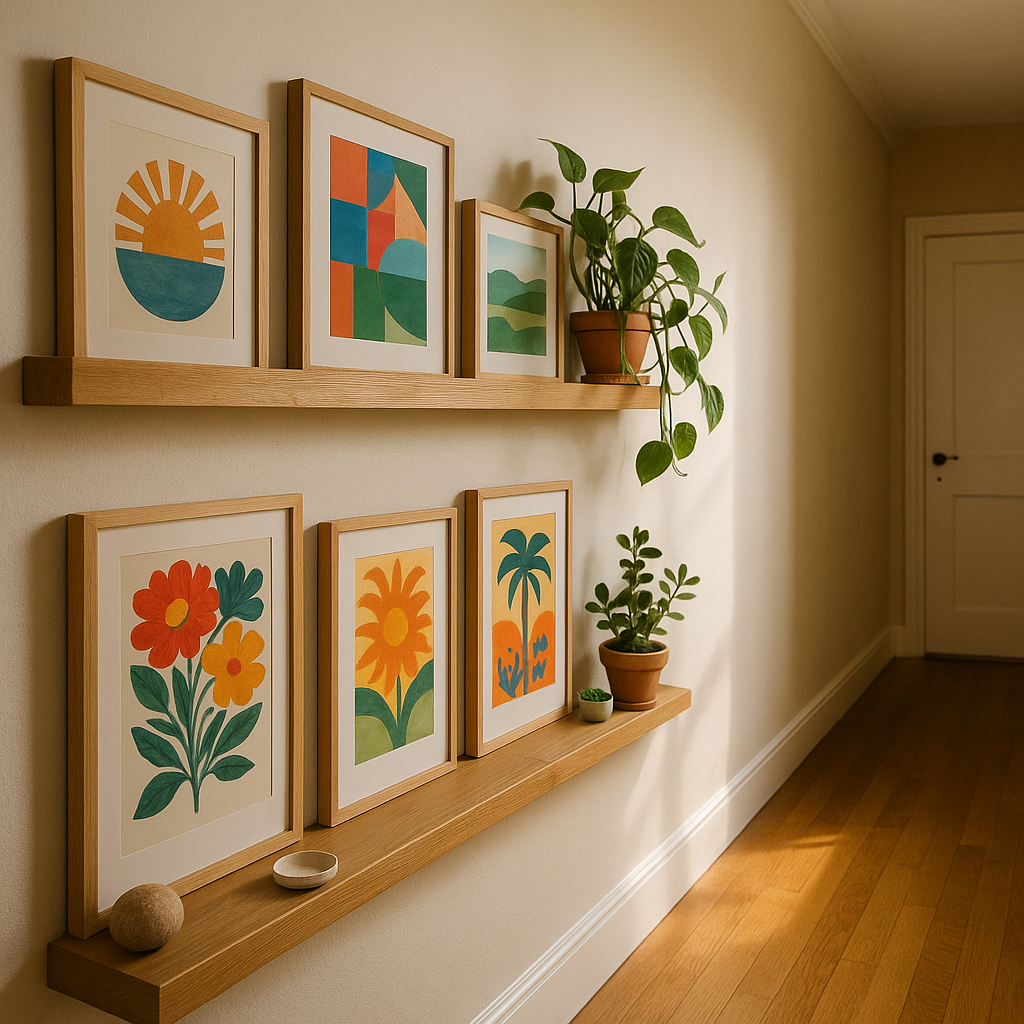
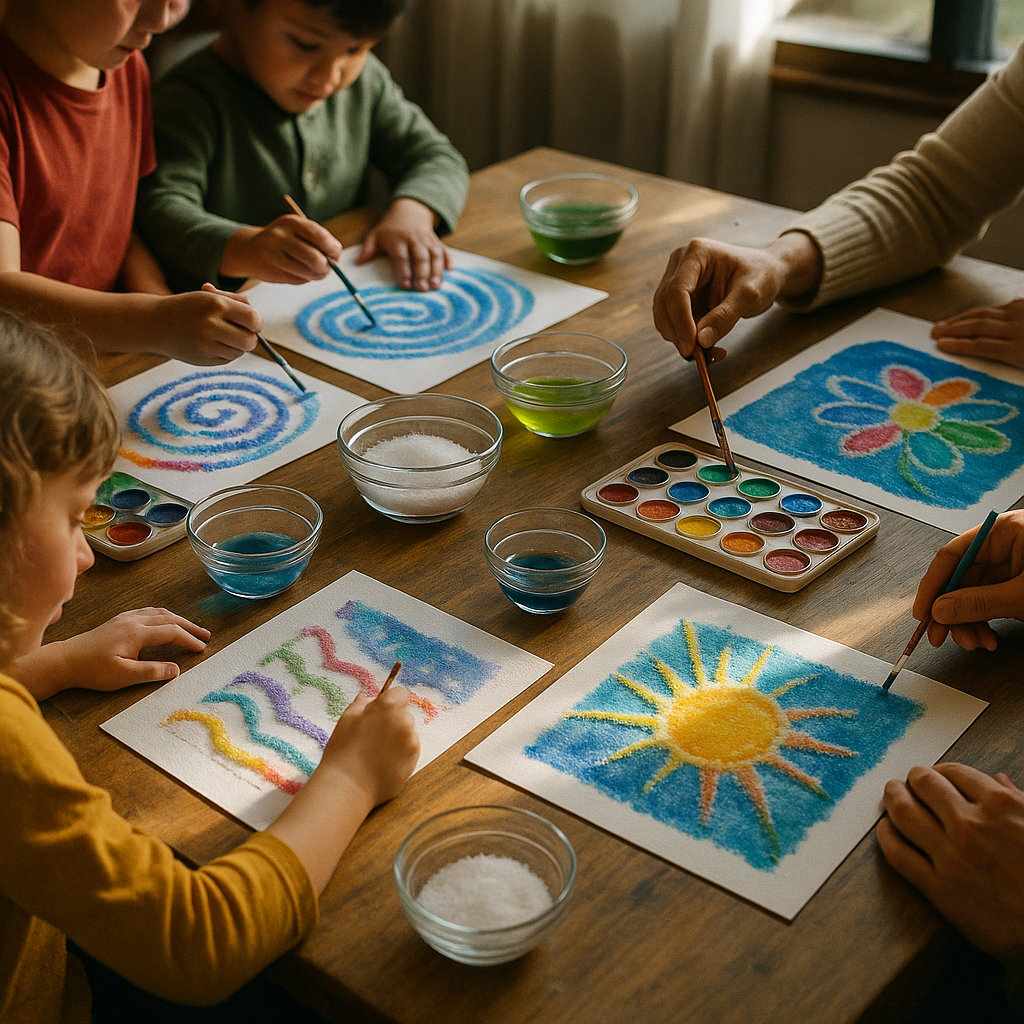
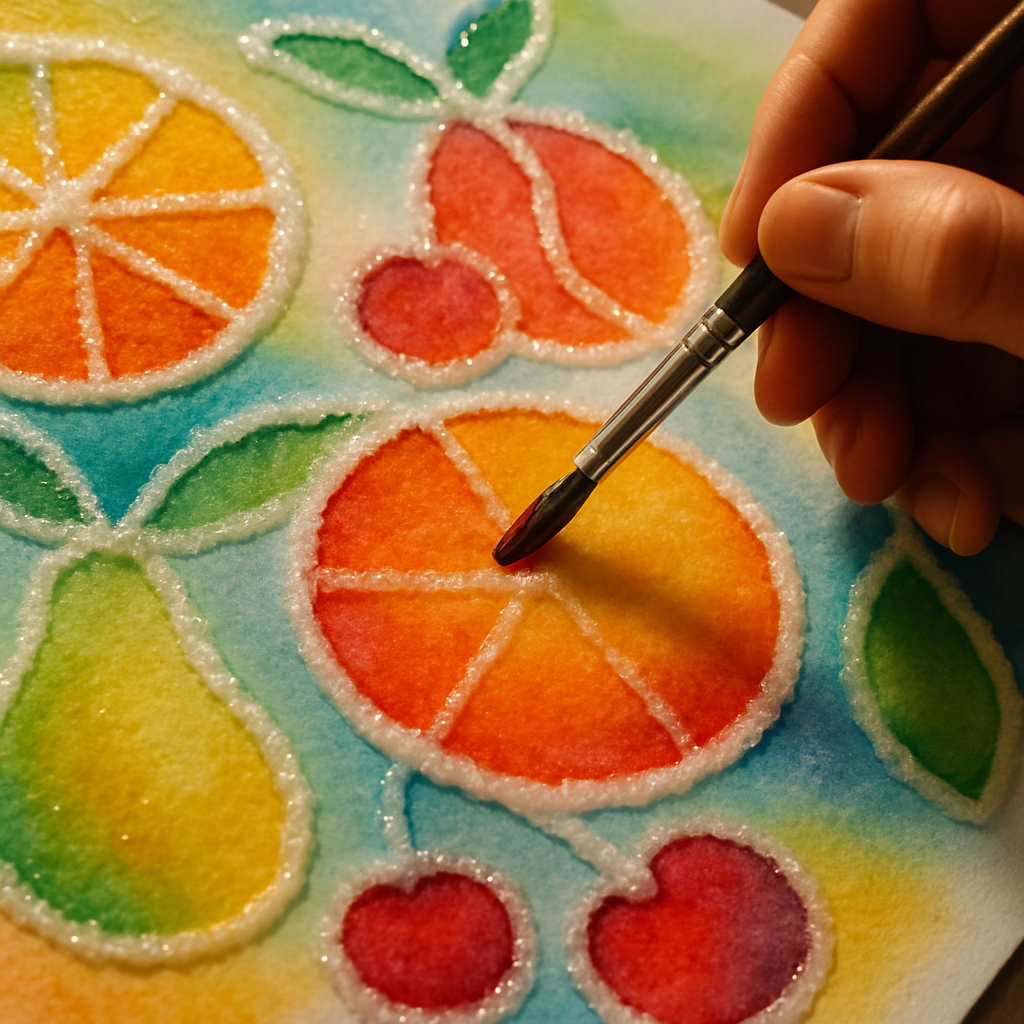
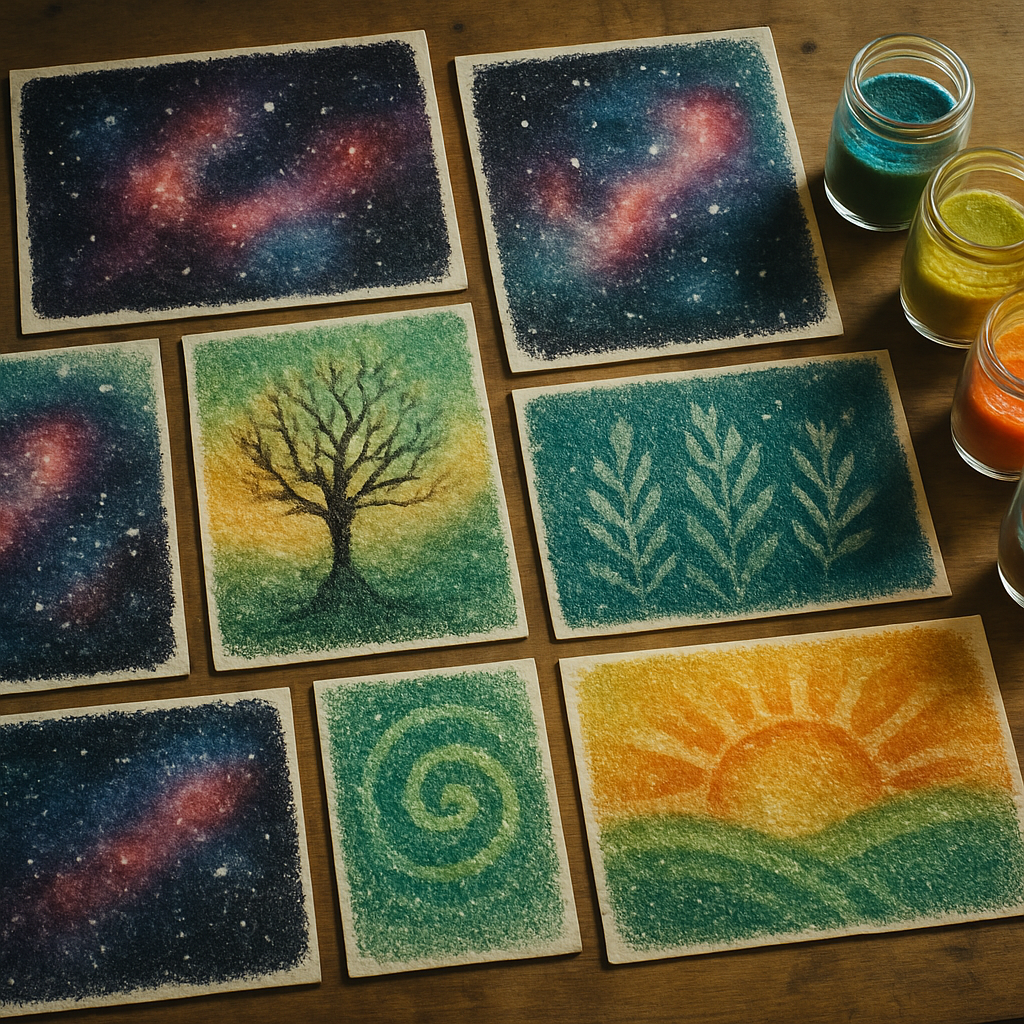
Bringing the look home with mini urban canvases
If you cannot paint outdoors, you can still capture the feel of these solutions at home. Try these ideas:
Urban texture art FAQs
What materials are best for urban texture art on outdoor walls?
For urban texture art on outdoor walls, use high quality exterior masonry paint or spray paint designed for outdoor use, plus paint markers for details. These stand up better to rain and sunlight. Always check you have permission for the wall, avoid sanding unknown surfaces, and wear basic protective gear like gloves and a mask if there is any dust or loose debris.
Can beginners try urban texture art without painting a huge mural?
Absolutely. Beginners can start small with sketchbooks, photography and mini canvases. Take photos of interesting walls and textures, then draw or paint over printed copies. At home, build textured backgrounds with collage and thick paint before adding simple shapes. When you feel confident, look for community projects or legal walls where you can contribute a small section rather than a full mural.
How do I find legal spaces for urban texture art in my city?
Begin by checking your local council website, arts organisations and community centres for mural schemes or legal walls. Many towns now encourage colourful public art in specific areas. You can also approach independent cafés, shops and community hubs to ask if they would like a bright, custom design on a wall or shutter, agreeing the design and surface in writing before you start.