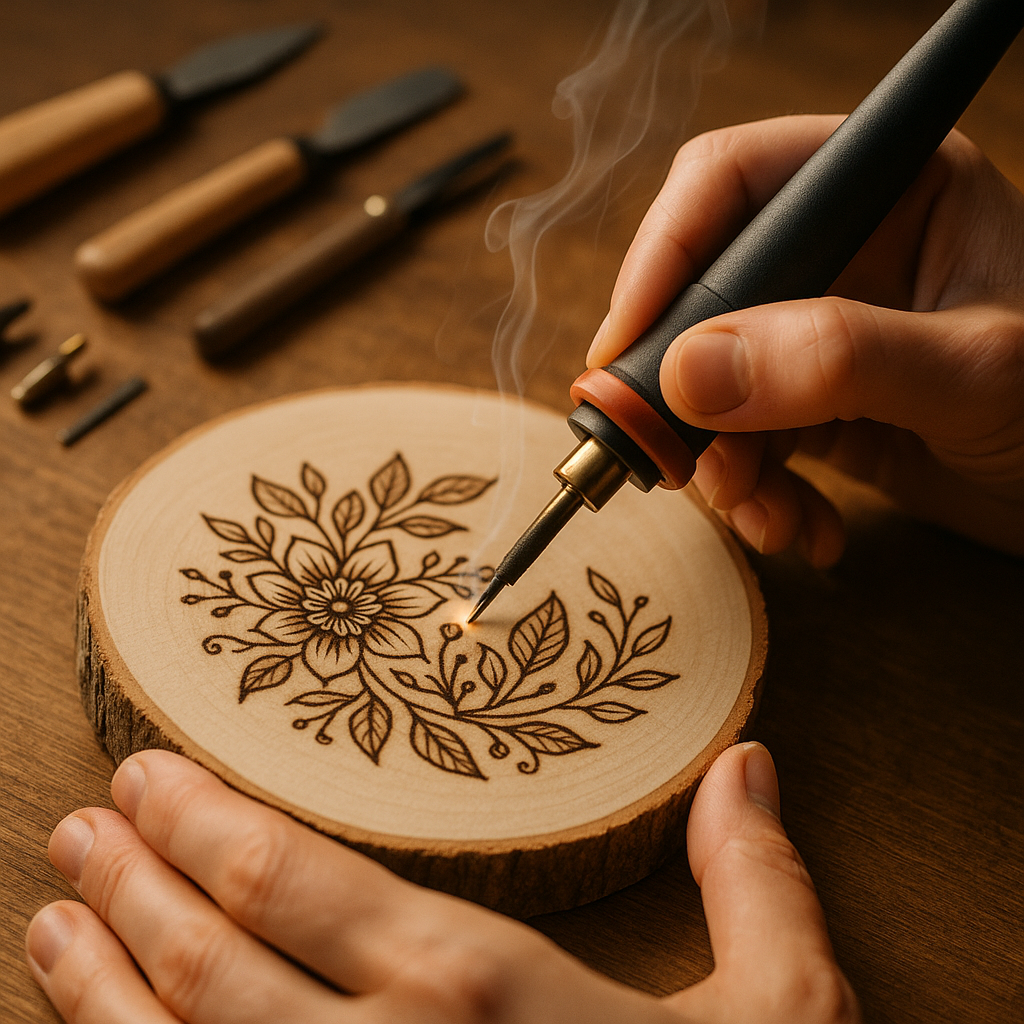
There is something almost magical about drawing with heat. Wood burning art, properly known as pyrography, has been quietly having a massive moment in craft circles across the UK, and honestly, it deserves every bit of the attention it is getting. It sits in this gorgeous sweet spot between drawing, painting, and sculpture, producing rich, warm tones that no ink or pigment can quite replicate. If you have ever wanted to try a new creative hobby that feels genuinely satisfying from the very first session, this might be the one.
The best part? You do not need a fancy studio or years of art school training. A basic pyrography kit, a piece of smooth wood, and a bit of patience are genuinely enough to get started. I picked up my first wood burner for around £15 from a craft shop in Manchester and was completely hooked within an hour. So let us get into it.
What Is Pyrography and Why Is It Trending Right Now?
Pyrography literally means “writing with fire” and it involves using a heated tool to scorch designs onto wood (and sometimes leather or other natural materials). The technique has been around for centuries, but it is enjoying a real revival thanks to the handmade goods movement and a growing appetite for earthy, tactile home décor.
According to the Craft Council, interest in traditional and heritage craft skills has risen sharply over the past few years, with more people seeking out slow, mindful making as a counterweight to screen-heavy daily life. Wood burning art fits that mood perfectly. It is deliberate, it is quiet (well, mostly), and it produces something you can actually hang on your wall or give as a gift.
On social platforms and craft markets from Edinburgh to Bristol, pyrography pieces are selling well. Personalised wooden signs, botanical illustrations burned onto birch ply, fruit and floral patterns on chopping boards, you name it. The aesthetic has this warm, organic quality that feels very 2026.
What Tools Do You Need to Start Wood Burning Art?
You do not need much, which is part of the joy. Here is a honest beginner’s kit list:
- A pyrography pen or wood burning unit: Entry-level pens start around £12 to £20. A variable temperature unit with interchangeable tips is better value long term, typically £30 to £60. Brands like Walnut Hollow and Jakar are well regarded in the UK.
- Wood blanks: Basswood and birch ply are the go-to choices for beginners. They have a tight, even grain that burns cleanly and takes detail beautifully. You can find craft blanks at Hobbycraft or order online in packs.
- Pencils and transfer paper: Sketch your design in pencil first or use graphite transfer paper to trace a printed image onto your wood surface.
- Fine sandpaper: Lightly sand your wood to a smooth finish before you start. This makes an enormous difference to the quality of your burn.
- A well-ventilated space: This is non-negotiable. Wood burning produces fine smoke, so open a window or work near an extractor fan. Some crafters use a small desktop air purifier too.
Beginner Techniques That Actually Work
Once your tool is warm (give it a couple of minutes to reach temperature), practise on a scrap piece of wood first. Always, always practise first. Here are the core techniques worth learning early:
The Flowing Line
Move your pen tip in smooth, continuous strokes, as if you are drawing with a fine pen. The slower you move, the darker the burn. Speed equals lightness, which means you have a huge amount of tonal control just by adjusting your pace. This is what makes wood burning art so expressive; it rewards a steady hand but also forgives imperfection in the most characterful way.
Shading with Circular Motion
For smooth gradients and filled areas, use small tight circles or figure-of-eight movements with the tip. Build up tone gradually rather than pressing hard. Think of it like watercolour layering, gentle passes that deepen with repetition.
Stippling for Texture
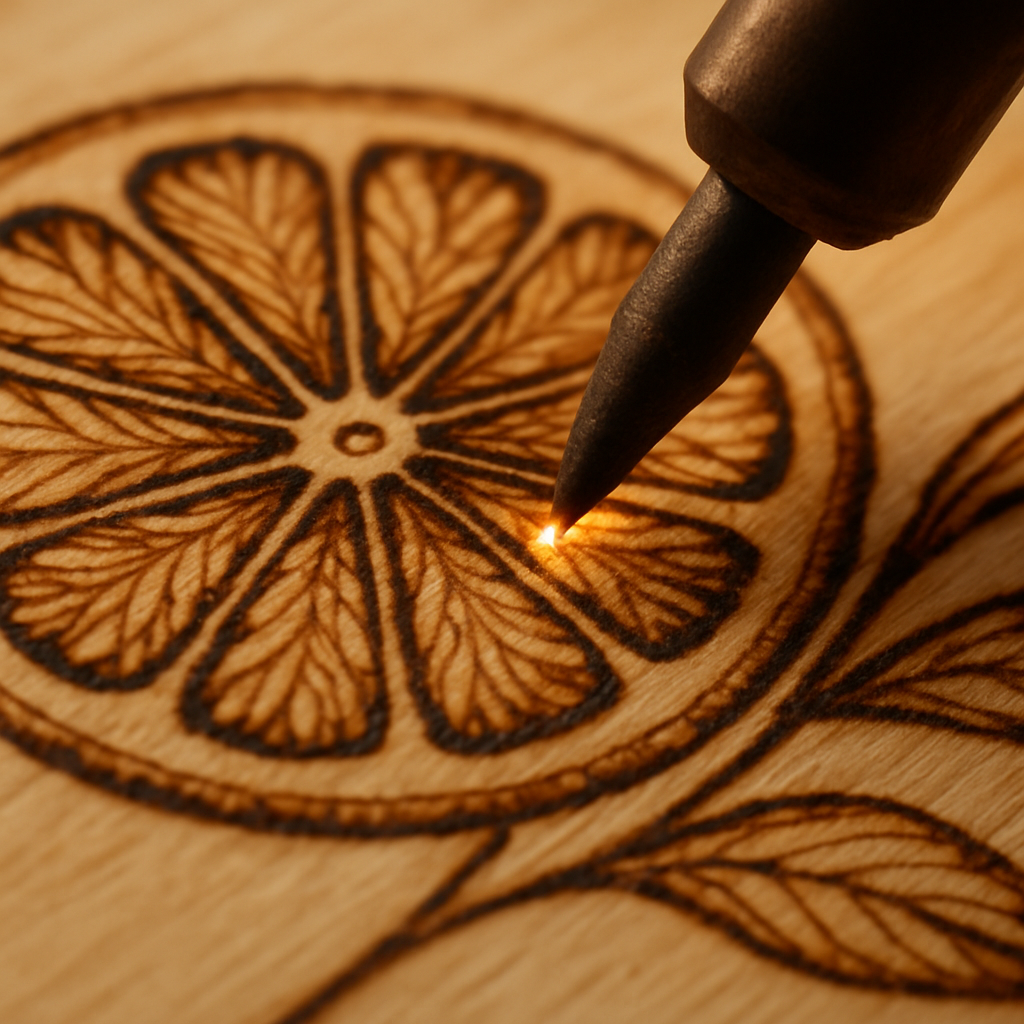
Dotting the tip repeatedly in varying densities creates gorgeous textural effects, brilliant for animal fur, tree bark, or the dimpled surface of a lemon. It is slow work but deeply satisfying.
Creative Ideas for Your First Pyrography Projects
If you are wondering what to actually make, here are some ideas that work beautifully for beginners and look brilliant as finished pieces:
- Fruit slices on a round birch disc: Citrus cross-sections, figs, kiwis. The graphic shapes are simple to burn and look absolutely stunning on a kitchen wall.
- Botanical leaf study: Pick a few leaves from the garden, trace the outlines, and focus on the veining detail. Even a simple fern sprig burned in varying tones looks incredibly elegant.
- Personalised gift tags and coasters: Monograms, small florals, or a recipient’s favourite animal. These are the kind of handmade gifts that people genuinely treasure.
- Abstract geometric patterns: Triangles, chevrons, concentric circles. Perfect for beginners who are still building confidence with freehand work.
One thing I love about the craft community around pyrography is how it connects with other making disciplines. Woodworkers who use cnc routers to cut intricate shapes from timber often combine that precision-cut base with hand-burned surface decoration, producing pieces that blend the best of machine accuracy and human artistry. It is a lovely example of how traditional and modern making can sit together.
How to Add Colour to Your Wood Burning Art
Pyrography does not have to stay monochrome. Once your burn is complete and cool, you can introduce colour in several beautiful ways. Watercolour washes sit wonderfully on burned wood, the charred lines acting as a natural resist that keeps colours crisp. Alcohol inks produce vivid, jewel-like results. Coloured pencils layered over a light burn give a more illustrative, storybook feel.
For a Colourfruit-approved approach, try burning a bold fruit or floral outline and then flooding it with loose, vibrant watercolour. The contrast between the warm brown burn marks and the bright pigment is genuinely gorgeous. Seal everything with a light coat of beeswax finish or matte varnish to protect the surface.
Keeping It Safe and Sustainable
A few practical notes worth keeping in mind. Always use sustainably sourced wood where possible; the FSC (Forest Stewardship Council) mark is a good thing to look for when buying your blanks. Never burn treated, painted, or MDF wood, as the fumes from those materials are genuinely harmful. Stick to natural, untreated timber.
Keep your tips clean by wiping them gently on a piece of fine sandpaper while warm. A clean tip burns more precisely and lasts longer. Store your pens in a case when cool, and never leave a hot tool unattended. Basic stuff, but worth saying.
Wood burning art is one of those crafts that grows with you. Your first piece will be tentative and your tenth will surprise you. That progression, that visible evidence of your own improvement, is one of the genuinely joyful things about learning any creative skill. Pick up a cheap starter kit, grab some birch ply, and see where the heat takes you.
Frequently Asked Questions
Is wood burning art suitable for absolute beginners with no art experience?
Absolutely. Wood burning art is considered one of the more accessible craft skills because you work slowly and build up marks gradually. Starting with simple geometric shapes or traced designs means you do not need any drawing ability to produce something you are proud of.
How much does it cost to get started with pyrography in the UK?
A basic beginner setup costs as little as £15 to £25, covering a simple pyrography pen and a small pack of wood blanks. A more versatile variable-temperature unit with multiple tips typically runs between £30 and £60, and is worth the investment if you plan to stick with it.
What is the best wood to use for wood burning art?
Basswood and birch ply are the most recommended for beginners due to their fine, even grain and light colouring, which shows the burned marks clearly. Avoid MDF, treated timber, or painted wood, as burning these releases toxic fumes.
Can you add colour to pyrography artwork?
Yes, and it looks fantastic. Watercolour washes, alcohol inks, and coloured pencils all work well over a completed burn. The scorched lines act as a natural boundary that keeps colour from bleeding, similar to using a resist technique in traditional watercolour painting.
Is pyrography safe to do indoors?
It can be done indoors provided you have good ventilation. Open a window, position a fan to direct smoke away from your face, or use a small desktop air purifier. Always use natural, untreated wood to keep the fumes as minimal as possible.
Leave a Reply