

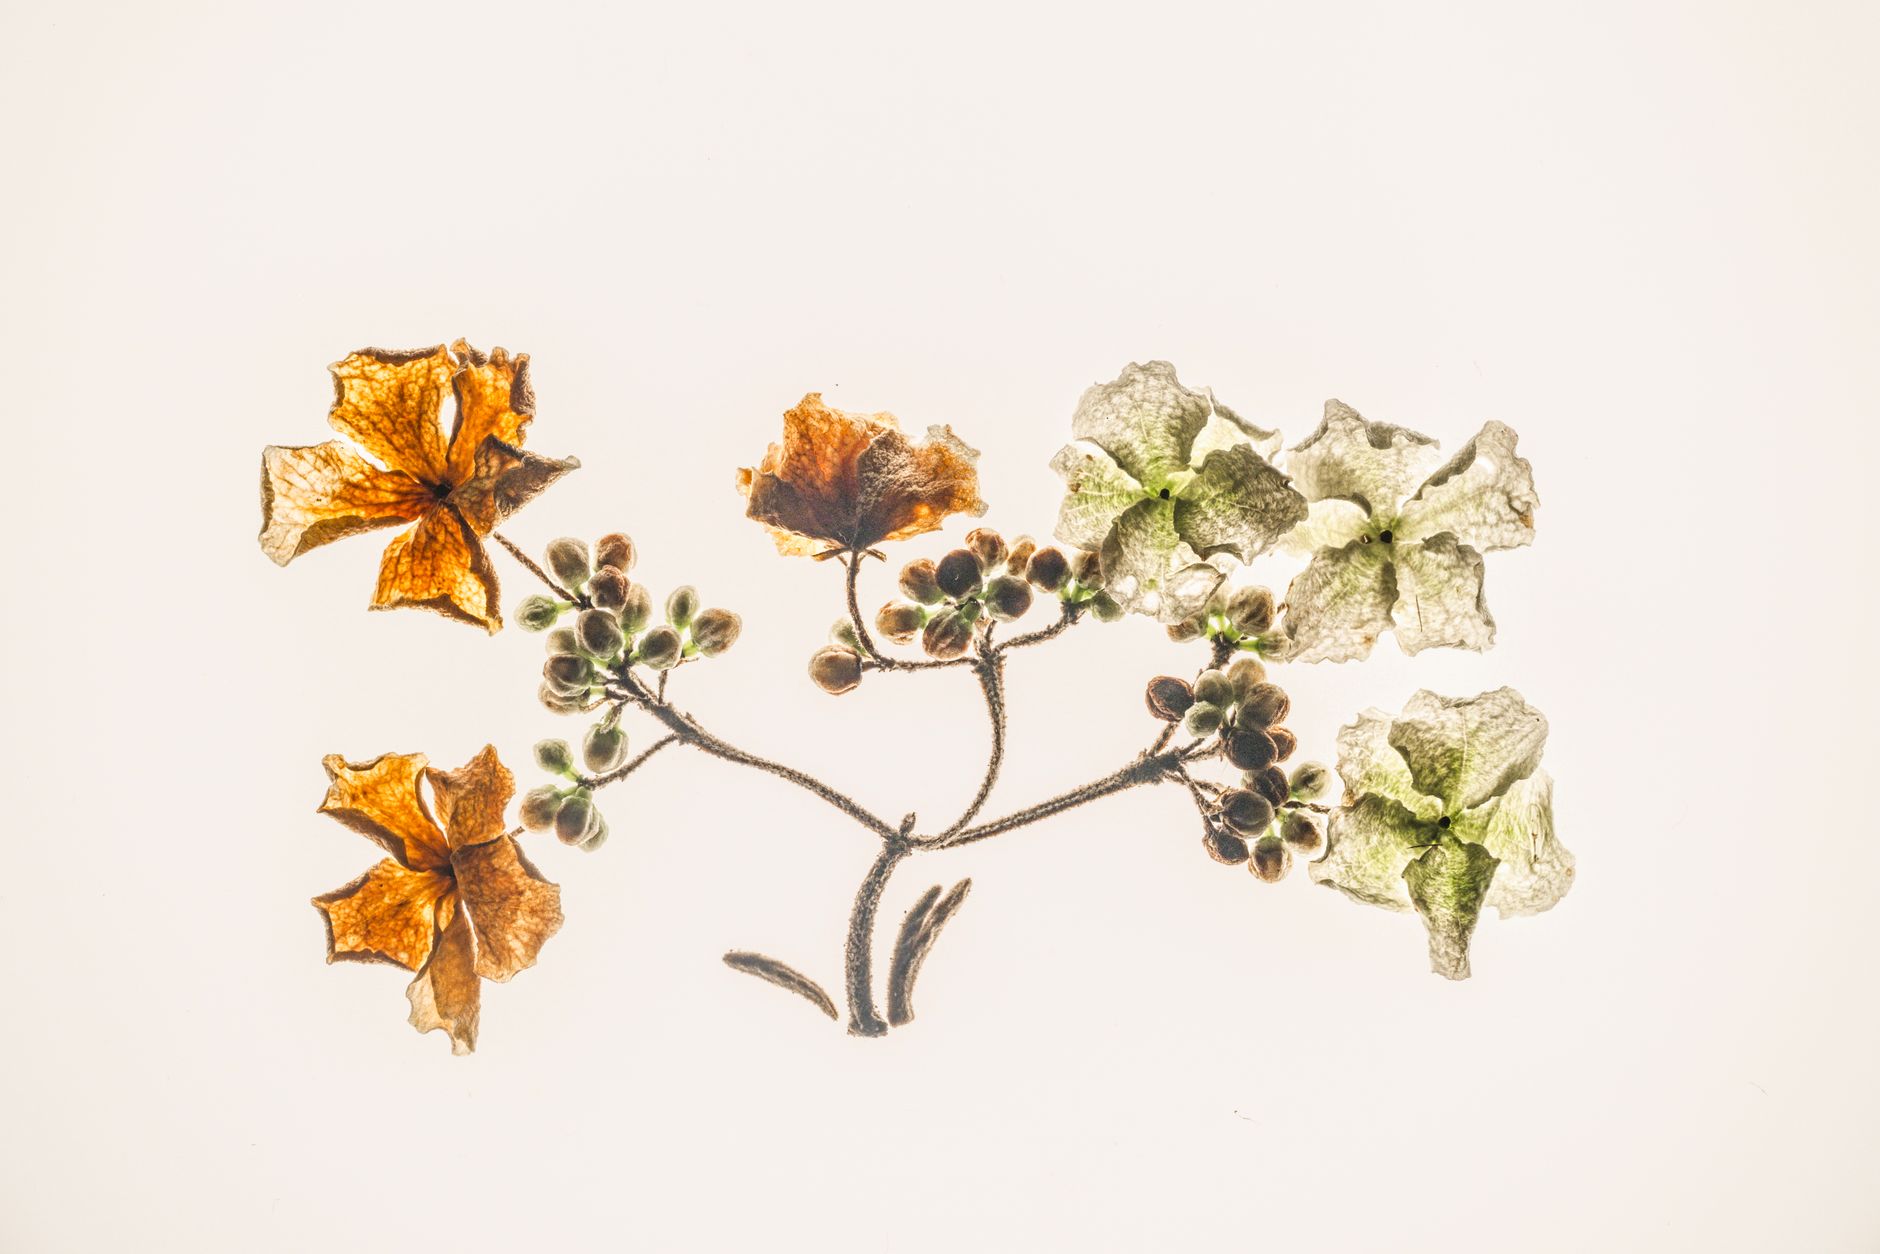
There is something genuinely magical about pulling a perfectly pressed sprig of cow parsley from between two sheets of blotting paper and watching it hold its shape like a tiny, delicate ghost of summer. I’ve been making pressed flower botanical collage UK pieces on and off for a few years now, and every single time I lay out a composition on the table, I feel like I’m arranging a little secret the countryside handed me. The colours, the textures, the way a dried petal catches the light, it’s proper art-making, even if it starts with a gentle wander down a public footpath.
Foraging wildflowers in the UK: what you actually need to know
Before you grab a basket and start stripping every hedgerow in sight, it’s worth getting the rules straight. Under the Wildlife and Countryside Act 1981, it is illegal to uproot any wild plant without the landowner’s permission. Picking flowers and foliage from the surface (leaves, petals, seed heads) is generally fine for personal use, but uprooting is a no. A handful of protected species, including bluebells, primroses and wild orchids, are fully protected, so picking any part of them is an offence. The gov.uk guidance on protected species is worth a quick read before your first foraging trip.
In practice, good foraging etiquette is straightforward. Only take what you genuinely need, never strip a plant bare, and focus on abundant species. Meadow buttercups, red clover, ox-eye daisies, cow parsley, plantain, yarrow, vetch, and dandelions are all cheerfully common across Britain from late spring through early autumn, and they press beautifully. Autumn brings brilliant foliage, oak, beech, silver birch, and hawthorn berries all make great additions to a collage. I tend to collect in small cotton pouches so the specimens don’t bruise against each other on the way home.
How to press flowers properly so they keep their colour
Speed is everything. The faster moisture leaves the plant, the better the colour retention. I place fresh specimens between two sheets of blotting paper (kitchen roll works in a pinch but blotting paper is kinder) and slot them into a heavy flower press or between the pages of a thick book weighted down with a stack of art dictionaries. The specimens need to stay there for two to four weeks, changing the blotting paper after the first few days if the material is particularly juicy.
Flat flowers press without any fuss, pansies, violas, clovers, and single-petalled daisies are ideal beginners’ choices. Anything bulky, like a full rose head, needs to be split in half or the petals separated individually before pressing. For foliage, ferns and grasses press flat naturally and add wonderful linear contrast to a composition. I press far more than I think I’ll need, because fragile petals will tear and you’ll always want options when you start composing.
Building your pressed flower botanical collage: composition and colour
This is where the real creative fun begins. Lay everything out on a piece of watercolour paper or heavy cartridge paper before committing to glue, botanical collage is very much a puzzle you rearrange until it sings. I aim for a fruit-toned palette: warm coral, saffron yellow, deep plum, dusty sage, and lime green. The good news is that British wildflowers naturally deliver this range. Ox-eye daisies go almost cream-white, red clover dries to a rich magenta-pink, buttercups hold a gorgeous golden yellow, and fern fronds land in every shade from olive to teal.
To push the colours even further, I like to layer paint and ink underneath and around the pressed specimens. A wash of watercolour across the paper before anything is glued down gives the whole piece depth and warmth, think how a mango-orange background makes a pressed white daisy absolutely glow. You can also add fine-liner detail after the flowers are fixed: tiny dots, loose outlines, or illustrated stems that connect specimens to each other. It’s a technique I first started playing with after experimenting with complementary colours in botanical illustration, and it transformed how lively the finished pieces felt.
For adhesive, I use PVA diluted slightly with water and applied with a fine brush to the back of each specimen. Press each piece down gently with a piece of clean baking parchment and hold it for 30 seconds. Tweezers are your best friend here, fingers are too clumsy for delicate petals. Once everything is dry (give it a good 24 hours), a thin coat of matte medium or decoupage glue over the whole surface seals everything and gives it a finished, cohesive look.
Colour strategies that make botanical collages really pop
The temptation with pressed flower work is to go gentle and earthy because the materials are natural. I’d argue against that completely. The pieces I love most are the ones that commit to brightness. Try a deep cobalt blue background with warm yellow buttercups and coral-toned clover. Or paint the paper in a citrus lime green wash and layer purple vetch and cream yarrow across it. The contrast is what gives a pressed flower botanical collage its personality.
If you want guidance on keeping bold palettes coherent rather than chaotic, the principles around using bright colours in illustrations without overwhelming the eye apply directly here: anchor bold background colours with neutral or white space, and let one or two specimens be the clear focal point rather than filling every centimetre of the paper.
Scale mixing also works really well. A large single leaf or fern frond as the anchor piece, medium flowers as supporting elements, and tiny seed heads or grass stems as detail fill creates a natural visual hierarchy. I sometimes add loose ink brushstrokes in gold or terracotta around the edges to frame the composition without boxing it in completely.
What to do with your finished pieces
Framed under glass, pressed flower collages look absolutely brilliant on a gallery wall. They sit beautifully alongside painted botanicals and prints, and the fact that each one contains actual material foraged from the British countryside gives them a warmth that a reproduction never quite matches. I’ve given them as gifts, sold a few at local craft markets, and kept a small collection pinned to the wall of my studio where they remind me of specific walks on specific days.
You can also use finished collage pieces as source material for other projects. Photographing a completed collage and turning it into a repeating surface pattern is a natural next step, and if that idea appeals, the guide to creating colourful pattern designs from botanical motifs will give you a solid starting point for taking the work further. The wildflowers you spent a morning foraging in a Hertfordshire meadow could end up as fabric, wrapping paper, or a print run. That’s a pretty brilliant chain of creativity for the price of a walk and a few sheets of blotting paper.
Leave a Reply