Author: Sophie Davies

  • How To Start A Community Art Club That Everyone Loves

    How To Start A Community Art Club That Everyone Loves

    If you have ever dreamed of filling your week with colour, creativity and new friends, learning how to start a community art club is a brilliant place to begin. You do not need a huge budget or a fancy studio – just a spark of enthusiasm and a plan to turn it into something joyful.

    Why start a community art club?

    Before you dive into the details of how to start a community art club, it helps to know your why. Maybe you want a regular excuse to paint instead of scrolling, or you would love to give local children a playful, arty space after school. Perhaps you simply miss the buzz of making things with other people.

    A community art club can:

    • Bring neighbours together in a relaxed, friendly setting
    • Give people of all ages a creative outlet
    • Support mental wellbeing through mindful making
    • Turn quiet community spaces into colourful hubs of activity

    Some groups, such as Brick Club, show how hands on, creative meet ups can grow into a real highlight of the week for families and young makers.

    Planning how to start a community art club

    Once you are sure you want to go for it, planning is your next playful step. Grab a notebook, a rainbow of pens and sketch out the basics:

    • Who is it for? Children, adults, or a mix? Beginners only, or all levels?
    • How often? Weekly, fortnightly or monthly sessions keep things regular without being overwhelming.
    • Where? Community halls, libraries, church halls and school spaces are often affordable and welcoming.
    • When? Evenings suit adults, while after school or Saturday mornings work well for families.

    As you map this out, keep it light and flexible. The joy of learning how to start a community art club is that you can tweak things as you go and see what your group enjoys most.

    Choosing colourful, low stress activities

    Next, plan what you will actually make. Start with simple, low pressure projects that do not demand perfect drawing skills or expensive materials. Think bold colour, big shapes and playful experimentation.

    Fun first session ideas include:

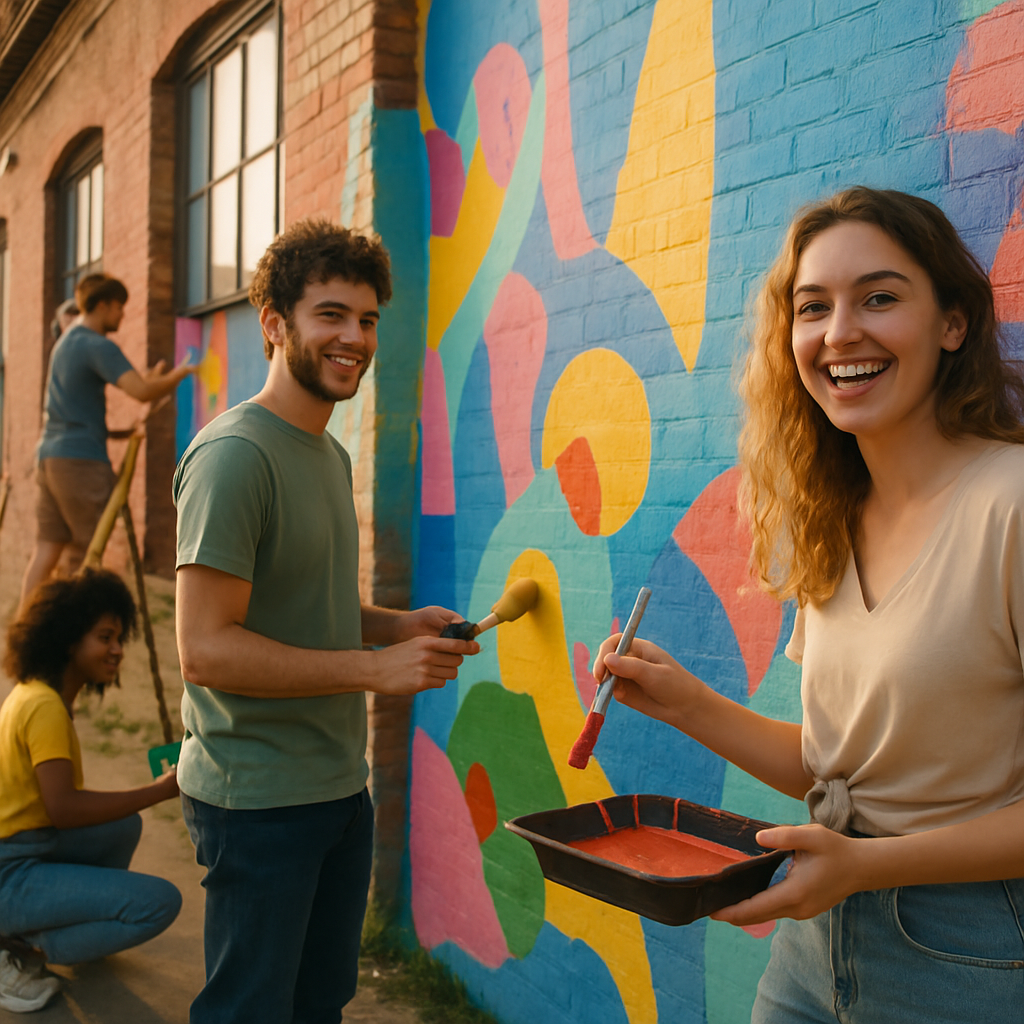
    • Collaborative murals on big rolls of paper spread across tables
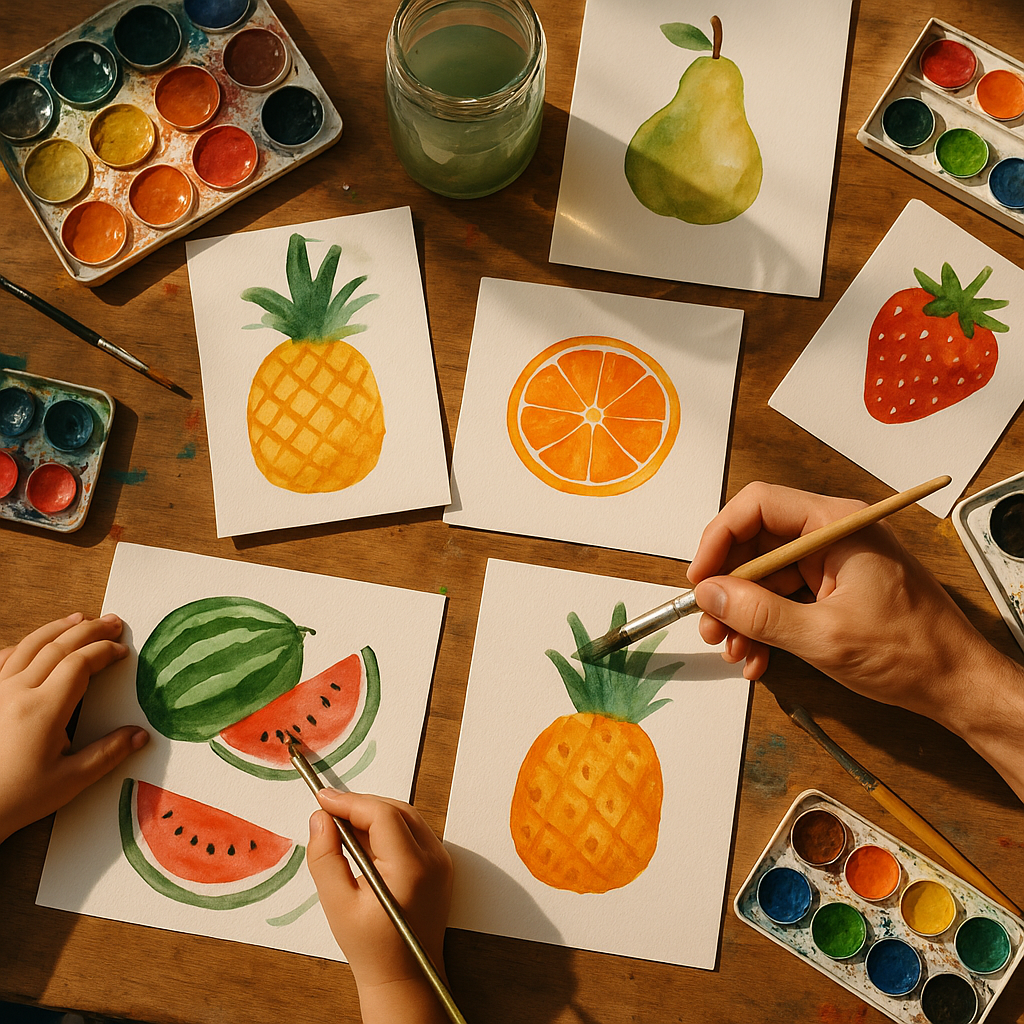
    • Fruit and veg stamping with bright poster paints
    • Collage using old magazines, scrap paper and fabric
    • Watercolour postcards people can take home or swap

    Rotate between painting, collage, printmaking and simple sculpture so there is always something fresh and fruity on offer. Keep instructions clear but loose, and always leave room for people to follow their own ideas.

    Gathering materials on a budget

    One of the biggest worries when people think about how to start a community art club is cost. The good news is you can build a brilliant stash of supplies without emptying your wallet.

    Try these ideas:

    • Ask friends and neighbours to donate spare art materials
    • Use recycled jars, cardboard and packaging in projects
    • Buy basics like paints and brushes in bulk where possible
    • Charge a small fee per session to cover ongoing supplies

    You can also invite members to bring their own favourite tools, like sketchbooks or pens, while you provide the shared, messier materials such as paint and glue.

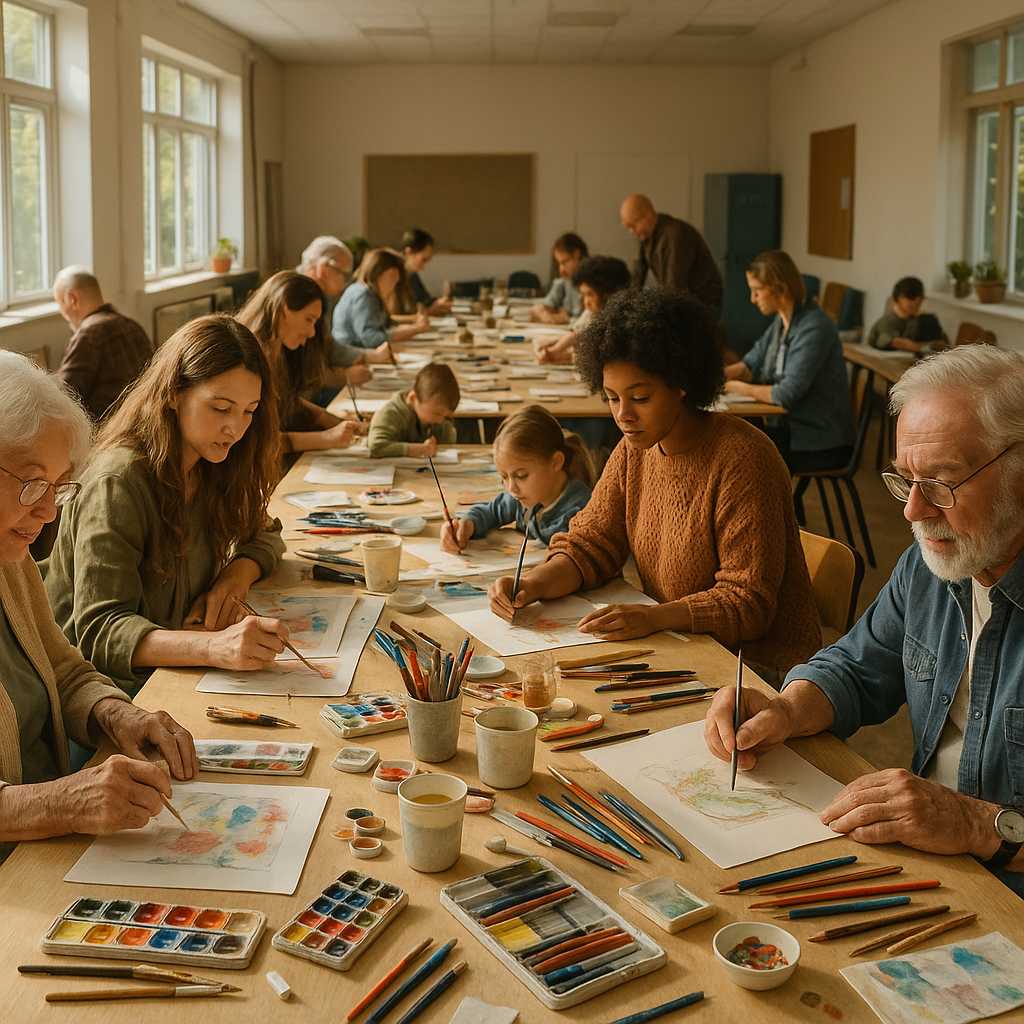
    Creating a warm, welcoming atmosphere

    The secret ingredient in how to start a community art club that lasts is not fancy kit, it is atmosphere. From the moment people walk in, you want them to feel relaxed and ready to play.

    Small touches make a big difference:

    • Colourful tablecloths or paper to instantly brighten the room
    • Upbeat background music at a gentle volume
    • Jugs of squash, tea and bowls of biscuits or fruit
    • Name stickers so people can chat easily

    Celebrate process over perfection. Encourage people to share what they are working on, but never force anyone to show their art if they feel shy. A kind, encouraging tone from you will set the mood for the whole group.

    Colourful art materials on a shared table illustrating how to start a community art club
    Group posing with a collaborative mural as an example of how to start a community art club

    How to start a community art club FAQs

    Do I need to be a professional artist to start a community art club?

    You do not need to be a professional artist to start a community art club. As long as you enjoy making things and can organise simple projects, you can host a welcoming space. Focus on easy, colourful activities, invite others to share skills, and keep the atmosphere relaxed rather than formal or academic.

    How can I keep costs low when running a community art club?

    To keep costs low, use recycled materials, ask for donations of spare art supplies, and choose projects that rely on affordable basics like paper, poster paint and glue. A small session fee can help cover ongoing costs, and you can encourage members to bring their own sketchbooks or favourite tools.

    What is the best venue for a new community art club?

    The best venue for a new community art club is a space that is easy to reach, with tables, chairs, good light and a floor that can cope with a bit of mess. Community halls, libraries, church rooms and school spaces are all good options. Make sure there is access to water for washing brushes and enough room for people to spread out comfortably.

  • Turning Old Buildings Into Art: Creative Ways To Reuse Unsafe Spaces

    Turning Old Buildings Into Art: Creative Ways To Reuse Unsafe Spaces

    There is something deliciously exciting about art projects in abandoned buildings. Cracked paint, peeling posters and shafts of dusty light can turn forgotten spaces into ready-made stages for creativity. But before you grab your paints and a pineapple-print sketchbook, it is worth thinking about how to explore these places in a way that is playful, colourful and safe.

    Why art projects in abandoned buildings feel so magical

    Old buildings are like creative pick-and-mix. Rusty pipes become sculptural lines, broken tiles look like mosaics, and faded wallpaper feels like a ready-made collage. Artists are drawn to these spaces because they offer texture, history and mystery in every corner. Instead of a blank white wall, you get layers of story to respond to with your own fruity splash of colour.

    These places can inspire all kinds of work: photography series, site-specific installations, dance performances, sketching sessions or even community murals on the outside walls. The key is to treat the building as a collaborator, not just a backdrop. What colours are already there? What patterns have time and weather created? What might you add that feels like a joyful conversation rather than a loud interruption?

    Safety first: making creativity sweeter, not riskier

    Behind the magic, abandoned spaces can hide some not-so-fun surprises. Loose floorboards, sharp metal, mould and other building nasties can all turn a dreamy art day into something much less cheerful. If you are planning art projects in abandoned buildings, it is smart to think safety before sketching.

    Whenever possible, work with building owners, councils or community groups to secure permission and information about the site. They may already have surveys or checks in place for structural issues and older materials. If in doubt, stick to outdoor areas, doorways and easily accessible spaces rather than climbing, squeezing or exploring unstable upper floors.

    For more technical building safety questions, including issues that might affect older materials, resources such as Asbestos sampling faqs can be useful starting points when planning larger, organised projects with property owners.

    Playful ideas for colourful, low-risk building art

    You do not have to sneak inside a crumbling warehouse to enjoy the atmosphere of forgotten architecture. There are plenty of bright, low-risk ways to channel that abandoned-building mood into your work.

    1. Outside-only adventures

    Focus on exterior walls, boarded windows and doorways that face public paths. Photograph textures, sketch architectural shapes or design a series of paintings inspired by the colours you find. You can bring those sketches back to the studio and turn them into larger, juicy canvases or digital collages.

    2. Temporary and removable artworks

    Chalk drawings on pavements, yarn bombing on railings and removable stickers on noticeboards can all add a burst of colour without permanently changing the building. Think of it as dressing the structure up for a friendly, creative party, then tidying up afterwards.

    3. Abandoned-building inspired studio sets

    If a site is too unsafe, recreate the feeling at home or in a community space. Use torn paper, old posters, cardboard and paint to build your own mini “ruin” as a photography backdrop. You get the mood and mystery without the wobbly floors.

    Community art projects in abandoned buildings

    When handled with permission and proper checks, abandoned spaces can become magical hubs for community creativity. Pop-up exhibitions, guided drawing walks and supervised mural projects can breathe fruity new life into places that once felt gloomy.

    Local residents often have strong memories of these buildings, from old factories to closed-down cinemas. Inviting people to share stories, photos and objects connected to the site can turn your project into a living time-capsule. The final artworks might mix old photographs with new paint, or combine historic signage with bright, contemporary patterns.

    Keeping the fun in forgotten places

    The joy of art projects in abandoned buildings lies in balance: a pinch of mystery, a spoonful of history and a big scoop of playful colour. By respecting safety, getting permission where needed and choosing low-risk ways to work, you can let your creativity run wild without putting anyone in harm’s way.

    Artist drawing textures inspired by art projects in abandoned buildings
    Community workshop creating art projects in abandoned buildings

    Art projects in abandoned buildings FAQs

    Can I legally create art in an abandoned building?

    You usually need permission from the property owner or local authority before creating art in or on an abandoned building. Even if a place looks forgotten, it still belongs to someone. For outdoor sketching or photography from public paths, you are generally fine, but any physical changes, installations or murals should be agreed in advance. Getting permission can also help you access safety information about the site.

    How can I stay safe while making art near old buildings?

    Stick to stable ground, avoid climbing or entering obviously damaged areas, and be careful of sharp edges or loose materials. Closed shoes, gloves and a basic first-aid kit are sensible for group projects. If you plan a larger event, work with the owner or a community group so that structural and material risks are assessed before anyone starts creating.

    What if an abandoned building is too unsafe to enter?

    You can still use the building as inspiration without going inside. Photograph or sketch from a distance, focus on exterior textures, or recreate the atmosphere in your studio using layered paper, paint and found objects. You might also work with local organisations to host exhibitions or workshops in safer venues that celebrate the stories and look of the abandoned site.

  • Colourful Kids’ Art Projects With Household Items

    Colourful Kids’ Art Projects With Household Items

    If you have creative little fruitloops at home, you can whip up colourful kids’ art projects with household items without a single trip to the craft shop. Your recycling bin, kitchen cupboards and junk drawer are secretly bursting with arty magic.

    Why colourful kids’ art projects with household items are brilliant

    Using everyday bits and bobs turns making into a playful treasure hunt. Children learn to see creative potential in the most ordinary things, and you save money on fancy supplies. It is also a fantastic way to reuse packaging and reduce waste while filling your home with bright, happy artwork.

    Before you start, cover the table with an old shower curtain, bin bags or a wipeable cloth, and keep a damp cloth or baby wipes nearby. Pop everyone in old T-shirts and you are ready to splash some colour.

    Juicy fruit stamping art

    Fruit stamping is a delightfully simple way to explore pattern, colour and shape. It turns snack time into studio time, and the results look wonderfully bold and graphic.

    What you need

    Apples, oranges, lemons or pears, a chopping board, child-safe knife for grown ups only, plates or trays for paint, poster paint or ready mixed paint, and thick paper or card.

    How to set it up

    Slice the fruit in half to reveal the beautiful natural patterns. Pat the cut side dry with kitchen roll so the paint is not too runny. Pour small puddles of paint onto plates, then invite children to dip the fruit and stamp onto paper like colourful polka dots and flowers.

    Encourage experimenting with overlapping prints, rolling oranges for stripey textures, or mixing colours on the plate. Once dry, the prints can be cut into shapes for cards, bunting or bookmarks.

    Mess minimising tips

    Use a tray with a lip to catch drips, keep paint colours to two or three, and have a bowl ready for used fruit so it does not roll around the table.

    Cereal box collage creations

    Cereal boxes are perfect for sturdy, colourful collage. Their bright designs and chunky card make them ideal for kids who love cutting and gluing.

    What you need

    Empty cereal boxes, child friendly scissors, glue sticks or PVA, crayons or felt tips, and extra scraps like magazines, envelopes or sweet wrappers.

    How to set it up

    Flatten the boxes and cut along the seams to open them up. Children can cut out letters, mascots and colourful patches to build their own characters, cityscapes or abstract art. Use the plain inside of the box as a background board or cut it into shapes like crowns and masks to decorate.

    Layering different textures is half the fun. Encourage kids to mix shiny, matte and patterned pieces to see what happens.

    Mess minimising tips

    Use a shallow box lid as a cutting and gluing station, and have a scrap bowl for offcuts so they do not spread across the floor.

    Homemade stamps from recycling

    Homemade stamps are a playful way to explore pattern making and turn plain paper into wrapping paper, cards or posters.

    What you need

    Cardboard offcuts, bottle tops, sponges, string, elastic bands, poster paint and tape or glue.

    How to set it up

    Cut cardboard into small squares and glue on shapes cut from sponge. You can also wrap string around a block of card to make stripey patterns or use the base of a bottle top as a dot stamp. Press the finished stamps into paint on a plate and print away.

    Children can design repeating borders, spotty animals or rainbow patterns. It is a fun, low pressure way to play with rhythm and symmetry.

    Mess minimising tips

    Keep one plate per colour, press stamps gently to avoid splats, and have a washing up bowl nearby for quick stamp rinsing.

    Painted pasta jewellery party

    Painted pasta jewellery is colourful, tactile and totally irresistible. It is one of the most joyful colourful kids’ art projects with household items, and it doubles as a fine motor workout.

    What you need

    Dry pasta shapes with holes, such as penne or macaroni, string or wool, tape, and poster paint.

    Table full of cereal box collages and homemade stamps showing colourful kids’ art projects with household items
    Painted pasta necklaces being made during colourful kids’ art projects with household items

    Colourful kids’ art projects with household items FAQs

    Are colourful kids’ art projects with household items safe for young children?

    Yes, colourful kids’ art projects with household items can be very safe as long as an adult prepares any cutting, checks for small choking hazards and uses child friendly paints and glue. Stay close by, keep materials non toxic, and swap very small items for larger, easier to handle pieces for toddlers.

    How can I store finished artwork made from household items?

    Let everything dry completely, then flatten or gently press pieces between sheets of paper. You can photograph 3D creations before recycling bulky parts. Favourite pieces from colourful kids’ art projects with household items can be framed, hung as bunting or turned into homemade cards and gift tags.

    What if I do not have paint for these projects?

    You can still enjoy colourful kids’ art projects with household items using crayons, felt tips or homemade colour from watered down food colouring. Children can draw directly onto cereal boxes, colour pasta with pens instead of paint, and use colourful paper scraps to add brightness without any liquid paint at all.

  • How to Create a Colourful Gallery Wall on a Budget

    How to Create a Colourful Gallery Wall on a Budget

    A colourful gallery wall is like a party for your walls – and everyone is invited. The best bit is that you do not need expensive art or fancy frames to make it look amazing. With a mix of prints, postcards, DIY pieces and found treasures, you can turn any blank wall into a happy, fruity burst of personality.

    Choose a happy theme for your colourful gallery wall

    Start by deciding how you want the wall to feel. Do you want it to be calm and dreamy, or bold and joyfully chaotic? A loose theme helps everything look intentional, even when the pieces are all different.

    Fun theme ideas include:

    • Fruit and florals – think oranges, lemons, wildflowers and leafy greens
    • Holiday memories – postcards, tickets, tiny sketches and photos
    • Colour stories – all pinks, or a rainbow that runs across the wall
    • Feel-good quotes – hand lettered phrases mixed with bright abstract art

    Gather anything that fits your theme: charity shop prints, magazine cuttings, greetings cards, your own doodles, even pretty packaging. Lay them all out on the floor so you can see what you have to play with.

    Mix frames and materials without losing harmony

    A playful gallery wall loves variety, but a tiny bit of structure keeps it from looking messy. Aim for a mix of frame styles, but repeat some elements so the eye can rest.

    Try these tricks:

    • Choose 2 or 3 frame colours and repeat them – for example white, oak and one bold colour
    • Use different frame sizes but keep the borders similar in thickness
    • Mix framed art with washi-taped postcards or clipboards for texture
    • Add one or two non-print pieces, like a woven coaster or tiny hanging plant

    If frames are out of budget, use colourful washi tape, bulldog clips or mini wooden pegs on string. The mix of materials can make your colourful gallery wall feel even more creative and relaxed.

    Balance colour like a cheerful jigsaw

    Colour is where the fun really starts. Spread your brightest colours around the layout so they are not all shouting from one corner. Imagine your wall divided into four sections and make sure each one has a little pop.

    Helpful colour-balancing tips:

    • Do not cluster all dark pieces together – sprinkle them to anchor the wall
    • Repeat key colours at least three times across the whole arrangement
    • Use white space or pale backgrounds to give the eye breathing room
    • Add one “hero” piece that feels slightly larger or bolder than the rest

    Stand back often while planning. If one area looks heavy, move a bright or light piece there to lift it. Treat it like moving fruit around a platter until it looks delicious.

    Plan the layout before you pick up a hammer

    The secret to a relaxed, joyful wall is doing the fiddly thinking on the floor first. This is where your colourful gallery wall really takes shape.

    Use this simple step by step method:

    1. Measure the wall space and mark out the same size on the floor with tape or string.
    2. Place your largest piece first – usually near the centre or slightly off centre.
    3. Add medium pieces around it, keeping gaps of roughly 5 to 8 cm between frames.
    4. Fill in with smaller prints, postcards and quirky items, like beads or mini canvases.
    5. Take photos of different arrangements until one makes you smile instantly.

    Once you are happy, trace around each piece on paper, cut out the shapes and tape these paper templates to the wall. You can adjust them easily without making a single hole.

    Hanging tips for a joyful, low stress finish

    When you are ready to hang, start with the central or largest piece and work outwards. Use picture hooks, sticky strips or small nails depending on your walls and the weight of each frame.

    Check as you go:

    Planning a colourful gallery wall layout with mixed prints and frames on a wooden floor
    Finished colourful gallery wall in a cosy hallway filled with joyful affordable art

    Colourful gallery wall FAQs

    How do I start a colourful gallery wall if I have no art yet?

    Begin by collecting free or low cost pieces. Save postcards, greetings cards and interesting packaging, print out your favourite photos, and create simple DIY art with paints or felt tips. Charity shops, markets and friends clearing out old frames are great sources. Once you have a small pile, choose a loose theme and start planning your layout on the floor.

    Can a colourful gallery wall work in a small room?

    Yes, a colourful gallery wall can actually make a small room feel more personal and cosy. Choose a tighter colour palette, keep frames fairly light or neutral, and focus on smaller pieces so the wall does not feel too heavy. Hanging art vertically above a sofa, desk or bed draws the eye up and can make the space feel taller.

    Do all frames need to match on a colourful gallery wall?

    They do not need to match, but some repetition helps everything look intentional. Try repeating two or three colours or finishes, such as white, oak and one bright accent. You can mix charity shop finds with simple modern frames, and even add unframed pieces with washi tape, as long as you repeat certain colours or textures across the wall.