
There is something genuinely magical about laying a slice of kiwi on a piece of coated fabric, leaving it in the sun for ten minutes, and coming back to find a crisp, Prussian-blue print waiting for you. Cyanotype printing at home is one of those crafts that sounds complicated but is actually beginner-friendly, cheap, and outrageously satisfying. I had my first go on a bright Saturday in May and immediately wanted to coat every piece of cotton I could find.
The process dates back to 1842, when astronomer and scientist Sir John Herschel discovered that two iron salts, when mixed and exposed to UV light, produce that now-iconic deep blue. It was originally used to reproduce botanical illustrations, and the photographer Anna Atkins used it to document British algae in breathtaking detail. That botanical lineage makes it a perfect match for fruit and plant silhouettes, which is exactly what we are going to explore here.
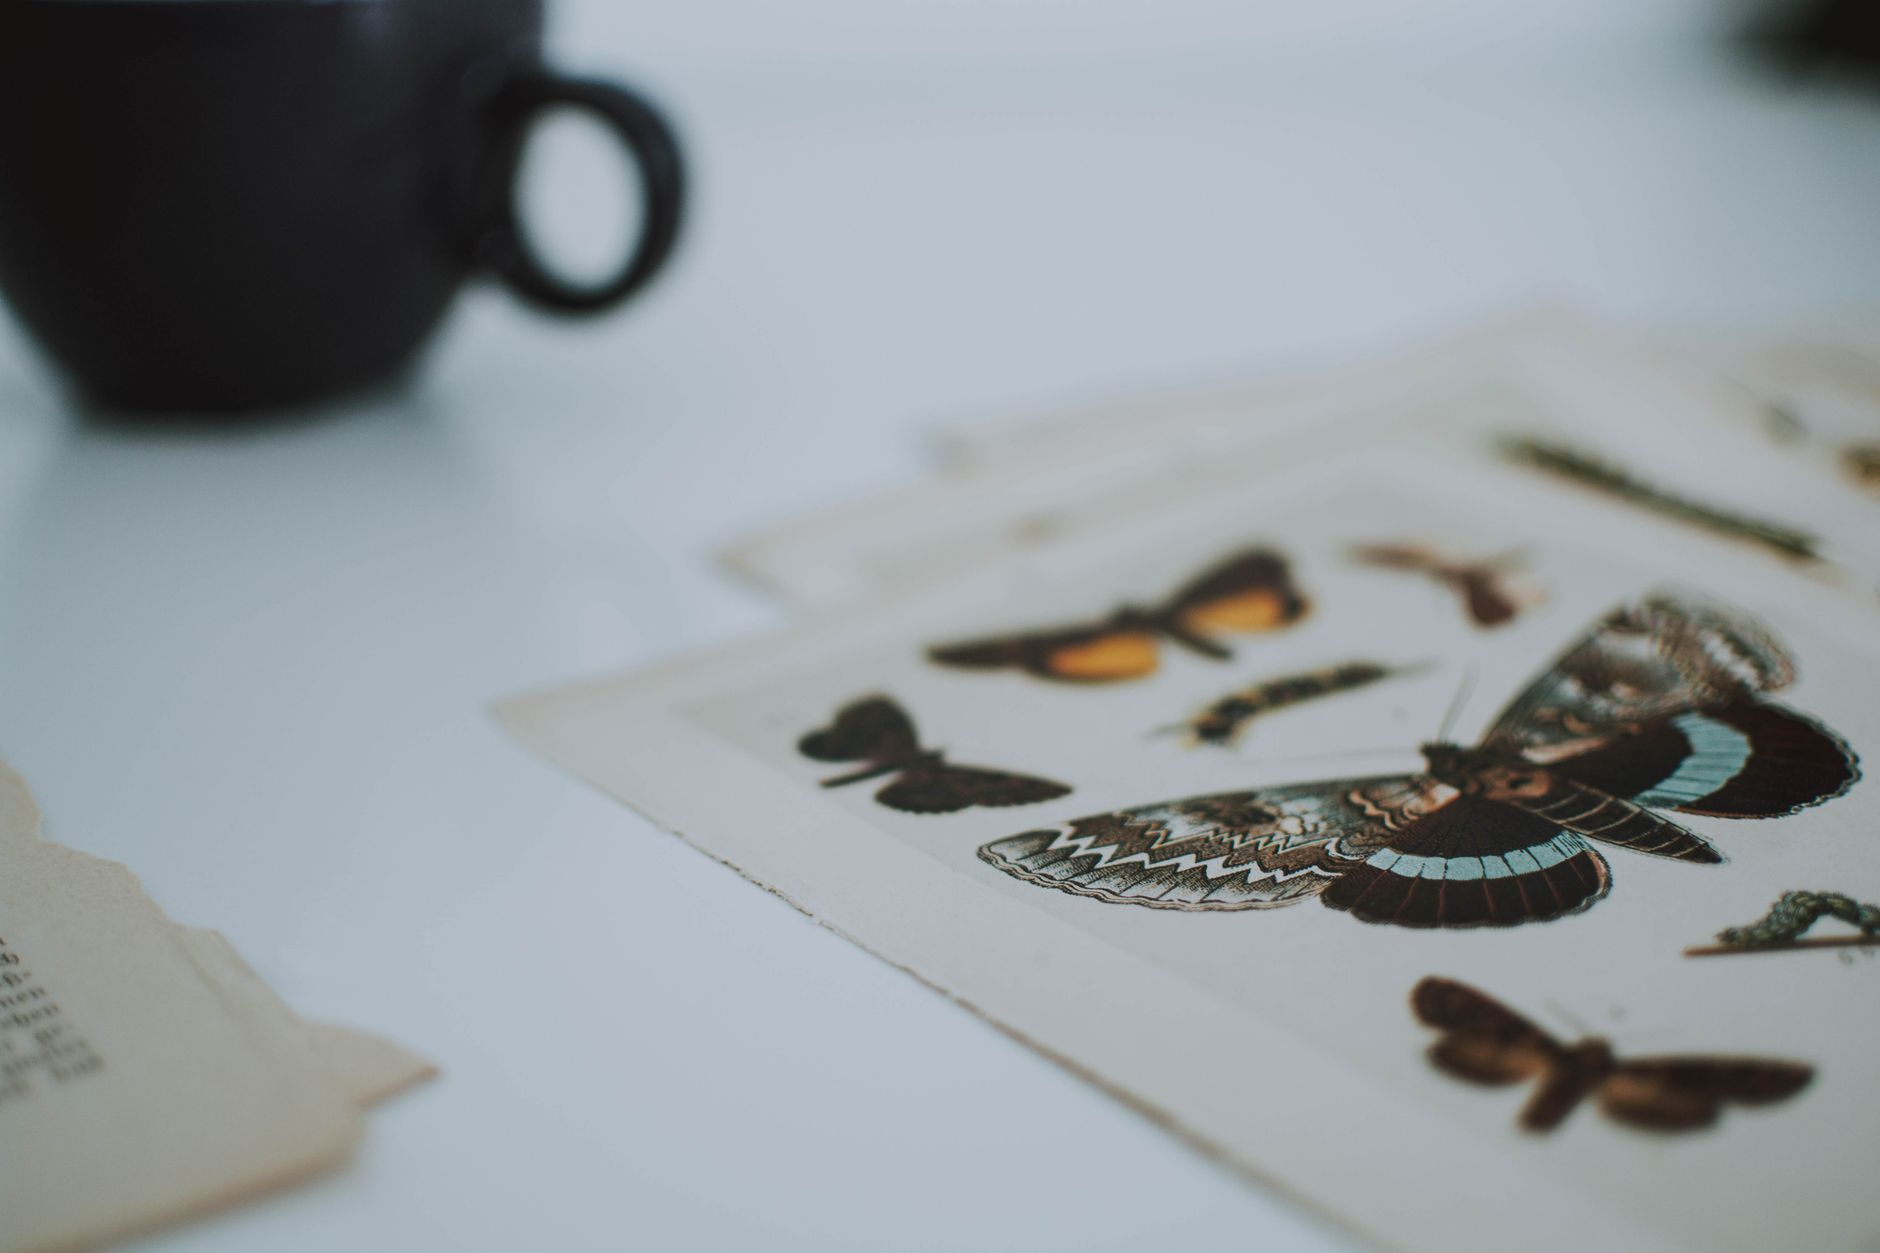
What you need to get started with cyanotype printing
The core chemistry is a two-part solution: ferric ammonium citrate and potassium ferricyanide. Mixed together and applied to your surface, they are light-sensitive. UV light (sunlight works perfectly) triggers a reaction that leaves the exposed areas a rich blue, while anything that blocked the light stays white. Simple, beautiful, and entirely non-toxic when used as directed.
Rather than mixing the chemicals yourself from scratch, I’d strongly recommend buying a ready-to-mix kit if you are new to this. Sunprint kits are widely available in UK craft shops including Hobbycraft, and you can also find quality sets from Winson Art and Jackson’s Art Supplies online. Prices start around £8 to £12 for a starter set that covers several A4 sheets or a small piece of fabric. If you want to coat your own cotton or linen, buy the solutions separately; a 100ml bottle of each will coat a surprising amount of material and costs under £20 in total.
Beyond the chemistry, your kit list is refreshingly short. You need:
- Watercolour paper (at least 200gsm), cotton fabric, or linen
- A foam brush or sponge for even coating
- A piece of glass or acrylic to press flat objects down firmly
- Fresh fruit, dried citrus slices, or botanical objects to use as resists
- A washing-up bowl and cold water for developing
- A dark room or blackout bag for coating and storing your prepared surfaces
That is genuinely all of it. No darkroom, no enlarger, no fixer chemicals. Just sun, water, and patience.
Choosing your fruit silhouettes
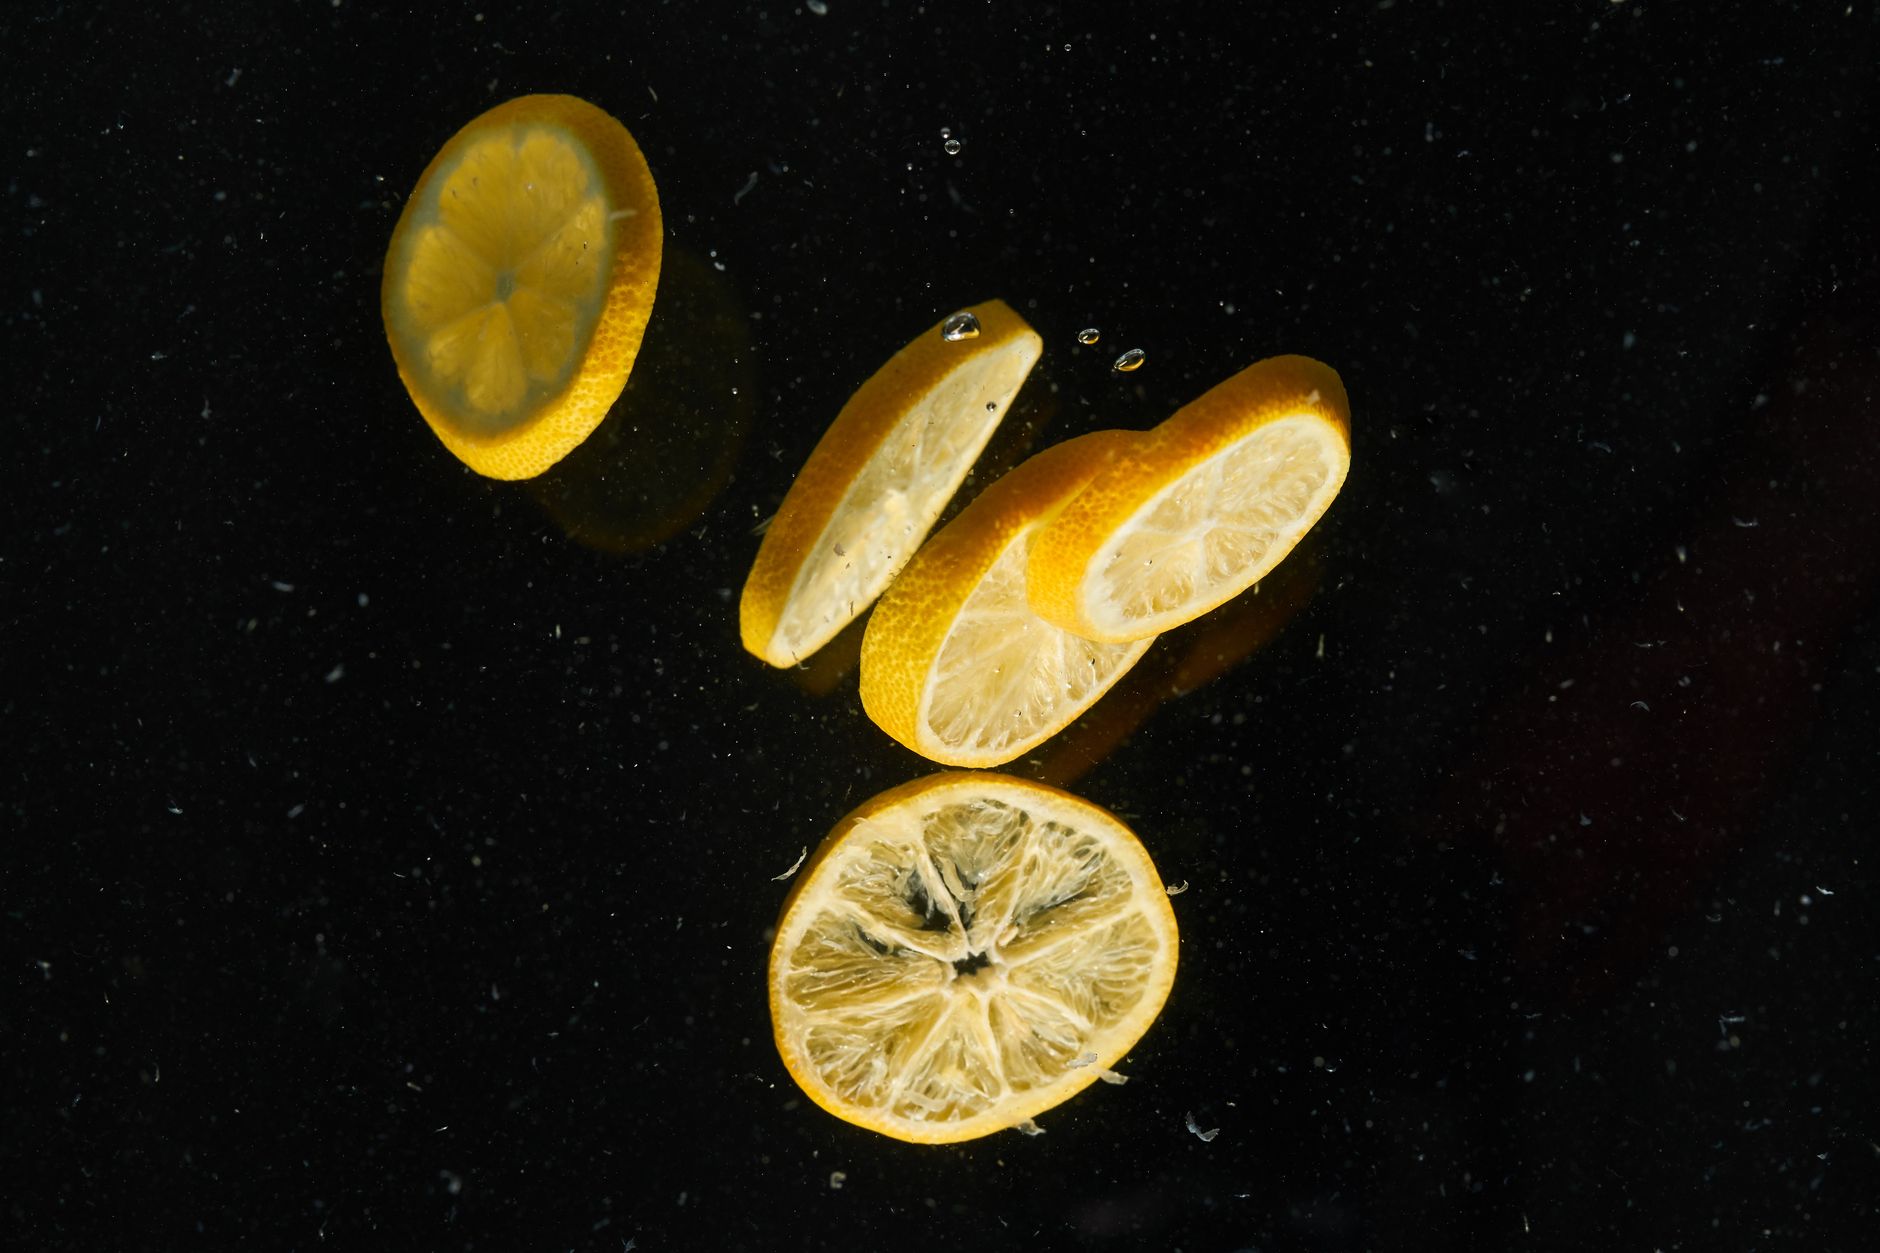
This is the genuinely fun part. Flat, dense objects produce the sharpest outlines, so your first experiments should lean towards cross-sections rather than whole fruit. A halved lemon pressed cut-side-down gives a spectacular burst of segments. Strawberry slices work brilliantly, as do figs, star fruit, and thin rounds of orange. Dried citrus wheels are my personal favourite because they are completely flat and you can prep them weeks in advance by leaving slices on a radiator or in a low oven at around 60°C for a few hours.
Feathers, pressed leaves, and seed heads layer beautifully alongside fruit, so don’t be shy about mixing botanical objects in one composition. If you enjoy the idea of working with natural plant materials in your printing practice, you might also love eco printing on fabric using British leaves and flowers, which uses a completely different chemistry but shares that same joyful connection to natural shapes.
How to coat and prepare your surface
Work in subdued light, ideally indoors away from windows, or at dusk. Mix your two solutions together in equal parts immediately before use. Using a foam brush, apply a thin, even coat to your paper or fabric. Too thick and the colour goes patchy; too thin and you lose the depth of blue. I find one smooth pass, then a light second pass in the opposite direction, hits the sweet spot.
Leave the coated surface to dry completely in the dark. On fabric this takes about 20 to 30 minutes in a warm room. Paper dries slightly faster. Once dry, store it face-down in a dark bag or folder until you are ready to expose. You can prepare several sheets the night before and work through them the next morning.
When to expose: working with British sunshine
This is where living in the UK requires a small dose of strategic thinking. We are not exactly short of overcast days, but the good news is that cyanotype does not need blazing heat; it needs UV light, which still comes through light cloud. Direct bright sun gives you an exposure time of around 5 to 15 minutes. On a hazy day, push that to 20 to 30 minutes. Deep cloud cover makes it tricky, but not impossible if you’re patient.
According to the Met Office, UV index values in the UK regularly reach 5 or above between April and September, particularly between 11:00 and 15:00. Those are your golden hours. I keep a cheap UV index app on my mobile and check it before I start coating. Any reading of 3 or above is workable; 5 and above and you will get crisp, saturated results.
Lay your dried, coated surface on a flat board outside. Arrange your fruit slices and botanical objects quickly, then press a sheet of glass or acrylic over the top to hold everything flat. Any gaps where light creeps underneath will show up as blue halos rather than clean white shapes, so the pressure matters. Walk away. Set a timer. When the exposed areas look a slightly bronze-green and the shadows look pale, you are done.
Developing your print
Slide the whole thing into a bowl of cold water. The image will look almost completely washed out at first, which is alarming the first time it happens. Don’t panic. Within a minute or two, the deep Prussian blue will begin to emerge, and the white areas will clear. Leave it in the water for two to three minutes, moving it gently, then lift it out and let it dry flat away from sunlight.
The colour deepens further as it oxidises over the next 24 hours. What looks like a mid-blue when wet will dry to a rich, almost indigo tone. If you want an even more saturated result, add a tiny splash of hydrogen peroxide to the developing water. A 3% solution from the chemist does the job perfectly.
On cotton and linen, the results are especially lovely. Rinse thoroughly and air dry, and your print will be washing-machine stable. I’ve made cushion covers, tea towels, and tote bags this way. If you want to explore more ways to put bold prints onto fabric, screenprinting colourful tote bags with fruit motifs is another route worth looking at once you’ve got the cyanotype bug.
Taking your prints further
Once you have the basic process down, the possibilities genuinely open up. Try layering two exposures on the same sheet for a ghost-image effect. Experiment with painting over dried prints using watercolour; the blue base makes yellows and oranges sing. You can also create photographic negatives printed on acetate from an inkjet printer and use those as your resist, turning hand-drawn fruit illustrations into repeatable cyanotype prints.
For framing, prints on watercolour paper look stunning simply mounted and framed behind UV-filtering glass to prevent fading. On fabric, you could turn a series of prints into a wall hanging or a quilt panel. The connection to the Victorian tradition of botanical art makes these pieces feel genuinely special, the kind of work you might keep rather than give away.
One practical tip I picked up from another maker: prep your coated sheets in batches the evening before a sunny forecast, and store them in a lightproof bag ready to go at a moment’s notice. British sunny spells can be short-lived, so having everything staged means you are not scrambling. It’s the same logic behind keeping your workshop kit tidy and organised; a bit of prep pays off massively when the moment arrives. I even keep a small kit bag ready alongside other hobby gear, though my studio storage is nowhere near as thought-out as the van storage solutions you see covered on sites like sourcesounds.com.
Cyanotype printing at home rewards curiosity. Each print is different, shaped by the angle of the light, the thickness of your coating, the particular flatness of that lemon slice. I’d encourage you to treat the first few attempts as experiments rather than finished pieces, take notes on your exposure times, and enjoy the slight unpredictability of working with real sunlight. The blues you get are unlike anything you can achieve with paint or dye, and there is something quietly joyful about a process that is powered entirely by the sun.