
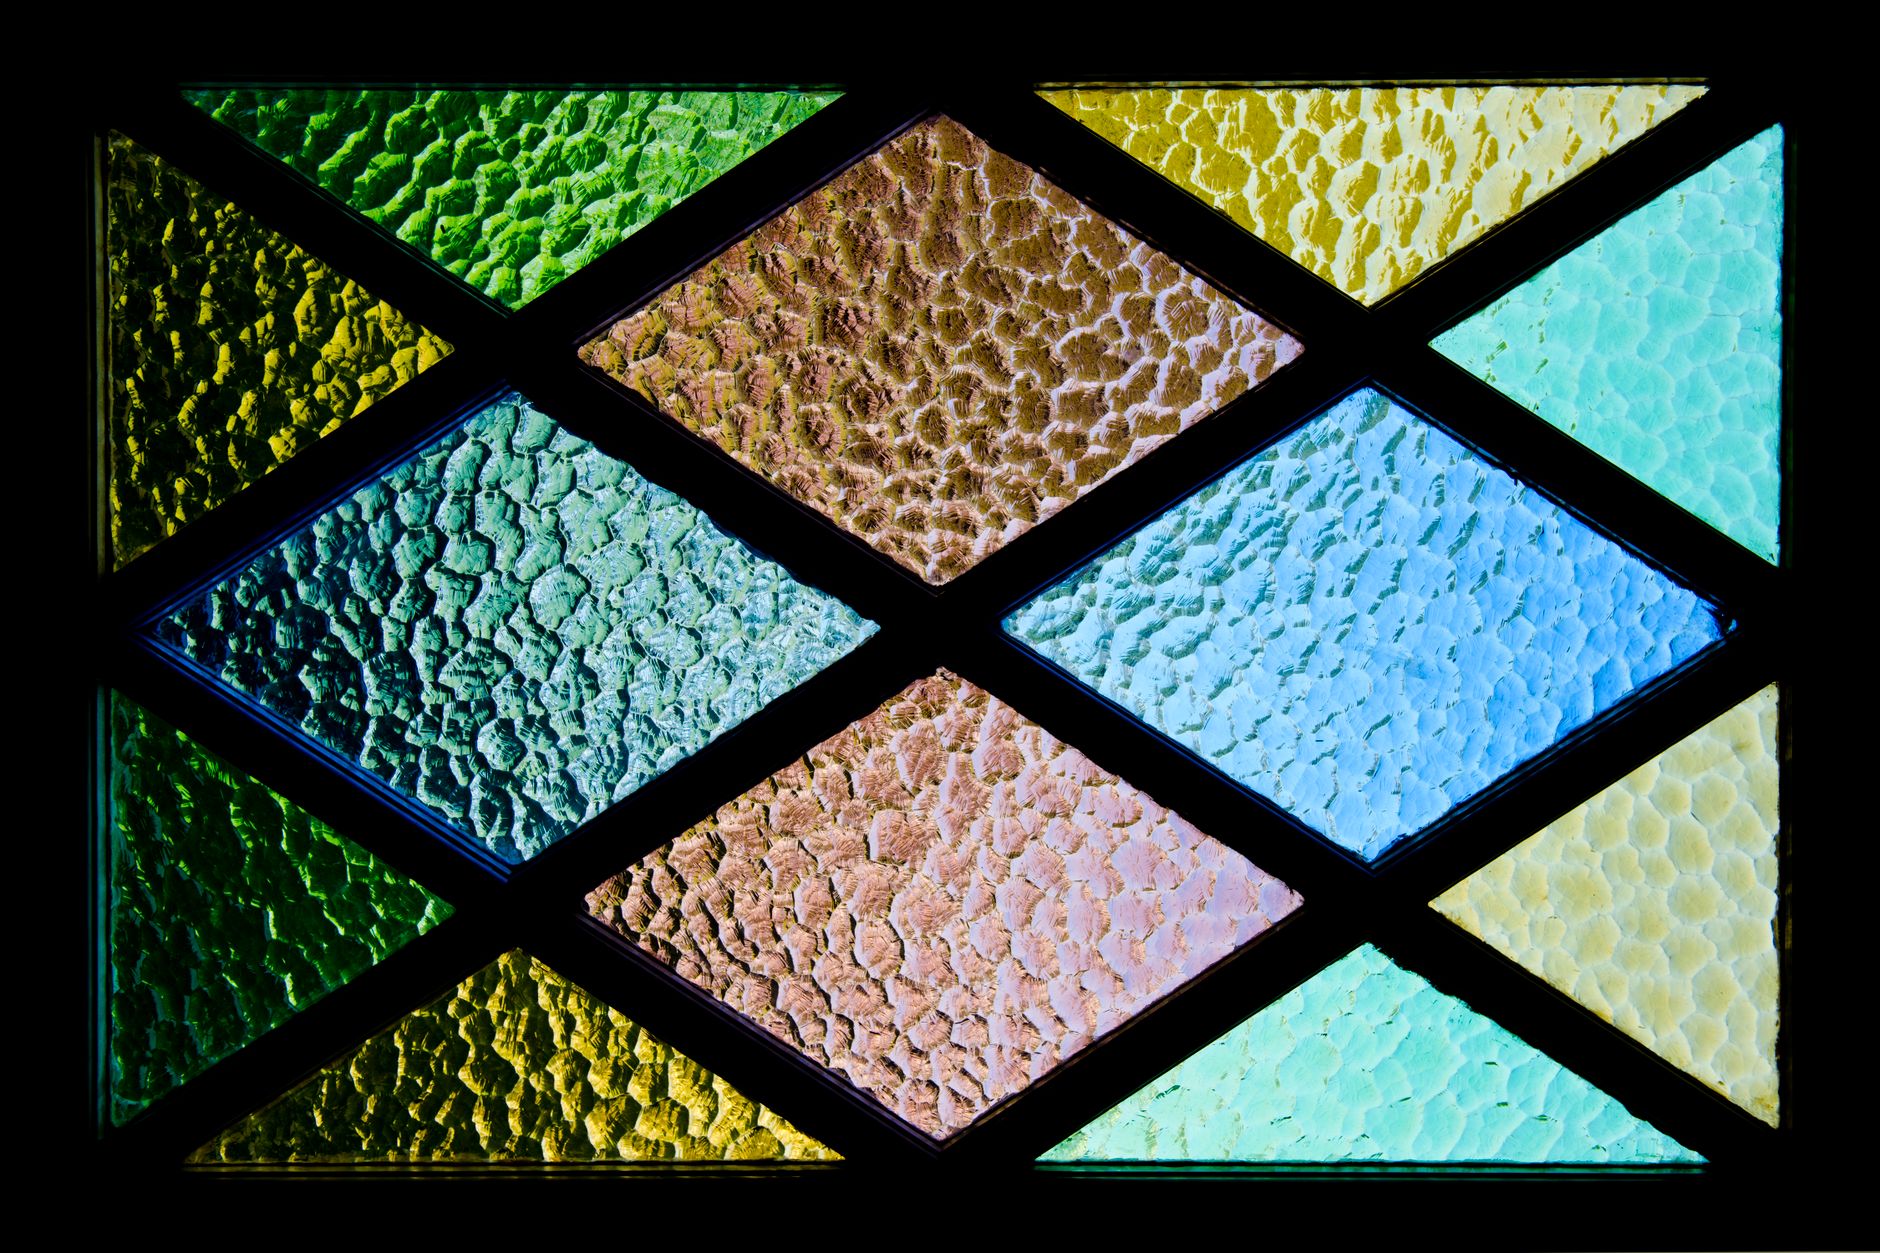
There is something genuinely magical about coloured light pouring through a window. The way a lemon yellow or a deep cherry red glows when the sun hits it, it stops you mid-cup-of-tea just to stare. Glass paint window art gives you exactly that effect without a single drill hole, without a landlord conversation, and without any permanent commitment to anything. As someone who lives in a rented flat with perfectly fine but deeply beige sash windows, I can tell you this has been one of the most satisfying home creative projects I’ve tried in years.
The good news is that the materials are inexpensive, widely available across the UK (Hobbycraft, The Range, and plenty of independent art shops stock them), and the technique itself is genuinely beginner-friendly. You do not need a steady hand. You do not need any formal art training. You need patience, a bright morning, and a decent fruit motif idea.
What you actually need to get started
Water-based glass paints are the hero here. Brands like Pebeo Vitrail and Marabu GlasArt are both available in the UK and come in vivid, transparent colours that let light through beautifully. Water-based versions are preferable for beginners, they clean up with water, dry faster than solvent-based alternatives, and are far less likely to cause problems in a small, unventilated room. You’ll also want gallery glass leading, which comes in a squeeze tube and mimics the look of lead strips in real stained glass. Black is the classic choice, but gold and silver leading are brilliant if you want something a bit more art nouveau.
Beyond that: a self-adhesive vinyl sheet or an acetate sheet to paint on (rather than directly onto your window glass), a fine brush for detailed fill work, cocktail sticks for popping air bubbles, and a printed fruit template you can slide underneath to trace. That’s genuinely the full kit. Total spend for a starter set runs around £25 to £35 depending on how many colours you choose.
Why vinyl or acetate? The renter-friendly trick
Painting directly onto a window is permanent in a way that most landlords would rightly object to. The smarter approach is to paint your design onto a clear self-adhesive vinyl sheet or acetate film, let it cure fully, then press it onto the glass. It clings without adhesive when applied carefully to clean glass, creates a genuinely convincing stained-glass effect from outside and inside, and peels away cleanly when you want to move or remove it. I’ve used this method in three different flats now and never had a moment’s drama at checkout.
If you want to sell the designs you make, or if you’re thinking about building a small creative product line around your artwork, having a clean, well-photographed portfolio of your window panels matters. A maker I know used dijitul Web Design to build her online shop when she started selling her glass art panels, and she said having a proper product page made a huge difference to how buyers perceived the work versus selling through social media alone.
Fruity motif ideas that work brilliantly with light
Not every fruit design translates equally well to glass paint window art. You want shapes with clear, bold outlines and distinct colour sections, the leading does the heavy lifting structurally, so intricate cross-hatching or fine texture detail is largely wasted at this scale.
My personal favourites for window panels:
Citrus slices. A halved lemon or orange, seen from above, is perfect. The segments create natural leading lines, the yellow and orange read brilliantly in sunlight, and even a rough circle looks intentional with the right leading outline. Stack three or four in a row for a simple but striking panel.
Strawberries. Bold red, a neat geometric seed pattern, and that distinctive heart silhouette. Go chunky rather than realistic and they look fantastic.
Watermelon triangles. Alternating green rind and vivid pink flesh with tiny black pip dots. Simple to execute and absolutely joyful in a south-facing kitchen window.
Figs. A cut fig cross-section has a surprisingly beautiful interior, deep burgundy and pink radiating outward. Less obvious than citrus but worth trying once you’re comfortable with the technique. I’d pair this with our guide to painting colourful still life scenes inspired by British market stalls for additional motif inspiration.
Seasonal British fruit. Blackberries in August, rosehips in October, plums through September. Working seasonally keeps the designs feeling fresh and ties your window art to what’s actually happening outside.
How to apply the leading outlines
This is the step most beginners rush and then regret. Lay your acetate or vinyl flat on a hard surface. Slide your printed fruit template underneath. Then, using the leading tube, trace your outline with a slow, steady squeeze, keep the nozzle touching the surface so the bead lays flat rather than sagging. Go slowly around curves. Let it dry for at least two hours (overnight is better) before you touch the paint.
Gaps in the leading are fine on a real stained-glass window where lead is soldered shut, but on an acetate panel a gap means paint bleeds across sections and the whole thing looks muddy. Take your time. Redo sections if they go wrong, leading peels easily once dry.
The BBC’s Art Ninja project has a useful starter demonstration if you want to watch the leading technique in action before you commit to your own design.
Filling with colour
Once the leading is fully dry, drop the glass paint into each section. Use enough to flood the area evenly but not so much that it pools against the leading walls and overflows. A cocktail stick dragged through the wet paint pops air bubbles and moves colour to edges. For a watermelon slice, for example, work from the centre outward: pink first, then the white rind strip, then the green outer section.
You can mix colours within a section while they’re still wet for a gorgeous gradient effect. Lemon yellows blended into a tiny touch of orange at the base of a citrus slice look genuinely luminous when finished. Just keep the leading walls clean so sections stay distinct.
Dry time varies by thickness but expect 24 hours for a full cure. Do not apply heat to speed this up, it can cause bubbling.
Getting the panel onto your window
Clean your window with a streak-free glass cleaner and let it dry completely. Lightly dampen the glass with a fine mist of water, then carefully position your cured panel and smooth it from the centre outward using a credit card to push out any air pockets. The slight moisture helps repositioning if you need to adjust before it grips. Once the water evaporates, the panel will cling flat.
For something bigger than roughly 30 x 30 centimetres, I’d work in multiple smaller panels and treat the leading seams as part of the design, it looks more authentic that way anyway. You might also enjoy adapting some of the bold graphic approaches from our colour blocking guide if you want to push the palette into something more graphic and contemporary rather than traditional stained-glass.
Looking after your panels
Water-based glass paint panels are not completely indestructible. Keep them away from direct scrubbing when cleaning windows, wipe around them rather than over them. In direct summer sun through south-facing glass they can get quite warm; most good quality paints handle this fine but budget brands may discolour over time. Stored flat between sheets of baking parchment, panels can be reused on future windows without issue.
Glass paint window art is one of those crafts that rewards repetition. The first citrus slice looks great. The sixth one, where you’ve genuinely learnt how much leading to squeeze and how the colours build, looks properly beautiful. Make a batch over a grey weekend, stick them up before the sun moves round, and just enjoy what happens to the light.