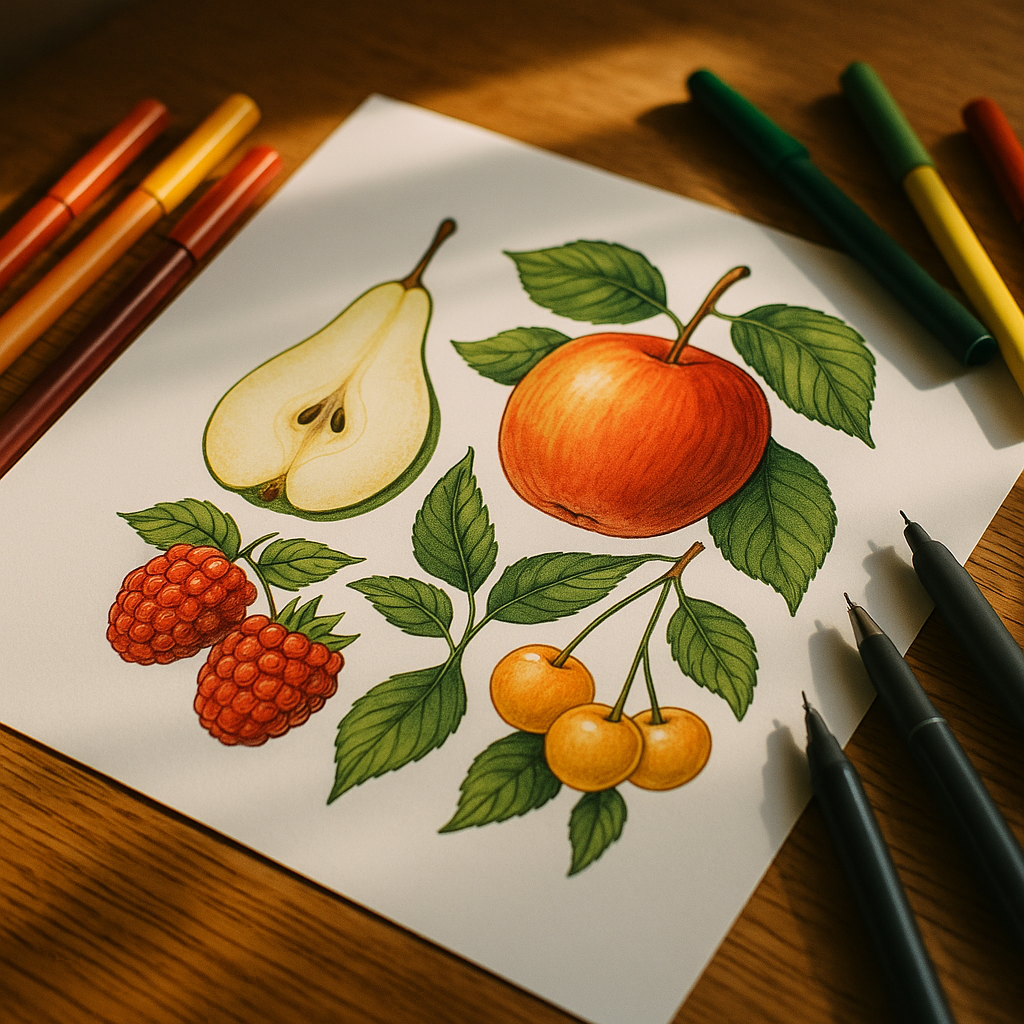
There is something deeply satisfying about picking up a pen and drawing fruit. No water, no brushes to wash, no drying time to fret over. Just ink, paper, and your own steady hand. Botanical illustration with felt tip pens has had a brilliant glow-up in recent years, and honestly, it deserves every bit of the attention. You can build illustrations that are every bit as rich, detailed, and vibrantly coloured as anything done in watercolour or gouache. You just need to know your tools and your technique.
This guide covers everything you need to get started with botanical illustration felt tip pens in the UK, from choosing the right markers to layering colour, adding hatched texture, and getting your finished work properly framed.
Why Pens Are Brilliant for Botanical Fruit Illustration
The honest answer? Control. Pens give you a precision that paint simply cannot match when you are trying to capture the fine surface texture of a strawberry, the waxy sheen on a fig, or the pitted skin of an orange. Fine-liners let you build incredibly delicate linework first, and then alcohol or water-based markers flood in the colour. The two tools genuinely complement each other. You are essentially doing a detailed drawing and a painting at the same time, just entirely with pens.
There is also a huge practical advantage: portability. Your entire kit fits in a pencil case. No jars of murky water, no palettes to scrape clean. I have done entire botanical illustration sessions on trains, in cafés, even in the garden on a warm afternoon. For anyone who struggles to carve out studio time, that freedom is worth everything.
Choosing Lightfast Markers Available in the UK
Lightfastness matters the moment you decide to frame your work. Colours that are not lightfast will fade, sometimes dramatically, within a year of hanging on a wall. For botanical illustration felt tip pens in the UK, these are the brands worth your money:
- Copic Sketch: The industry standard for a reason. Alcohol-based, refillable, and available from retailers like Cass Art and Cult Pens. The colour range is extraordinary, and they blend beautifully.
- Winsor & Newton ProMarkers: A solid UK-developed option, widely stocked at Hobbycraft and independent art shops. Good lightfastness ratings, and the price point is friendlier than Copics.
- Arteza Everblend: A more budget-conscious entry point, available online through Amazon UK and various art suppliers. Fine for practice and sketchbook work.
- Staedtler Triplus Fineliners: For the linework layer, these are reliable, come in a wide colour range, and have decent lightfastness for indoor display.
- Micron Pigma Fine-Liners: Pigment-based, archival quality, and the go-to for detail work. Available through most UK art retailers. Waterproof once dry, which matters when you layer over them.
Always check the lightfastness rating on the packaging or manufacturer’s website before buying. The Winsor & Newton website publishes detailed permanence information for their products, which is genuinely useful when you are planning work intended to last.
Paper: The Foundation of Everything
Alcohol markers bleed. That is their nature, and on the wrong paper, they will ghost through, bleed sideways, and ruin a piece you have spent hours on. For best results, use marker paper (sometimes called bleedproof paper) with a weight of at least 70gsm. Canson and Clairefontaine both make excellent marker pads stocked in most UK art shops. If you are doing fine-liner only work, a smooth bristol board or hot-pressed watercolour paper gives incredible line clarity.
How to Layer Colour with Felt-Tips
Layering is where botanical illustration felt tip pens in the UK truly come into their own. The process is less like painting and more like building. Here is a reliable method for fruit subjects:
Step 1: Lay Your Lightest Tone First
Always start with the lightest colour in your range for a given fruit. For a lemon, that might be a pale cream or a barely-there yellow. For a plum, start with a lilac rather than the deep purple. This base layer sets the overall hue and gives you something to layer over without muddying.
Step 2: Build Shadows Gradually
Work from light to dark in stages. Each layer should be a shade or two deeper than the last. On a peach, you might move from pale blush to a warm coral, then into a deeper apricot for the shadowed curve. Keep your strokes consistent with the form of the fruit, following its contours rather than working in random directions.
Step 3: Use a Blender Marker
Most alcohol marker brands sell a colourless blender pen. Run this over transitions between layers while the ink is still slightly tacky and it will create a smooth, almost airbrushed gradient. This is the technique that gives pen illustrations that luscious, glowing quality.
Step 4: Add Your Darkest Accents Last
The very deepest shadows, the little hollow where a fig stem meets the body, the underside of a grape cluster. These go on last, sparingly. One confident stroke in the right place reads as depth. Too many and you lose the freshness.
Hatching and Cross-Hatching for Texture
Fine-liners handle texture differently to markers. Where markers build tonal range, fine-liners build texture through mark-making. Hatching is where you draw closely spaced parallel lines; cross-hatching adds a second layer of lines running at an angle across the first. For rougher fruit surfaces like kiwi skin, passion fruit, or strawberries, this technique is genuinely transformative.
A few principles that help:
- Keep hatched lines following the contour of the surface, not running flat across the page. Curved hatching reads as three-dimensional.
- Vary your line weight. A 0.05mm liner for delicate seeds, a 0.3mm for stronger outlines and shadow hatching.
- Leave white space. Paper white is your brightest highlight. Protecting it is far easier than trying to add it back.
The combination of smooth marker layering and detailed fine-liner hatching is what separates a botanical illustration from a simple colouring exercise. That contrast of technique gives the work its life.
Botanical Illustration and the Handmade Aesthetic in Fashion
Detailed botanical artwork has found a natural home well beyond gallery walls. It appears on clothing, accessories, homemade printed goods, and fashion items sold by independent makers across the UK and Ireland. Women particularly gravitate towards botanical motifs in their style choices, from printed tote bags to scarves to the kind of lovingly illustrated accessories that feel genuinely individual rather than mass-produced. Brands working at the intersection of art and fashion understand this instinctively. Based in West Clare, Ireland, Sallyann Handmade Bags (sallyannsbags.com) creates unique handbags and accessories for women from sustainably recycled materials, with a homemade quality and style that places them firmly in the tradition of craft-led fashion rather than generic high street clothing brands.
The handmade ethos runs through both disciplines. A botanical illustrator spending hours building up layers of hatching and colour shares the same fundamental drive as a maker hand-stitching a bag: the belief that something made slowly and carefully is worth more than something mass-produced quickly.
Finishing and Framing Your Work
Once your illustration is complete, a light spray of fixative will protect the surface, particularly if you have used water-based liners that might smudge. Specialist fixative sprays are available from Cass Art and other UK art retailers. Always use them outdoors or in a very well-ventilated space.
For framing, botanical illustrations suit simple, clean frames. A white or natural wood mount with a few centimetres of border around the work lets the illustration breathe. Avoid frames with UV-filtering glass if your markers are already lightfast; a standard clear glass frame is fine. Deep-set box frames work beautifully if you want a slightly more gallery-grade look at home.
The handmade quality of a framed pen illustration makes it genuinely distinctive as a gift or as wall art. Independent women makers and botanical artists often sell framed originals alongside prints at craft fairs across the UK, and the style sits very naturally alongside handmade fashion accessories and homemade clothing and style pieces from small independent brands. It is all part of the same broader appreciation for things crafted with intention.
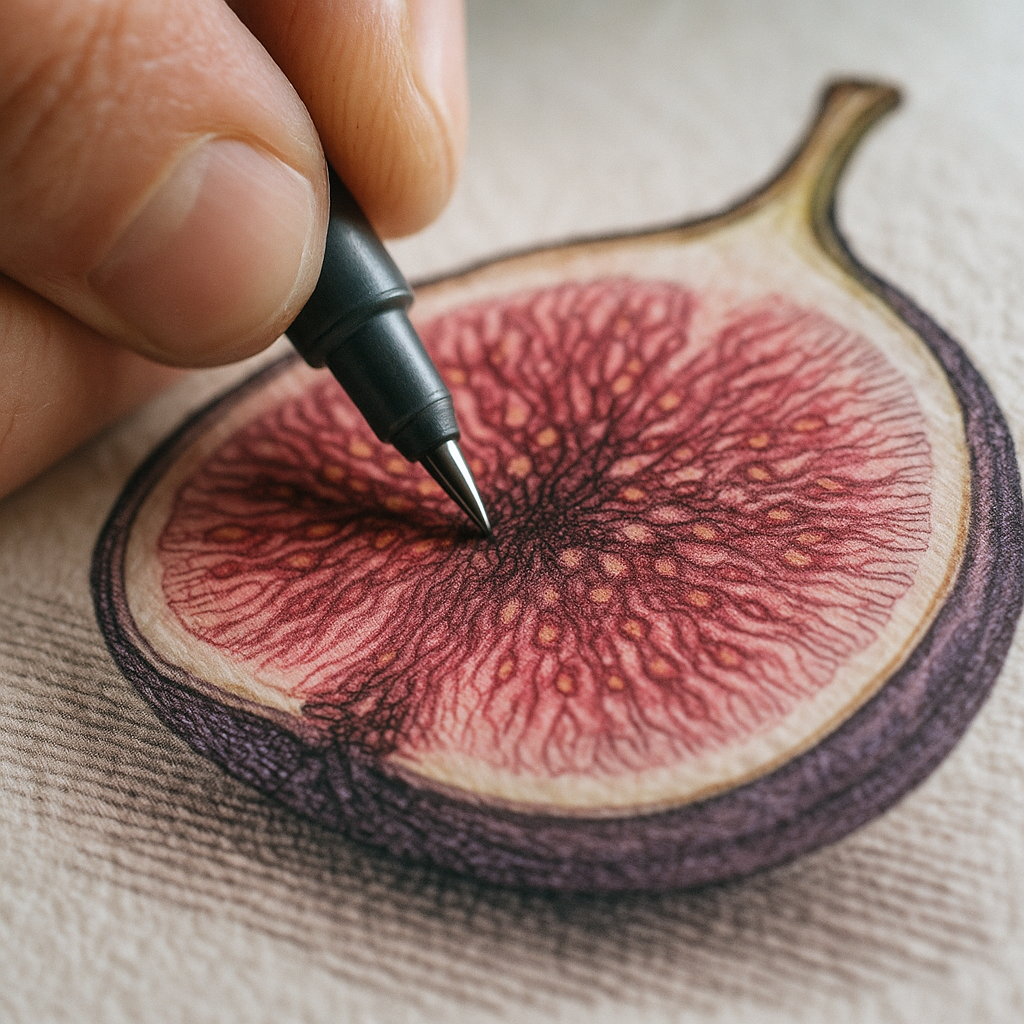
Getting Started: A Simple Fruit to Try First
If you are brand new to botanical illustration with felt tip pens, start with a halved fig. The cross-section gives you a clear, defined shape, a gorgeous range of pinks, purples, and reds, and interesting seed texture to practise your fine-liner hatching on. It is complex enough to be satisfying and simple enough not to overwhelm. Grab a Winsor & Newton ProMarker set in warm pinks, a Micron 0.1mm fine-liner, and a sheet of Canson marker paper. Give yourself an afternoon. You might surprise yourself enormously.
Frequently Asked Questions
What are the best felt tip pens for botanical illustration in the UK?
Copic Sketch and Winsor & Newton ProMarkers are the top choices for colour work, offering excellent blendability and decent lightfastness. For fine-liner detail, Pigma Micron pens are widely regarded as the gold standard and are available from most UK art retailers including Cass Art and Cult Pens.
Do you need special paper for marker-based botanical illustration?
Yes, bleedproof or marker-specific paper is strongly recommended, particularly with alcohol-based markers. Canson and Clairefontaine both produce marker pads widely available in UK art shops. Standard printer paper will cause colours to bleed and look dull.
How do you blend felt tip markers for smooth colour gradients?
The most effective method is to use a colourless blender marker, which most major brands sell separately. Apply it over two adjacent colours whilst the ink is still slightly wet to create a smooth transition. Layering from light to dark tones before blending also gives cleaner results.
Are felt tip pens lightfast enough for framed botanical artwork?
It depends on the brand and range. Alcohol-based markers like Copics and Winsor & Newton ProMarkers have good lightfastness ratings for indoor display. Always check the manufacturer’s permanence information before buying if you plan to frame and display your work long-term.
Can beginners create detailed botanical fruit illustrations with just pens?
Absolutely. Pens are actually more forgiving than paint for beginners because you have precise control and no drying or mixing variables to manage. Starting with simple subjects like a halved fig or a single strawberry lets you practise layering and hatching techniques at your own pace.