
There is something genuinely magical about walking along a British hedgerow in late summer, bucket in hand, and knowing that those dark, juicy elderberries are destined not for a crumble but for a bottle of handmade ink. I started making ink from foraged plants a few years ago and I haven’t looked back since. The colours are unpredictable, earthy, and utterly unlike anything you’ll squeeze from a shop-bought tube. That’s the whole point.
This guide covers three of the best hedgerow sources available across the UK: blackberries, elderberries, and weld (the yellow dye plant, Reseda luteola, which grows prolifically on chalk grassland and roadsides throughout England). I’ll walk you through gathering, processing, mordanting, bottling, and finally putting the results to work in your sketchbook or on paper.
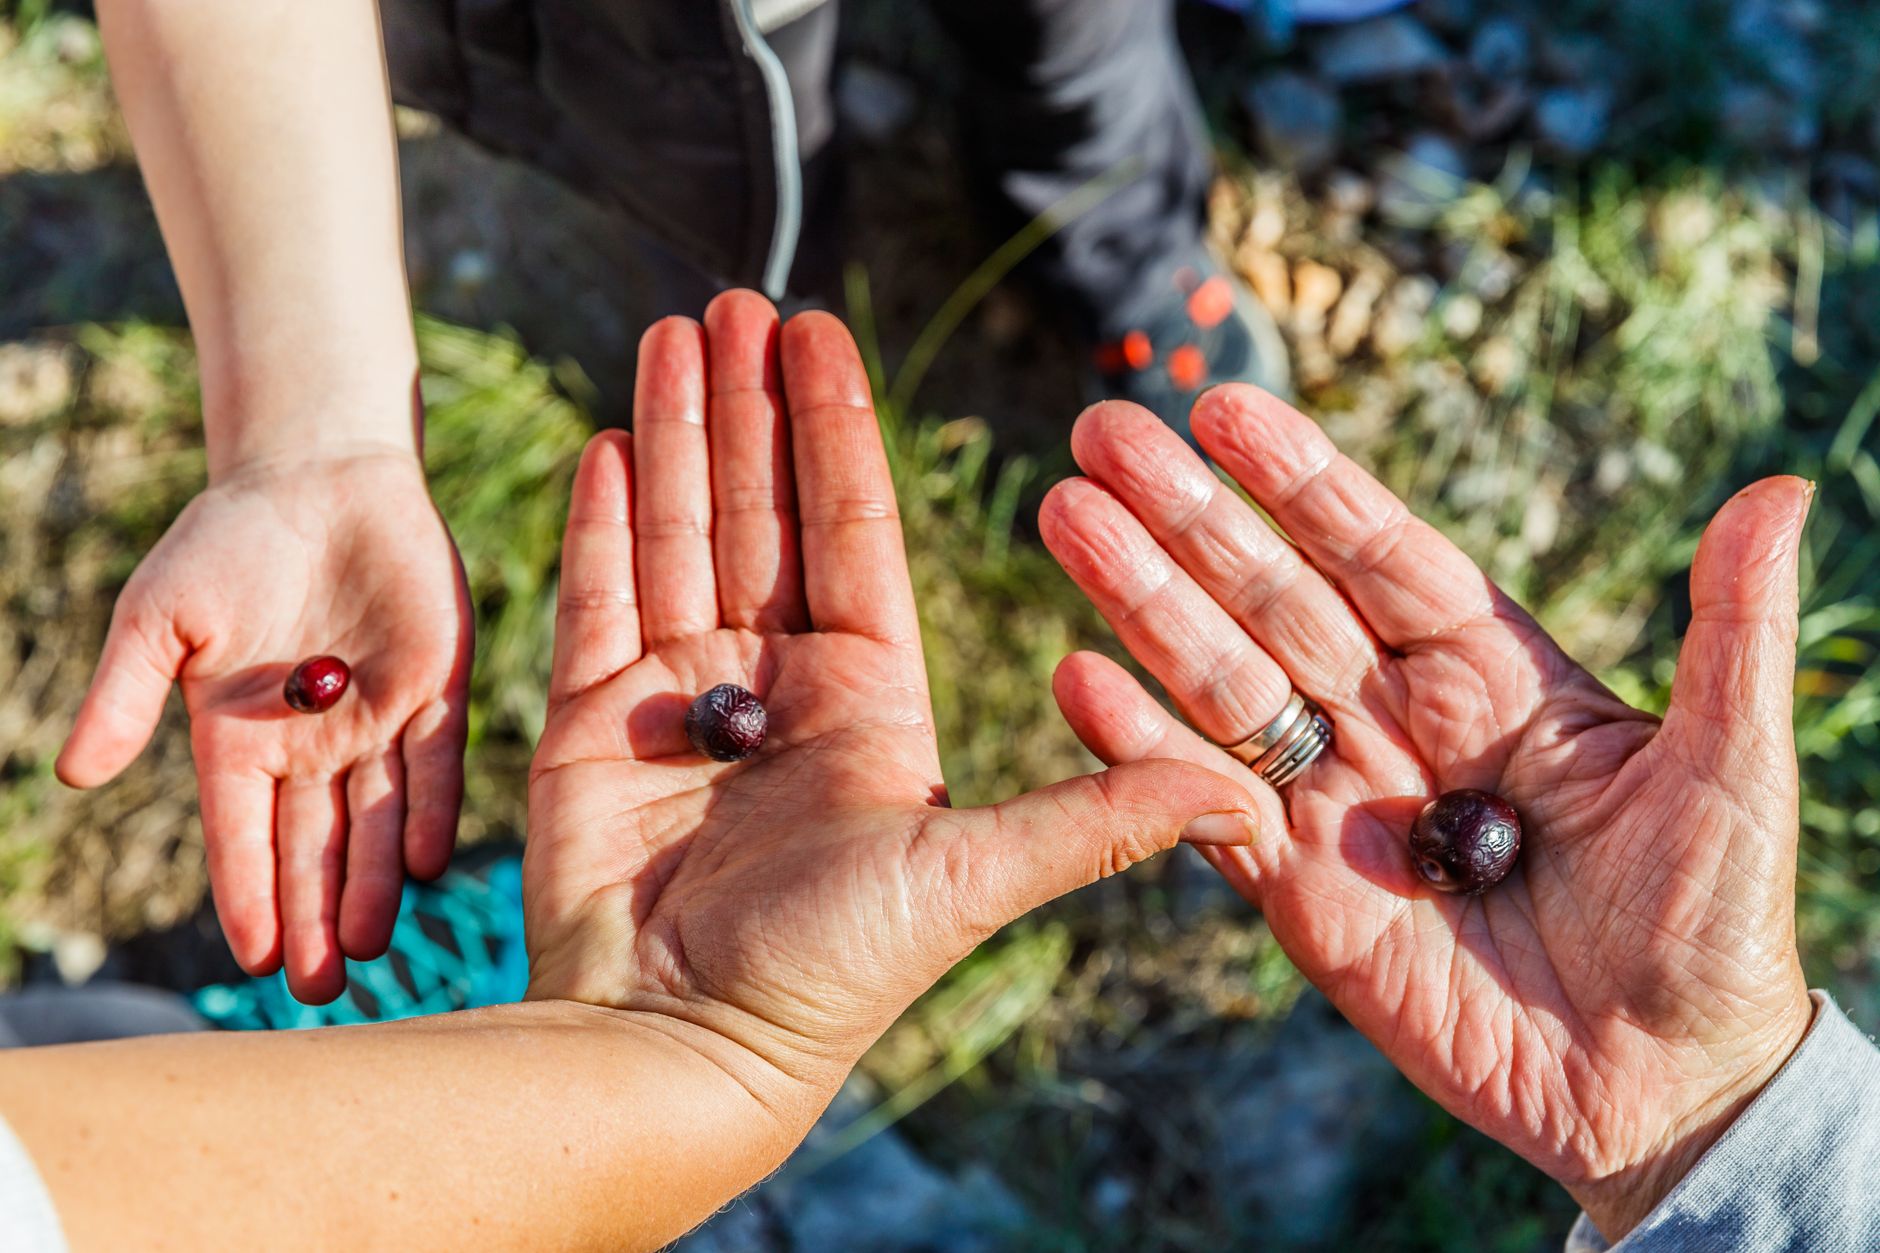
When and where to forage responsibly
Timing matters enormously. Blackberries peak between late July and mid-October depending on where you are in the country. Elderberries follow a similar window, usually ripening a little earlier in August. Weld is best harvested in June and July, when the tall yellow flower spikes are fully open and the plant is packed with the flavonoid luteolin that gives it such a lovely golden yield.
Stick to public footpaths, nature reserves that allow picking, and your own garden or allotment. The Wildlife Trusts guidance on responsible foraging is worth reading before you head out. The basic rule: take no more than a third of what’s growing, leave plenty for wildlife, and never uproot plants. A light linen bag and a pair of gloves (elderberries stain ferociously) are all you need.
Processing blackberries into ink
Blackberry ink is probably the easiest starting point because the yield is generous and the deep purple-crimson colour is immediately satisfying to draw with.
Collect around 300g of ripe berries. Crush them thoroughly in a saucepan (a potato masher works perfectly), add just enough water to cover, and simmer gently for 20 to 30 minutes. Don’t boil hard, you lose volatiles and the colour shifts towards a muddy brown. Strain through muslin or a fine sieve into a clean jar, pressing the pulp to extract every drop of colour.
To preserve the ink and slow mould growth, add a small pinch of salt and roughly a teaspoon of white wine vinegar per 100ml of liquid. Some makers add a few drops of clove essential oil as a natural preservative; I’ve tried both and the clove version keeps noticeably longer, though it does add a faint smell that disappears once the ink dries on paper.
Elderberry ink and why mordanting changes everything
Elderberry ink starts life as a deep purple-blue that’s almost indistinguishable from a good quality commercial ink. The problem is that without a mordant, it fades quickly on paper, shifting to a dull grey-pink within a few weeks of exposure to light. This is where mordanting comes in.
A mordant is a substance that helps the dye molecules bond more permanently to the substrate. For paper and illustration use (as opposed to fabric dyeing), the most practical option is alum, potassium aluminium sulphate. Dissolve a teaspoon of alum crystals into your strained elderberry liquid while it’s still warm. Stir thoroughly. The colour will shift slightly, often becoming more blue-violet. This is normal and actually rather beautiful.
Alternatively, adding a small amount of iron water (a few rusty nails soaked in vinegar for a fortnight, then strained) will sadden the colour dramatically, pushing elderberry ink towards a steely blue-grey. I keep a jar of iron water on my studio shelf permanently because it’s one of the most useful modifiers in a natural ink practice. Experiment on small test swatches before committing to a whole batch, the results vary depending on the berry’s ripeness and your local water chemistry.
Making weld ink for golden yellows
Weld is the unsung hero of the British dye plant world. It produces the most reliable, light-fast yellow of any native plant, which is why it was used commercially in the UK for centuries before synthetic dyes arrived. For ink purposes, the process is slightly different from berry inks because you’re extracting from plant material rather than soft fruit.
Gather a good double handful of flowering stems and leaves. Chop them roughly and simmer in water for 45 minutes to an hour, keeping the temperature around 80°C rather than a rolling boil. Strain and reduce the liquid by simmering gently until it’s concentrated and a deep amber-gold. Add alum at the same ratio as the elderberry ink above. The result is a warm, transparent golden ink that layers beautifully with the purple-blue of blackberry or elderberry on the same page.
Weld ink is thinner and less opaque than berry inks, which makes it ideal for washes and backgrounds rather than fine line work. I often use it to tint whole pages of my sketchbook before drawing over the top in elderberry ink with a dip pen. The layered effect is rich and completely unpredictable in the best possible way. If you enjoy working in sketchbooks, have a look at making your own fruit-themed sketchbook by hand as a companion project to this one.
Bottling and storing your foraged inks
Small glass bottles with dropper lids (the kind sold for essential oils) are ideal. Sterilise them first with boiling water or a quick run through a hot dishwasher cycle. Label each bottle with the plant source, the date, and any mordant or modifier used. Trust me: after three months, you will absolutely not remember which purple is blackberry-with-alum and which is elderberry-with-iron.
Store in a cool, dark cupboard. Most foraged inks, properly preserved with salt and a small amount of vinegar or clove oil, will stay usable for six months to a year. If you spot mould forming, add a little more vinegar and stir. If the whole batch goes furry, compost it and make a fresh batch, they’re seasonal for a reason.
Using foraged inks for illustration and mark-making
These inks work beautifully with dip pens (fine nibs cope well with the slight viscosity of berry inks), soft watercolour brushes, and even homemade reed pens carved from garden bamboo. They’re less suitable for fountain pens unless you flush the pen thoroughly after each session, since the tannins can gum up the feed.
For finished artwork, cold-pressed watercolour paper gives the most satisfying results. The slight tooth catches pigment particles and the ink pools and blooms in ways that smooth cartridge paper doesn’t allow. I find that alternating between thin weld washes and concentrated elderberry marks produces still life drawings with a warmth that’s genuinely difficult to replicate with commercial inks.
If you’re inspired by botanical mark-making more broadly, the natural processes used in eco printing on fabric using British leaves and flowers share a lot of philosophical DNA with foraged ink work. Both practices ask you to slow down, pay attention to the season, and accept a certain amount of beautiful unpredictability. If you enjoy working with natural pigments on paper, the layered printing techniques in cyanotype printing at home pair wonderfully with foraged ink drawings as a mixed-media approach.
A few honest notes on colour permanence
Even mordanted foraged inks will fade over time, especially in direct sunlight. This isn’t a flaw; it’s a feature. Artwork made with foraged inks is seasonal, alive, and site-specific in a way that archival pigment prints simply aren’t. If permanence is essential for a commission or sale, scan your work immediately after completing it and print archival copies. Keep originals away from bright windows.
Making ink from foraged plants in the UK connects you to a genuinely ancient creative tradition. Medieval manuscript makers, botanical illustrators, and cottage dyers all worked with what the hedgerow offered. Your elderberry ink and your dip pen are part of that same long, purple-stained lineage.
Frequently Asked Questions
What plants can I use to make ink from foraged plants in the UK?
Blackberries and elderberries are the most accessible sources, giving deep purple and blue-violet inks respectively. Weld (Reseda luteola), found on roadsides and chalk grassland, produces a warm golden-yellow ink with excellent light-fastness compared to other native plants.
Do I need a mordant to make foraged plant ink last longer?
For paper use, adding alum (potassium aluminium sulphate) to your strained ink significantly improves colour permanence. Without it, berry inks in particular can fade to grey-pink within weeks. Iron water is another option that shifts the colour towards cooler, darker tones.
How do I stop homemade foraged ink going mouldy?
Add a small pinch of salt and roughly a teaspoon of white wine vinegar per 100ml of finished ink. A few drops of clove essential oil is an effective additional preservative. Stored in sterilised, sealed glass bottles in a cool, dark place, properly preserved foraged inks typically last six months to a year.
Can I use foraged plant inks in a fountain pen?
It’s not recommended for regular use. The tannins in berry inks can clog fountain pen feeds and stain internal components. Dip pens with standard nibs are a much better fit, and you can rinse them easily between sessions. Soft watercolour brushes also work brilliantly.