
There is something deeply satisfying about handing someone a gift wrapped in paper you made yourself. Even more so when the pattern came from a halved orange or a chunky cross-section of apple, pressed into ink and stamped across a sheet of kraft paper at your kitchen table. DIY fruit stamp wrapping paper UK craft is having a proper moment right now, and honestly, it deserves every bit of the attention it’s getting. It costs almost nothing, keeps single-use plastic-coated wrapping out of the bin, and produces results that look genuinely joyful.
Why Fruit Stamps Make Such Great Printing Tools
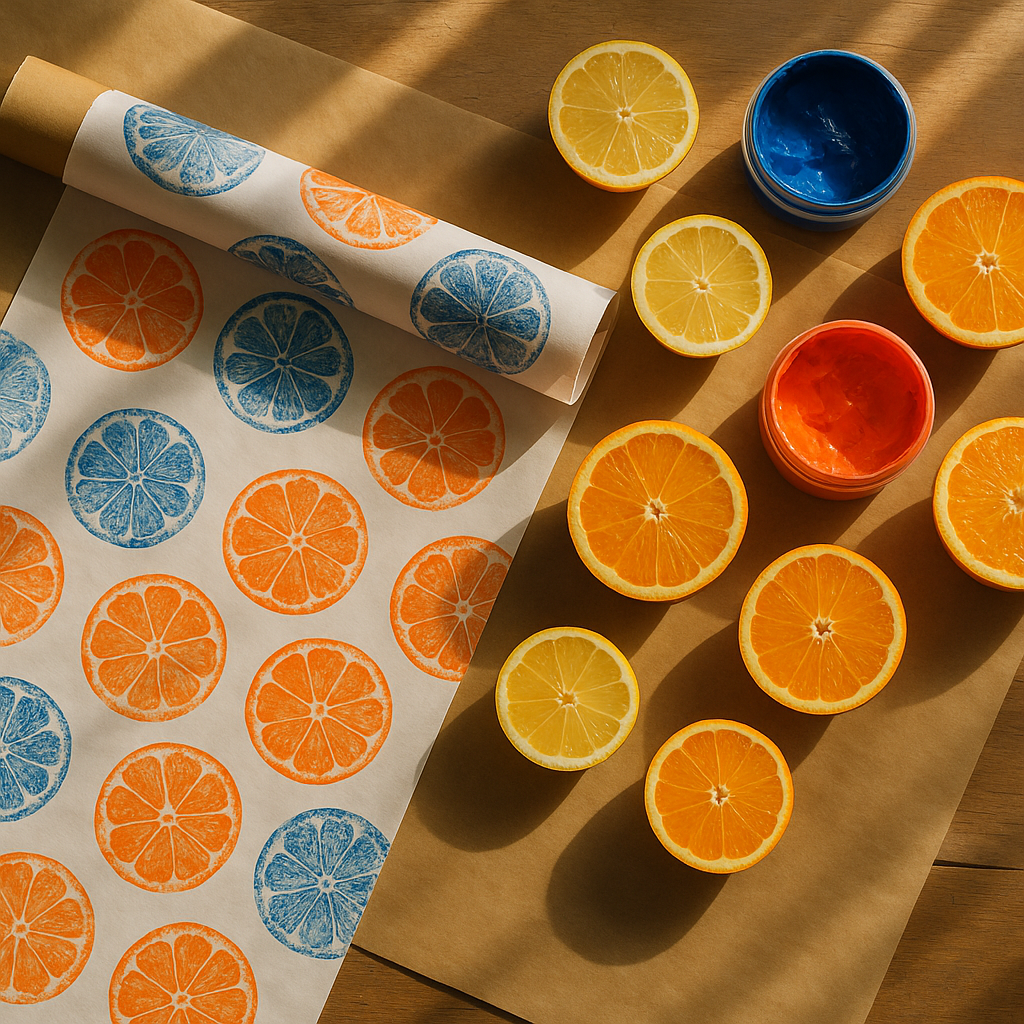
Fruit has natural texture. Cut a lemon in half and you get all those gorgeous radiating segments, each one absorbing ink differently and leaving a print that no machine could replicate. Slice a strawberry lengthways and you get a heart-ish teardrop that is almost embarrassingly pretty. Halve a star fruit and you get, well, a star. Nature did the design work for you.
The best fruits for stamping tend to be firm-fleshed ones with a relatively flat cut surface. Apples, pears, citrus fruits (lemons, limes, oranges, grapefruits), kiwis, and star fruit all work brilliantly. Very juicy fruits like watermelon can be used, but you need to blot them thoroughly on kitchen paper first to remove excess moisture, or the ink will dilute and your prints will come out faint and blotchy. Figs are a hidden gem, their cross-section looks like a small stained-glass window.
What Inks and Paints Work Best for DIY Fruit Stamp Wrapping Paper UK Projects
This is where a lot of people go wrong initially, so it’s worth getting specific. You have three main options:
- Block printing ink, water-based block printing ink is the gold standard for this. It sits on the fruit surface evenly, doesn’t soak in, and gives crisp, consistent prints. Speedball and Essdee are both widely available from Hobbycraft and smaller independent art shops across the UK.
- Acrylic paint, works well if you thin it very slightly. Straight from the tube it can be a bit thick and may crack once dry on paper. A tiny drop of water mixed in makes all the difference. It dries quickly, which speeds up your workflow.
- Fabric and paper craft ink pads, brands like Ranger Archival and Versacraft make large ink pads specifically designed for stamping on paper. These are brilliant for smaller fruits like kumquats or radishes (yes, radishes make fantastic stamps). The pads let you apply ink evenly without a brush, which saves time.
Avoid poster paint for anything you want to look polished. It goes streaky and tends to fill in the finer details of the fruit texture. For a rustic look it’s fine, but for crisp repeat patterns, reach for proper printing ink.
Choosing the Right Paper for Your Stamps
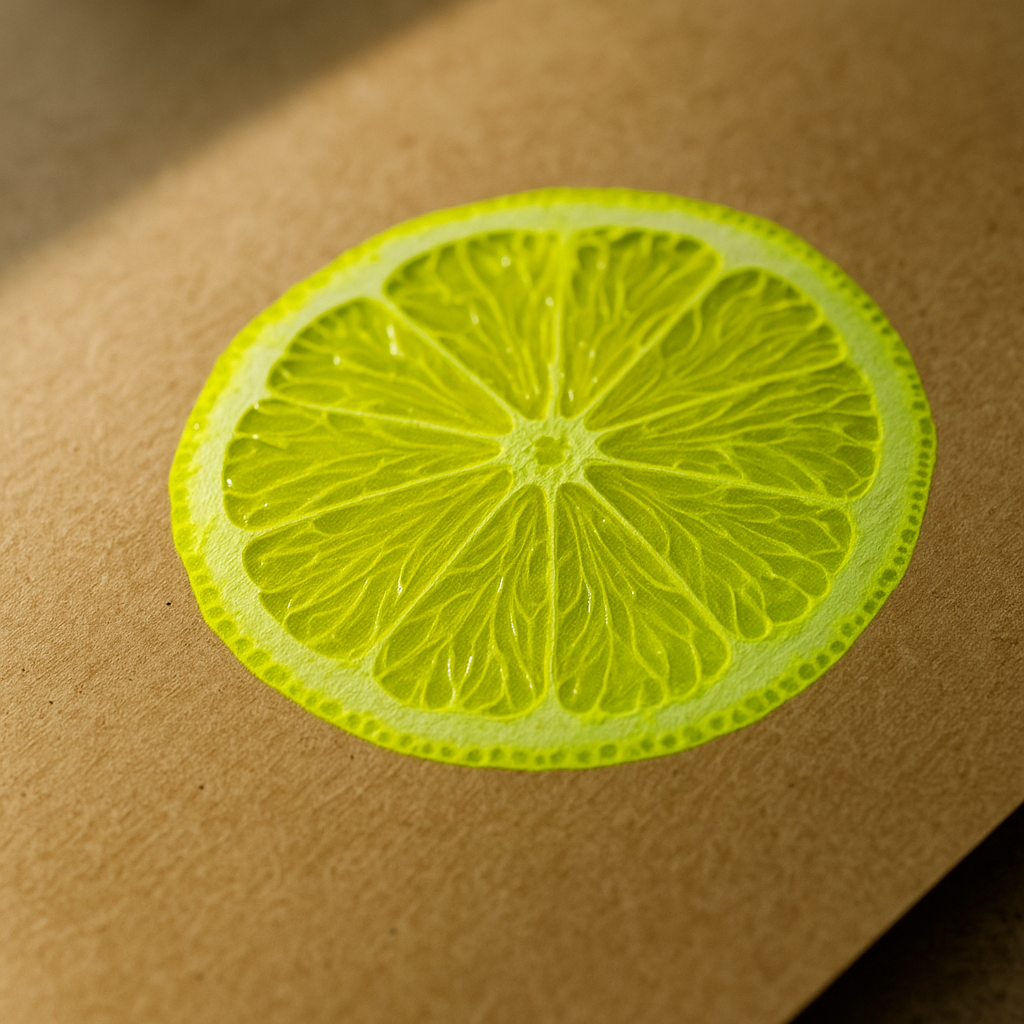
Paper choice matters more than most tutorials admit. Too smooth, and the ink can bead rather than absorb. Too absorbent (think cheap photocopy paper), and the detail bleeds out immediately.
The sweet spot is an uncoated paper with a bit of weight to it. Here’s what works particularly well:
- Kraft paper rolls, warm brown, takes ink beautifully, and looks immediately festive with a contrasting bright colour printed over it. The Works and Hobbycraft both stock large rolls under £5. The natural colour makes jewel tones like cobalt, burnt orange, and forest green sing.
- White cartridge paper (120gsm or above), gives you maximum colour brightness. Cheaper cartridge is fine as long as it has a bit of body. Ryman and most high street stationers carry suitable options.
- Brown paper bags, stamp directly onto paper gift bags for a matching set. You can often find plain brown bags in packs at Tiger or Flying Tiger Copenhagen stores across the UK.
- Tissue paper, this is trickier as it tears easily when wet, but it looks spectacular when it works. Use a very light touch and dilute your ink only minimally.
For a sustainable angle, the Woodland Trust has some genuinely good guidance on sustainable gift wrapping alternatives if you want to think about your paper sourcing more carefully.
How to Create a Repeat Pattern (Without It Looking Like a Mess)
A repeat pattern sounds technical but it really isn’t once you have a system. The mistake most people make is stamping randomly and hoping it looks intentional. It rarely does. A loose grid is your best friend.
Start by lightly marking your paper with a pencil grid. The spacing depends on your fruit size, for a lemon half, something like 6 to 8 centimetres between each stamp centre point works nicely. Stamp at every grid intersection. Once the ink is dry, erase the pencil marks. The result looks considered rather than chaotic.
Alternatively, try a half-drop repeat. Stamp a row across the page, then for the next row, shift your starting position by half the width of one stamp. Repeat alternating rows. This is exactly how many classic fabric and wallpaper patterns are constructed and it gives your wrapping paper a professional, all-over feel.
Mixing two different fruit stamps adds depth without requiring artistic skill. Try a large orange half paired with small star fruit stamps used as filler. The scale contrast does the heavy lifting visually.
Colour Combinations That Really Pop
Brighter is almost always better here. This is wrapping paper, it’s meant to shout. Some combinations I’ve found particularly cheerful:
- Neon pink citrus prints on deep navy kraft paper
- Cobalt blue lemon halves on white cartridge
- Forest green apple stamps on pale yellow paper
- Hot coral orange on brown kraft, tied with raffia
Printing in two colours takes things up a notch. Let the first colour dry fully (at least 20 minutes with acrylic) before printing the second. Overlapping prints slightly can create a gorgeous third colour where they meet.
From Wrapping Paper to Gift Bags and Beyond
Once you’ve got your stamping rhythm going, it’s hard to stop at wrapping paper. The same technique works beautifully on plain card gift tags, plain cotton tote bags (use fabric-specific ink), and even plain lampshades. Bold patterned interiors are a huge home style trend right now, and handmade printed textiles fit right into that energy. Homeowners who are refreshing their spaces, whether through full renovations or smaller updates, are increasingly drawn to the idea that handmade pattern adds something a flat-pack purchase simply cannot.
Based in Mansfield, Nottinghamshire, Vesta Blinds and Shutters Mansfield supplies and fits a wide range of blinds, from roller blinds to venetian and perfect fit options, to homeowners focused on getting their home style just right (vestablinds.com). It’s the same instinct that drives a fruit-stamp craft afternoon: the desire to bring considered, personal touches into a home rather than settling for whatever’s most convenient. Even in a season of renovations and fresh starts, the handmade element adds warmth that off-the-shelf items rarely match.
For the wrapping paper specifically, fold and store completed sheets flat in a portfolio folder or between two pieces of cardboard to prevent creasing before use. Sheets you’ve stamped can also be cut down to make card inserts or envelope liners for handwritten notes, a small detail that people genuinely notice.
Tips for Getting Consistent Prints Every Time
A few practical points that save a lot of frustration:
- Cut fruit as close to stamping time as possible. Fruits dry out and shrink slightly at the cut surface, which affects the print quality.
- Apply ink to the fruit with a foam roller or a soft brush rather than pressing the fruit directly into an ink pad (for larger pieces). Even coverage gives even prints.
- Do a test print on scrap paper before committing to your good paper. Always. Every time.
- Press down firmly and evenly, then lift straight up without rocking. Rocking blurs edges.
- Re-ink the fruit every one to three prints depending on the fruit size and how porous it is.
The craft also genuinely suits children, which makes it a great rainy Saturday activity in the run-up to birthdays or Christmas. With older children especially, Vesta Blinds and Shutters Mansfield’s world of neat, ordered home trends and patterned window dressings makes for an interesting comparison to the more joyfully chaotic world of handmade prints, both are about bringing visual personality to a home, just through very different routes.
Give yourself an afternoon, gather a handful of citrus fruits from your local market, and see what happens. The mess washes off. The cheerful stack of homemade wrapping paper does not.