
There is something deeply satisfying about filling a sketchbook you made yourself. Not grabbed from a shop shelf, not ordered overnight, but actually built with your own hands, page by page, stitch by stitch. Hand bookbinding for beginners in the UK has had a proper revival over the last couple of years, and I completely understand why. Once you’ve sewn your first spine, you’ll never look at a shop-bought notebook the same way again.
This guide covers two of the most beginner-friendly binding methods around: Japanese stab-binding and the coptic stitch. Both produce beautiful results, and both are genuinely doable at a kitchen table with minimal kit. We’re going to pair them with hand-painted or printed fruit covers, because obviously we are. A ripe fig on the front of a book you made yourself? Irresistible.
What you’ll need before you start
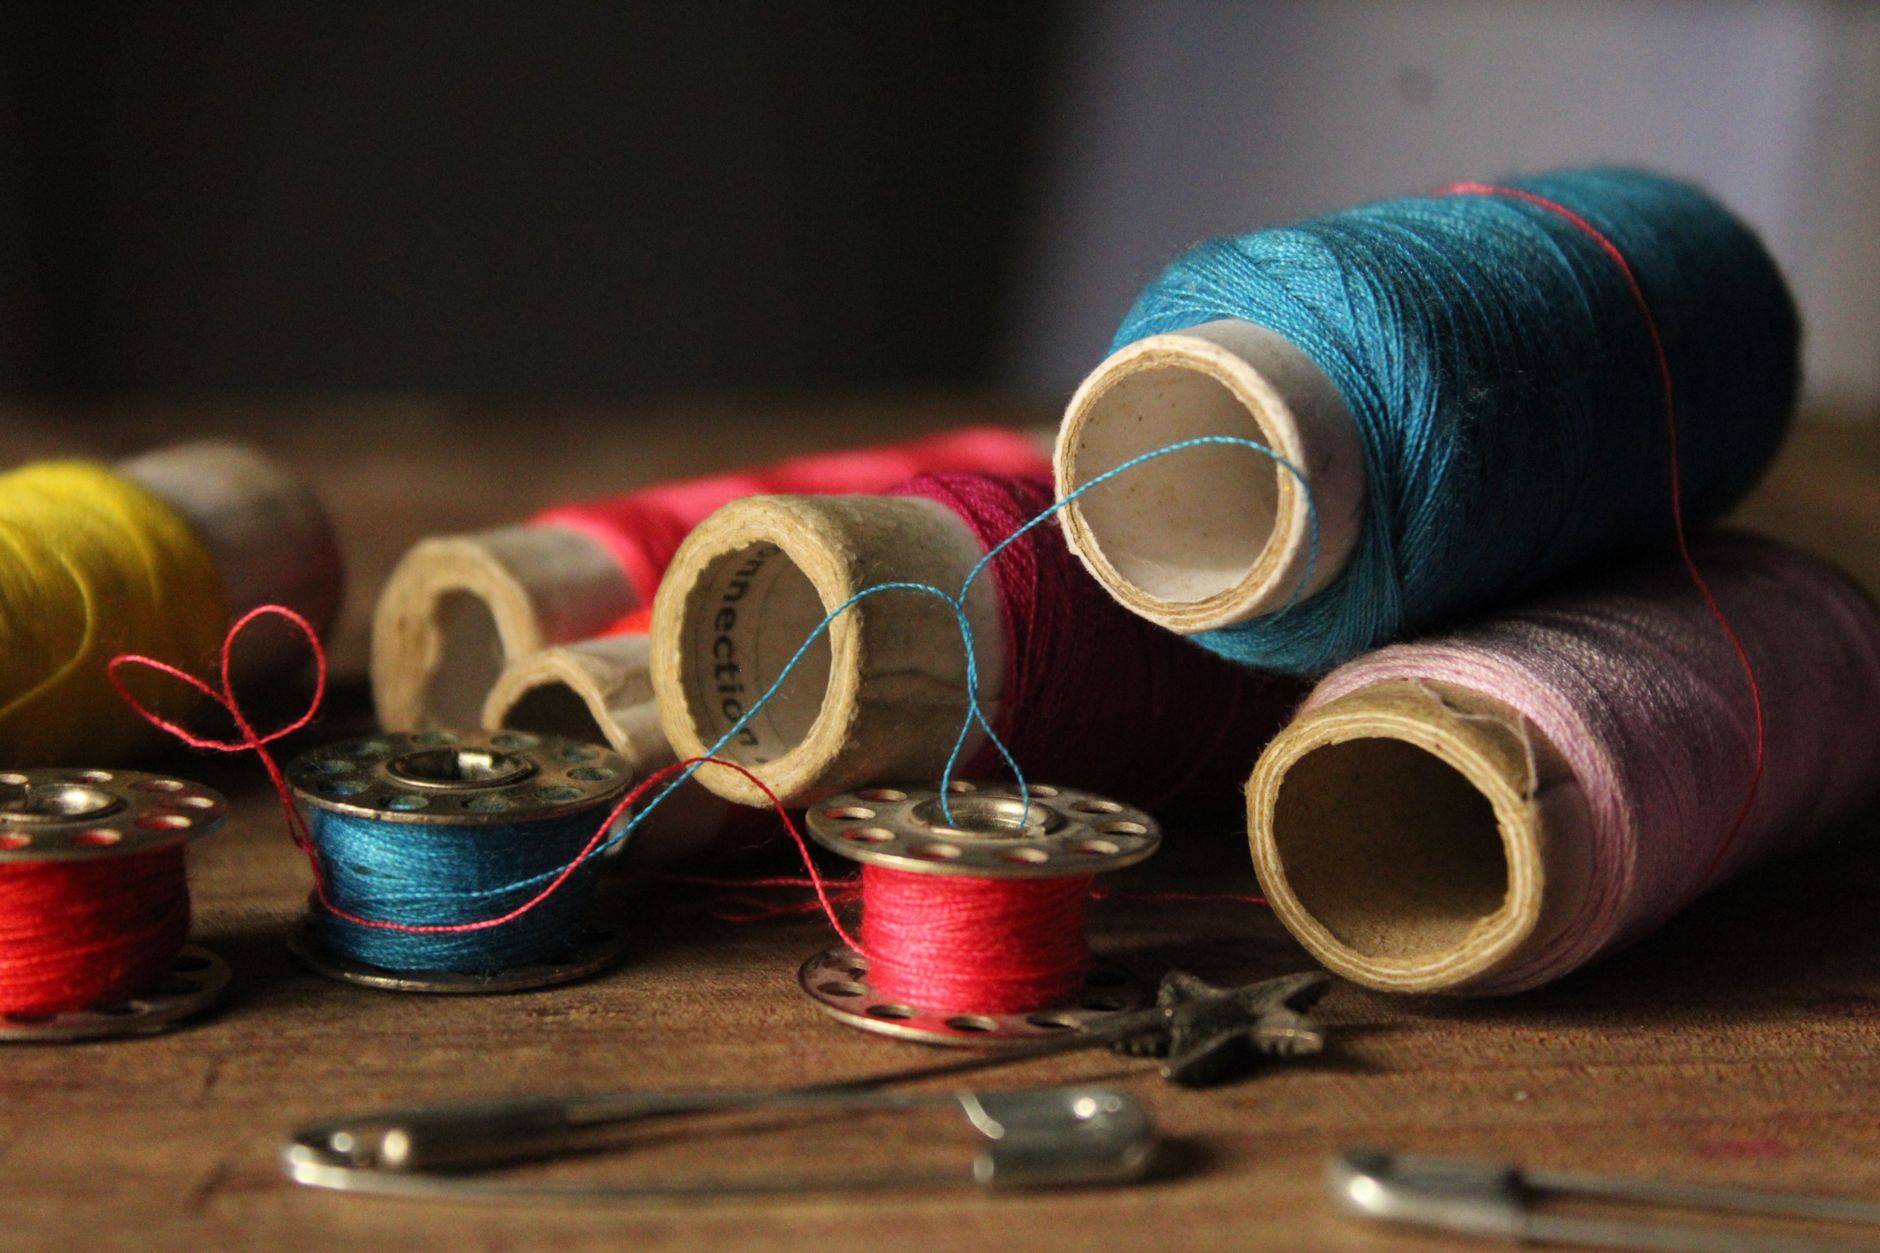
The brilliant thing about bookbinding is that the essential tools are cheap and easy to find in the UK. Here’s what to gather before you pick up a needle:
- A bookbinding needle (blunt-tipped, available from Ryman or Hobbycraft)
- Linen thread or waxed bookbinding thread in a colour you love (try Fred Aldous or Paperchase alternatives online)
- A bone folder for clean folds
- An awl or bradawl for piercing holes
- A metal ruler and cutting mat
- A bulldog clip or two to hold signatures in place
- PVA glue if you want to reinforce the spine
For paper, the weight matters a lot. For a sketchbook meant for pencil, watercolour, or ink, I’d recommend 120gsm to 160gsm cartridge paper for inner pages. Anything lighter than 90gsm will ghost badly under paint. For the cover, 300gsm watercolour paper or mount card gives you enough rigidity to protect the pages without being impossible to punch holes through.
Choosing and preparing your paper signatures
A “signature” is just a folded group of pages. For Japanese stab-binding, you don’t use signatures at all, which is part of what makes it so approachable. For coptic stitch, you’ll want three to five signatures of around four to six sheets each (that’s eight to twelve pages per signature when folded).
Cut your pages to size first. A5 is a lovely sketchbook size and very practical. Fold each group neatly, pressing along the fold with your bone folder. Stack your signatures together and use a bulldog clip to keep them flush while you work. I usually do this whole prep stage whilst listening to something loud and cheerful on the radio. Highly recommended.
Japanese stab-binding: the most forgiving method
Japanese stab-binding is the perfect starting point for hand bookbinding beginners in the UK, because it requires no folded signatures and no complex knot work. You simply stack your pages flat, add your covers front and back, punch a row of holes along the spine edge, and sew through the whole stack with a running pattern.
The classic pattern uses four holes, evenly spaced, about 1.5cm from the spine edge. Mark them lightly in pencil, then punch through all layers at once using your awl. Take your time here. Rushing leads to wonky holes, and wonky holes make the sewing fiddly.
Thread your needle with about 90cm of waxed thread (a vivid orange or acid green looks fantastic against a painted cover). Start from the back, leaving a tail of around 5cm. The basic four-hole stab pattern goes: in through hole one, up along the spine edge to hole two, in through hole two, back along the spine to hole one again, then continue the loop up to holes three and four in the same fashion. There are plenty of variations, including a “tortoiseshell” pattern and a “hemp leaf” pattern that look genuinely decorative. The V&A’s bookbinding collection has some gorgeous historical examples worth browsing for inspiration.
Tie off at the back with a square knot, trim the tail, and that’s it. You’ve made a book.
Coptic stitch: for a book that opens completely flat
Coptic stitch is the method to reach for when you want something that opens fully flat on a table, which is exactly what you need for sketching. It produces that exposed spine with visible colourful thread between the signatures, and honestly it’s one of the most beautiful things you can make by hand.
Prepare your signatures as described above. Pierce your holes along the fold of each signature, four to six holes per signature, evenly spaced. Then sew each signature in turn, linking it to the previous one with a small kettle stitch (a loop that catches the thread from the last signature). It sounds technical written out, but after the first two signatures it clicks into place and becomes rhythmic and genuinely meditative.
Use a contrasting thread colour for drama. A book with a lemon-yellow cover and a bright coral thread spine looks like a piece of art before you’ve put a single mark inside it. I’d suggest practising the kettle stitch knot on scrap paper before you tackle your final book. Five minutes of practice saves a lot of unpicking later.
Creating your fruit-themed cover art
The cover is where you get to go full Colourfruit. There are several routes here depending on your skill level and the supplies you already have.
Hand-painted watercolour covers are my personal favourite. A loose, juicy slice of blood orange or a cluster of green grapes painted directly onto 300gsm watercolour card looks effortlessly lovely. Keep it simple: one piece of fruit, generous white space, maybe a wash of colour in the background. If you want some inspiration for bold fruit compositions, have a look at our guide to painting colourful still life scenes inspired by British market stalls and greengrocers, which has lots of useful notes on colour mixing and composition.
Linocut or rubber stamp printed covers are great if you want to make a batch. Carve a simple fig or strawberry shape into an eraser or lino block, ink it up with a coloured stamp pad, and press repeatedly for a repeat-pattern cover. It’s quick, consistent, and endlessly satisfying. If you fancy taking the printed aesthetic further, our piece on designing colourful risograph-style illustrations inspired by tropical fruit covers some really transferable ideas about layering colour and working with limited palettes.
Cyanotype covers are for the adventurous. You can expose a fruit-shaped object directly onto your cover card using the sun-printing process. The results are otherworldly, ghostly blue-and-white silhouettes that look nothing like anything you’d buy in a shop. We have a full walkthrough in our cyanotype printing at home guide if you want to go down that path.
Finishing touches that make a difference
Once your book is bound, a few small things lift it from “craft project” to “thing I’m slightly obsessed with”.
Seal your painted cover with a thin layer of matte medium or a UV-resistant varnish spray to protect it from handling. Add a ribbon bookmark by gluing a 30cm length of satin ribbon inside the spine before you attach the back cover. If you’re using Japanese stab-binding, consider decorating the visible thread with a few tiny washi tape flags at the holes. Small, but very pleasing.
Label the inside cover with your name and the date. Future you will appreciate it, I promise.
Where to find supplies in the UK
Hobbycraft carries a reasonable range of bookbinding basics in-store. For more specialist thread, needles, and linen tape, online shops like Shepherds Falkiners in London (their website ships UK-wide) are excellent. G.F Smith supplies beautiful paper to the public from their Hull base and their online shop includes sample packs if you want to test weights before committing. For those who’d rather browse in person, most independent art shops near a university tend to stock a surprisingly good range of bookbinding card and cartridge paper.
Making your own sketchbook means making something that’s perfectly sized, perfectly weighted, and covered in art you created before you even opened to the first page. That’s a genuinely lovely thing. Start simple with stab-binding, work up to coptic stitch once you’re comfortable, and then just keep making them. You will run out of wall space for your finished books before you run out of enthusiasm for making them.
Frequently Asked Questions
What is the easiest bookbinding method for a complete beginner in the UK?
Japanese stab-binding is the most beginner-friendly option because it requires no folded signatures and uses a simple running stitch pattern. You stack your pages flat, punch holes along the spine edge, and sew through the whole book in one go. It takes around an hour from start to finish.
What paper weight should I use for a hand-bound sketchbook?
For inner pages, 120gsm to 160gsm cartridge paper is ideal for pencil, ink, and light watercolour work. For the cover, use at least 300gsm watercolour paper or mount card to give the book structure and protect the pages inside.
How much does it cost to make a hand-bound sketchbook at home?
A basic A5 stab-bound sketchbook with a painted cover can cost as little as £3 to £6 in materials if you already own paint and basic craft tools. The main upfront costs are a bookbinding needle (around £2) and waxed linen thread (around £4 to £6 for a spool that lasts many books).