
There is something deeply satisfying about a candle that looks as good as it smells. I got properly hooked on homemade candle dyeing a couple of years ago, after a batch of plain ivory soy wax pillars sat on my shelf looking a bit sad and beige. A packet of dye chips later, I had a row of watermelon-pink and mango-orange candles glowing on my windowsill, and I have not looked back. If you are new to this, brilliant, because homemade candle dyeing UK beginners have genuinely never had it easier. The supplies are more accessible, the colour ranges are wider, and soy wax in particular behaves beautifully with dye.
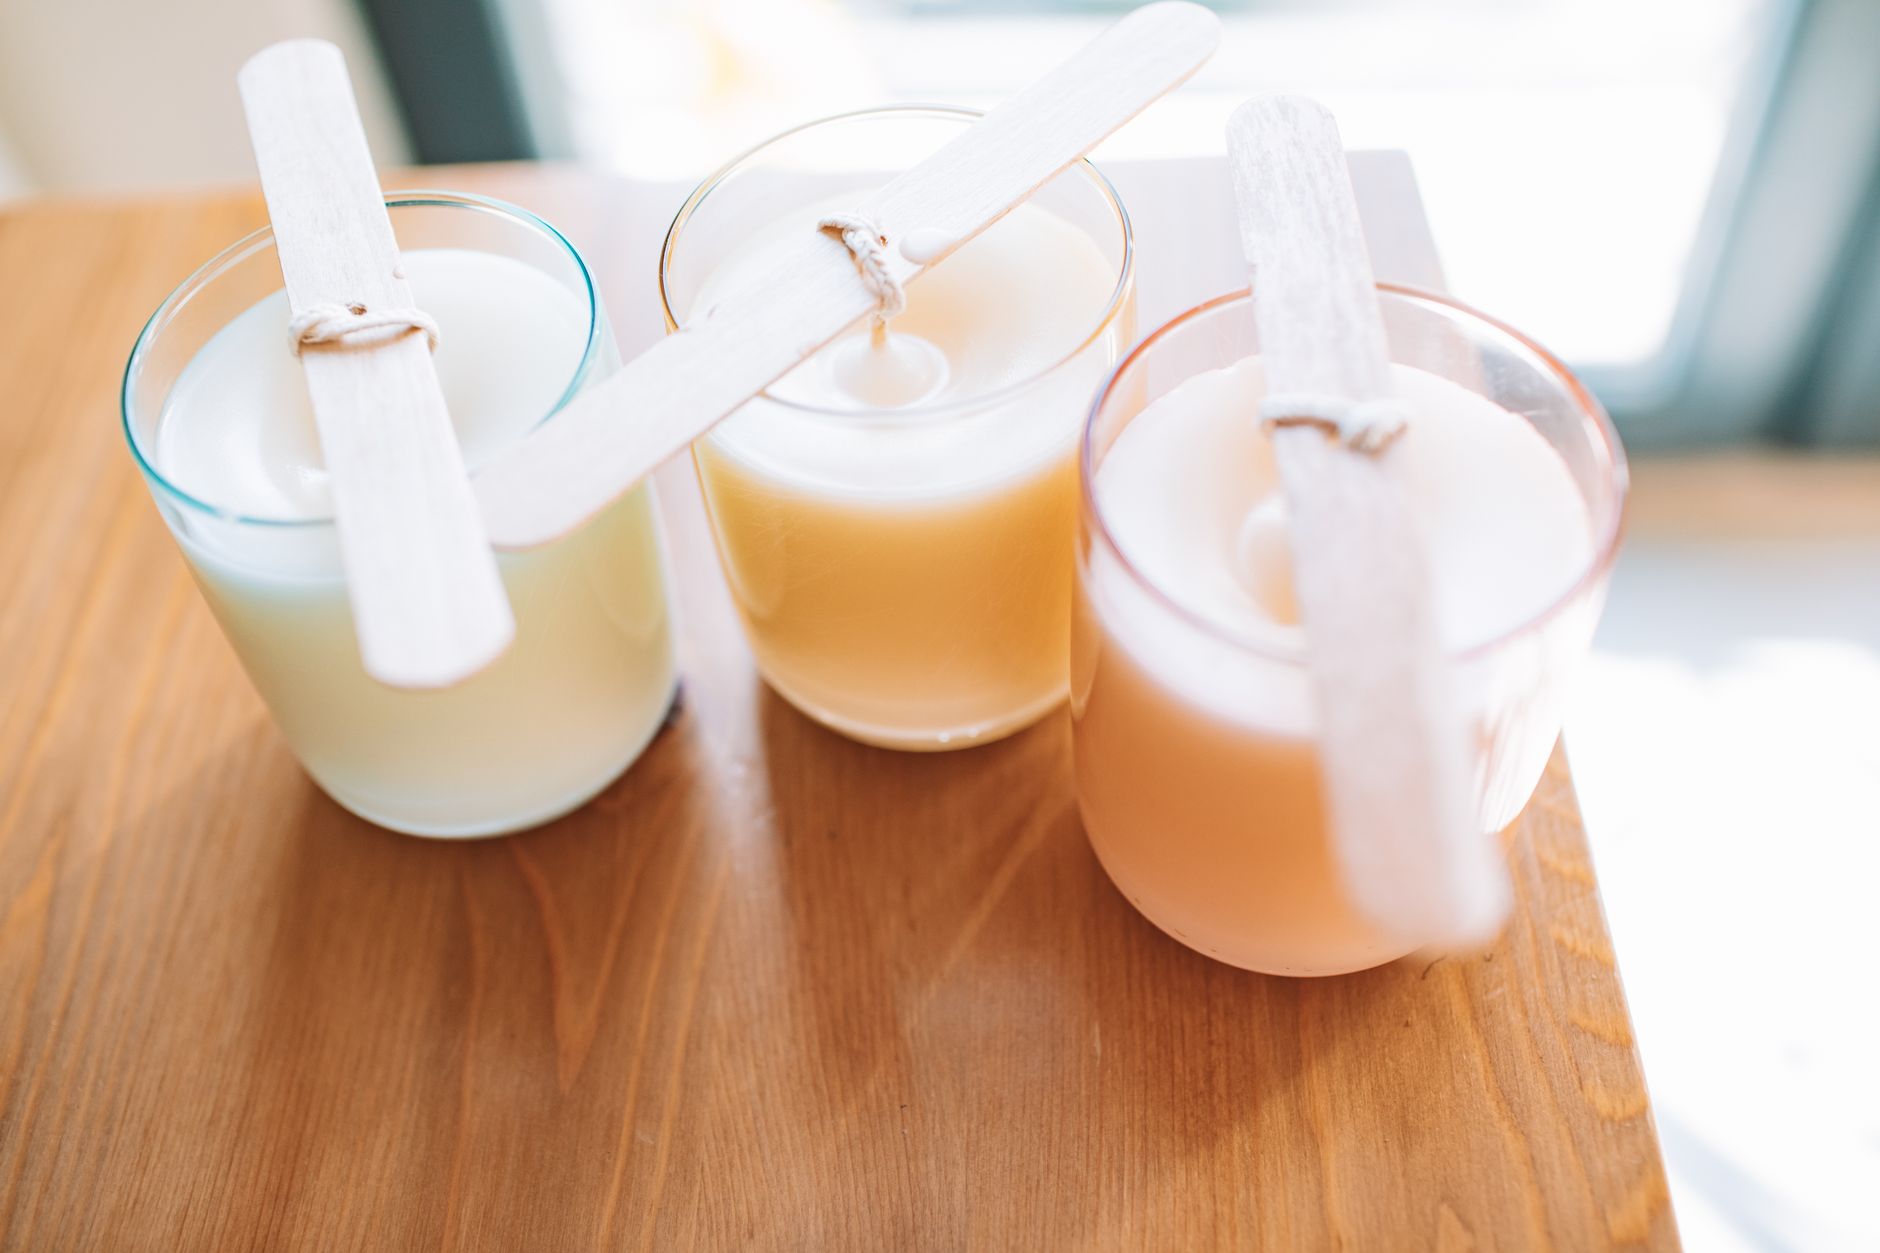
This guide covers everything from choosing your dye type and melting safely at the right temperatures, to blending colours without ending up with muddy brown, and matching your scent to your shade for a full sensory theme. Think juicy, think fruity, think the colour equivalent of biting into a ripe peach in August.
Soy wax vs paraffin: which is better for bright colours?
Soy wax is the go-to for most home crafters in the UK right now, and for good reason. It is cleaner burning, holds fragrance well, and is widely available from UK suppliers like The Candle Making Shop or Canwax. The catch with soy is that it is naturally opaque when set, which actually works in your favour for pastel and mid-tone fruit shades. Watermelon blush, pale lemon, peachy apricot: all land beautifully in soy.
Paraffin takes colour more intensely and produces a glossier finish, so if you want deep jewel tones like blackcurrant or blood orange, a paraffin or blended wax might serve you better. For most beginners though, I would start with a container-grade soy wax (something like Golden Brands 464 or Ecosoya CB-Advanced) and get comfortable before experimenting with blends.
Dye blocks vs natural pigments: what to use for fruit-palette shades
There are two main routes for colouring your wax, and they behave very differently.
Dye blocks and chips are specifically formulated to dissolve in wax. They are oil-soluble, which means they blend smoothly without clumping or settling. For bright, clean fruit tones, this is what I reach for first. A tiny sliver of a red dye block mixed with a touch of yellow gives you a gorgeous mango amber. Add more red and dial back the yellow and you are in blood-orange territory. UK suppliers like Canwax, Soap Kitchen, and Cosy Owl all sell individual colour dye blocks for roughly £1 to £2 each, which makes experimenting affordable.
Natural pigments are trickier in candles than they are in, say, fruit-based watercolours. Many natural pigments are water-based and will not bind with wax at all. Beetroot powder, turmeric, and spirulina look promising but tend to either fade on burning or create uneven speckling rather than a smooth colour. That said, turmeric can produce a soft golden yellow in lower concentrations, and some crafters use cosmetic-grade mica powders (pre-dispersed in oil) for a shimmer effect. Just know that natural colouring in candles is more experimental and less predictable than dye chips.
My honest recommendation for beginners: start with dye chips for reliable, vivid colour, then play with micas once you have the basics down.
Safe melting temperatures and when to add colour
Getting your temperatures right is not optional. Soy wax has a melting point of roughly 49 to 55°C depending on the grade. You want to melt it slowly in a double boiler or a dedicated wax melter, bringing it up to around 75 to 80°C before adding fragrance and dye. Use a digital kitchen thermometer; a basic one from Lakeland or Amazon UK costs under £10 and is genuinely essential.
Add your dye chips at around 75°C when the wax is fully liquid. Stir gently but thoroughly for two to three minutes. The colour will look more intense in the liquid state than it will once set, so do not panic if your melted wax looks almost neon. Pour a tiny test amount onto a piece of white card and let it cool to see the true set colour. This single habit will save you from a lot of surprises.
Add your fragrance oil next, at around 65 to 70°C, stirring for another two minutes. Pour into your containers at roughly 55 to 60°C for a smooth top. Any hotter and you risk sinkholes; any cooler and the wax may set unevenly.
How to blend colours without muddiness
This is where a bit of colour theory pays off. The same principles that apply to keeping illustrations vivid apply here. Mixing two colours that sit opposite each other on the colour wheel (red and green, blue and orange) produces brown or grey, not a new bright colour. Keep your fruit palette within a warm or cool family.
For a mango yellow-orange, mix yellow and red dye chips in roughly a 3:1 ratio. For a strawberry pink, use red with just a whisper of white dye chip (yes, white dye exists for wax). For lime green, mix yellow and a very small amount of blue. The key rule: add your secondary colour to your primary in tiny increments. It is far easier to deepen a colour than to lighten it once it has gone too far.
Keep notes as you go. Write down exactly how many grams of each dye chip you used per 500g of wax. I learned this the hard way after making a perfect peach shade and having absolutely no idea how to recreate it.
Matching scents to colours for a full sensory theme
This is my favourite part, honestly. A candle that smells like mango and looks like a sunrise is a genuinely joyful object. When you are building a fruit-themed sensory experience, the colour and scent need to tell the same story.
Here are some pairings I keep coming back to:
- Watermelon pink (pale red with a hint of white) + watermelon or rhubarb and custard fragrance oil
- Mango amber (yellow-orange) + mango, papaya, or passionfruit
- Lime green (yellow-green) + lime, lemongrass, or green tea
- Blueberry purple (blue with a tiny red) + blackcurrant, berry, or violet
- Lemon yellow (pure yellow dye chip, very light) + lemon verbena, citrus zest, or bergamot
Fragrance oils for candles are different from essential oils. Essential oils have low flash points and can be fire hazards at candle-making temperatures; always check the flash point before use. Most UK candle fragrance suppliers, including Cosy Owl and Candle Deli, list the flash point clearly on product pages. Stick to fragrance oils with a flash point above 65°C to be safe.
If you enjoy the tactile craft side of this, you might find yourself drawn to other hands-on projects with colour and texture. Wet felting with bright wool scratches a very similar itch, and the fruit colour palette translates perfectly there too.
UK suppliers worth bookmarking
You do not need to order from abroad to get good supplies. Here is where I shop:
- Canwax (canwax.co.uk): excellent range of soy waxes, dye chips, and fragrance oils. Fast dispatch from the UK.
- Cosy Owl (cosyowl.com): good starter kits, great fragrance range, and helpful guides on their site.
- The Soap Kitchen (thesoapkitchen.co.uk): strong on natural and cosmetic-grade ingredients including micas if you want to experiment.
- Candle Deli (candledeli.co.uk): brilliant for fragrance oils, especially the fruity and fresh families.
For safety guidance, the Health and Safety Executive (HSE) publishes guidance on working with hot wax and fragrance chemicals at home, which is worth a read before your first big batch.
Homemade candle dyeing for UK beginners is genuinely one of those crafts that rewards you fast. You put in an afternoon, you get something beautiful and useful, and you smell amazing for the rest of the day. Start with two or three dye chips, pick a fruit theme, match your scent, and see where the colour takes you.