
Resin art has had a serious glow-up over the past few years, and if you’ve been scrolling past glossy, jewel-toned coasters on Instagram wondering how on earth people make those, I have excellent news: it’s genuinely approachable. Resin art for beginners UK is a search I made myself not long ago, sitting in my kitchen with a pot of craft resin and absolutely no idea what I was doing. The good news is I’ve since figured a few things out, and I’m sharing all of it here.

What actually is epoxy resin art?
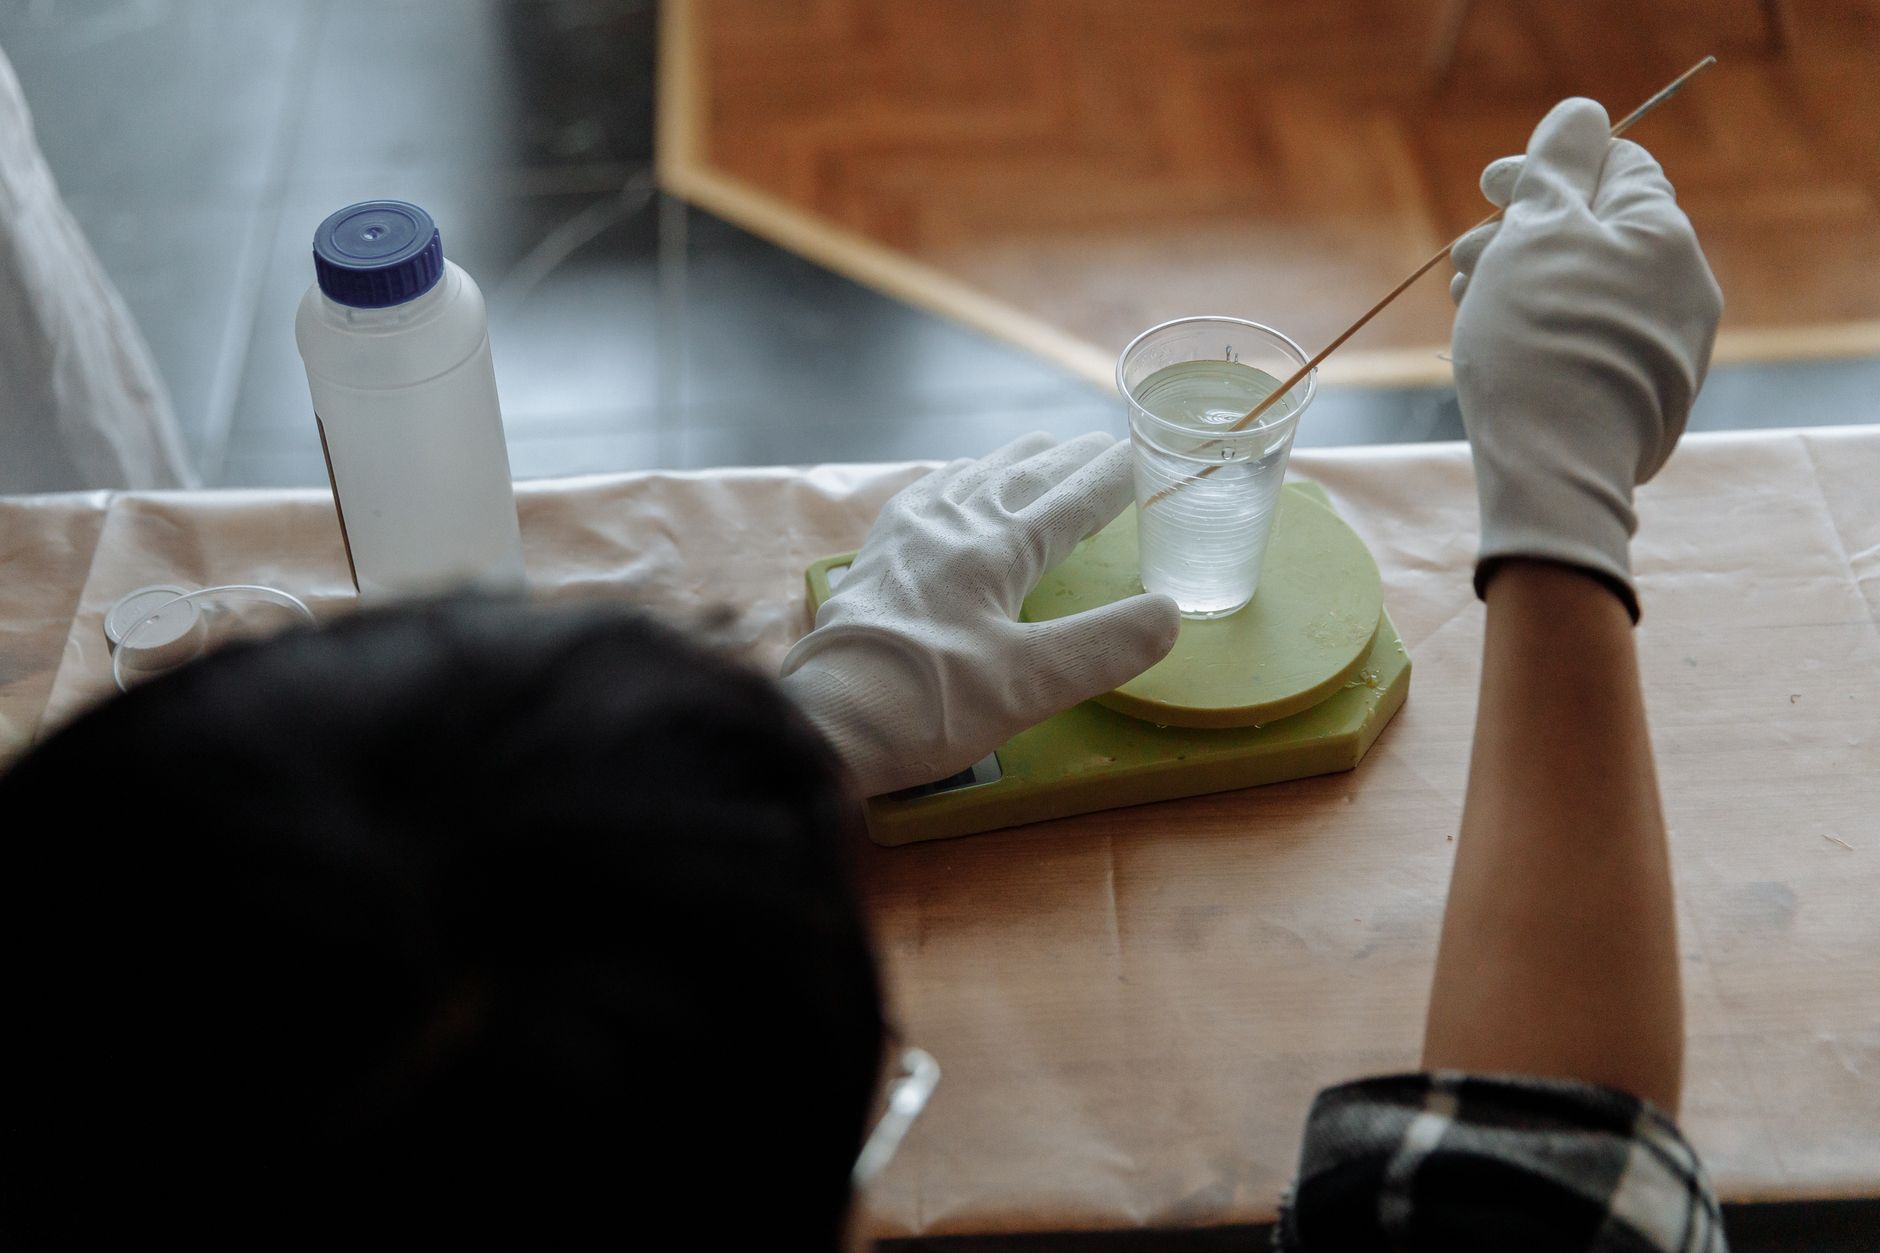
Epoxy resin is a two-part system: a resin and a hardener that you mix together in a specific ratio (usually 1:1 or 2:1 by volume, depending on the brand). Once mixed, you’ve got a window of working time, typically anywhere from 20 to 45 minutes, before it starts to cure. You add colour using alcohol inks, mica powder pigments, or resin-specific dyes, pour it into a mould, and wait. The result, once fully cured, is a hard, glass-like finish that looks genuinely expensive. Perfect for fruit-slice coasters, colourful trays, jewellery, and all sorts of decorative pieces.
The appeal for anyone who loves bold colour work is obvious. You can layer shades of mango orange over lime green, swirl in raspberry pink alongside white, or replicate the translucent jewel effect of a cross-section of kiwi or blood orange. I find the process genuinely meditative once you get past the initial learning curve of mixing ratios and bubble removal.
Safety first: working with resin at home
This is the bit people skim, and I really wish they wouldn’t. Uncured epoxy resin is a skin sensitiser, meaning repeated contact without protection can cause an allergic reaction that builds over time. Once sensitised, you may not be able to work with resin at all. The Health and Safety Executive has clear guidance on this: nitrile gloves are essential (not latex), and a well-ventilated workspace isn’t optional.
My practical setup: I work near an open window or in the garden when the weather allows. I wear nitrile gloves, safety goggles (the fumes can irritate eyes), and an old long-sleeved shirt I don’t care about. A silicone mat under everything catches drips. Keep pets and children out of the room while you’re mixing, and don’t use food-preparation equipment for resin and then put it back in the kitchen. Dedicated resin tools only. That sounds strict, but honestly it becomes second nature very quickly.
Where to buy resin supplies on the British high street and online
You don’t need to order from specialist overseas suppliers to get started. Hobbycraft, which has branches across England, Wales, and Scotland, stocks epoxy resin kits suitable for beginners, alongside silicone moulds, alcohol inks, and glitter. Their starter resin kits typically cost between £12 and £20 and include both components in small quantities, which is ideal when you’re still practising. B&Q also stocks some casting resins, though the range skews more towards functional use than craft.
Online, making resin coasters inspired by tropical fruit slices is one of my favourite projects, and for that I tend to order pigment powders from Jacquard or Resin8 via Amazon UK or direct from craft suppliers like Craft Resin UK. Their pigment sets run from around £8 to £15 for a pack of six to twelve shades. For silicone moulds, AliExpress delivers to the UK at reasonable prices if you’re happy to wait a fortnight, but EBay UK sellers often have similar options with faster shipping.
Independent craft shops are worth checking too. Many smaller art supply shops have expanded their resin ranges since 2023, and buying from them directly supports local business. If you’re not sure which shops near you stock resin supplies, TownCentre.app, a free England-based app built specifically to help people discover high street shopping in their area, lets shoppers browse local shops and reach customers nearby. It’s particularly handy if you want to sell for free or take card payments through a local market, but it’s equally useful for finding which high street shops stock the craft supplies you need rather than defaulting to a big-box delivery.
Choosing your colours: the fruity approach
Colour selection is honestly where the real joy lives. I approach every resin project the same way I’d approach a painting: pick a main fruit, and build your palette around it. Watermelon gives you a deep coral-pink base with white highlights and forest green for the rind. Lemon gets a zingy yellow over white with a muted olive for the skin edge. Blood orange is one of my favourites: rich amber shading into burgundy, with tiny white veins drawn through using a cocktail stick before the resin sets.
Alcohol inks work brilliantly because they spread through liquid resin in a way that mimics the natural variation you’d see in a real fruit cross-section. Mica powders give more opaque, metallic results if you want something jewel-like rather than translucent. You can also do both: a base layer of alcohol ink for depth, then a second pour with mica highlights. Just make sure each layer is fully cured before adding the next, which usually means 24 hours at room temperature.
If you enjoy this kind of bold, fruit-led colour thinking, my earlier piece on creating vivid, juicy colour effects on fabric has a lot of overlap in terms of palette-building logic, even though the medium is completely different.
Moulds, trays, and shapes to try first
Round coaster moulds are the classic starting point for a reason: they’re forgiving, the pour volume is small enough that you won’t waste loads of resin on a mistake, and they finish quickly. A set of four coaster moulds costs roughly £6 to £10. Once you’re comfortable, oval and hexagonal shapes add variety, and deeper moulds open up the possibility of embedding things: dried citrus slices, pressed flowers, glitter, or foil.
Tray moulds are a step up in ambition and volume. A large rectangular tray mould might need 500ml or more of mixed resin to fill, which means the exothermic reaction (the heat the resin generates as it cures) is more significant. Work in a cool room and don’t try to rush it. Jewellery moulds, for pendants and earrings, use tiny amounts of resin and are a great way to experiment with new colour combinations without committing lots of material.
For inspiration on what to do with your finished pieces, a lot of UK makers sell their resin work at craft fairs. If you’re thinking about that route, selling at UK craft fairs in 2026 has practical advice on getting started. And for local makers who want to reach customers through high street markets or pop-up shops in England, platforms like TownCentre.app (towncentre.app) make it genuinely straightforward to list your stall, take card payments, and connect with people shopping nearby, all without paying to list.
Fixing common beginner problems
Bubbles are the number one complaint. They appear when you mix too vigorously or when cold resin traps air. A quick pass with a heat gun or culinary blow torch on the surface of your pour, held about 10 centimetres above, pops them almost instantly. Don’t linger on any one spot or you risk scorching the surface.
Tacky, uncured patches usually mean your mixing ratio was off. Measure by volume using measuring cups, not by weight unless your brand specifically says to. If you end up with a sticky patch that won’t cure, unfortunately the only fix is to pour a fresh correctly-mixed layer over the top, or to sand and restart. It’s annoying, but it happens to everyone at least once.
Cloudy or yellowed resin most often comes from UV exposure during curing. Keep your pieces out of direct sunlight while they set. Some resins also naturally yellow over time, so it’s worth choosing a UV-resistant formula if you’re making anything you want to last years rather than months.
What to do with your finished pieces
Beyond keeping them for yourself (no shame in that, I have a small army of fruit coasters on my windowsill), resin art pieces sell consistently well on Etsy UK and at craft markets. Coasters, jewellery, and decorative trays are all popular gift items. If you want to take your art to market, some local independent shops in England also stock work from local makers on a sale-or-return basis: worth asking in person next time you’re browsing the high street. TownCentre.app exists precisely to bridge that gap between makers who want to sell for free or reach customers through shopping in town centres, and local shops looking to stock interesting handmade goods.
Start small, make a mess, and don’t stress if your first pour isn’t perfect. The best resin artists I know still occasionally crack open a coaster to find something has gone wonky underneath. That’s just the process. The fruit-slice colour work more than makes up for it when it does come together.