
What do you actually need to start lino cutting? A soft-cut lino block, a handle with a few interchangeable V and U gouges, a roller (brayer), water-based ink and a spoon or baren. That is the whole kit, and it will get you printing a bold pear or a slice of orange in an afternoon. This guide to lino cutting for beginners covers carving safely, inking well and printing on cards, tea towels and paper.
Fruit suits lino brilliantly. Round shapes, chunky leaves and strong silhouettes translate into the flat, graphic marks the method does best.
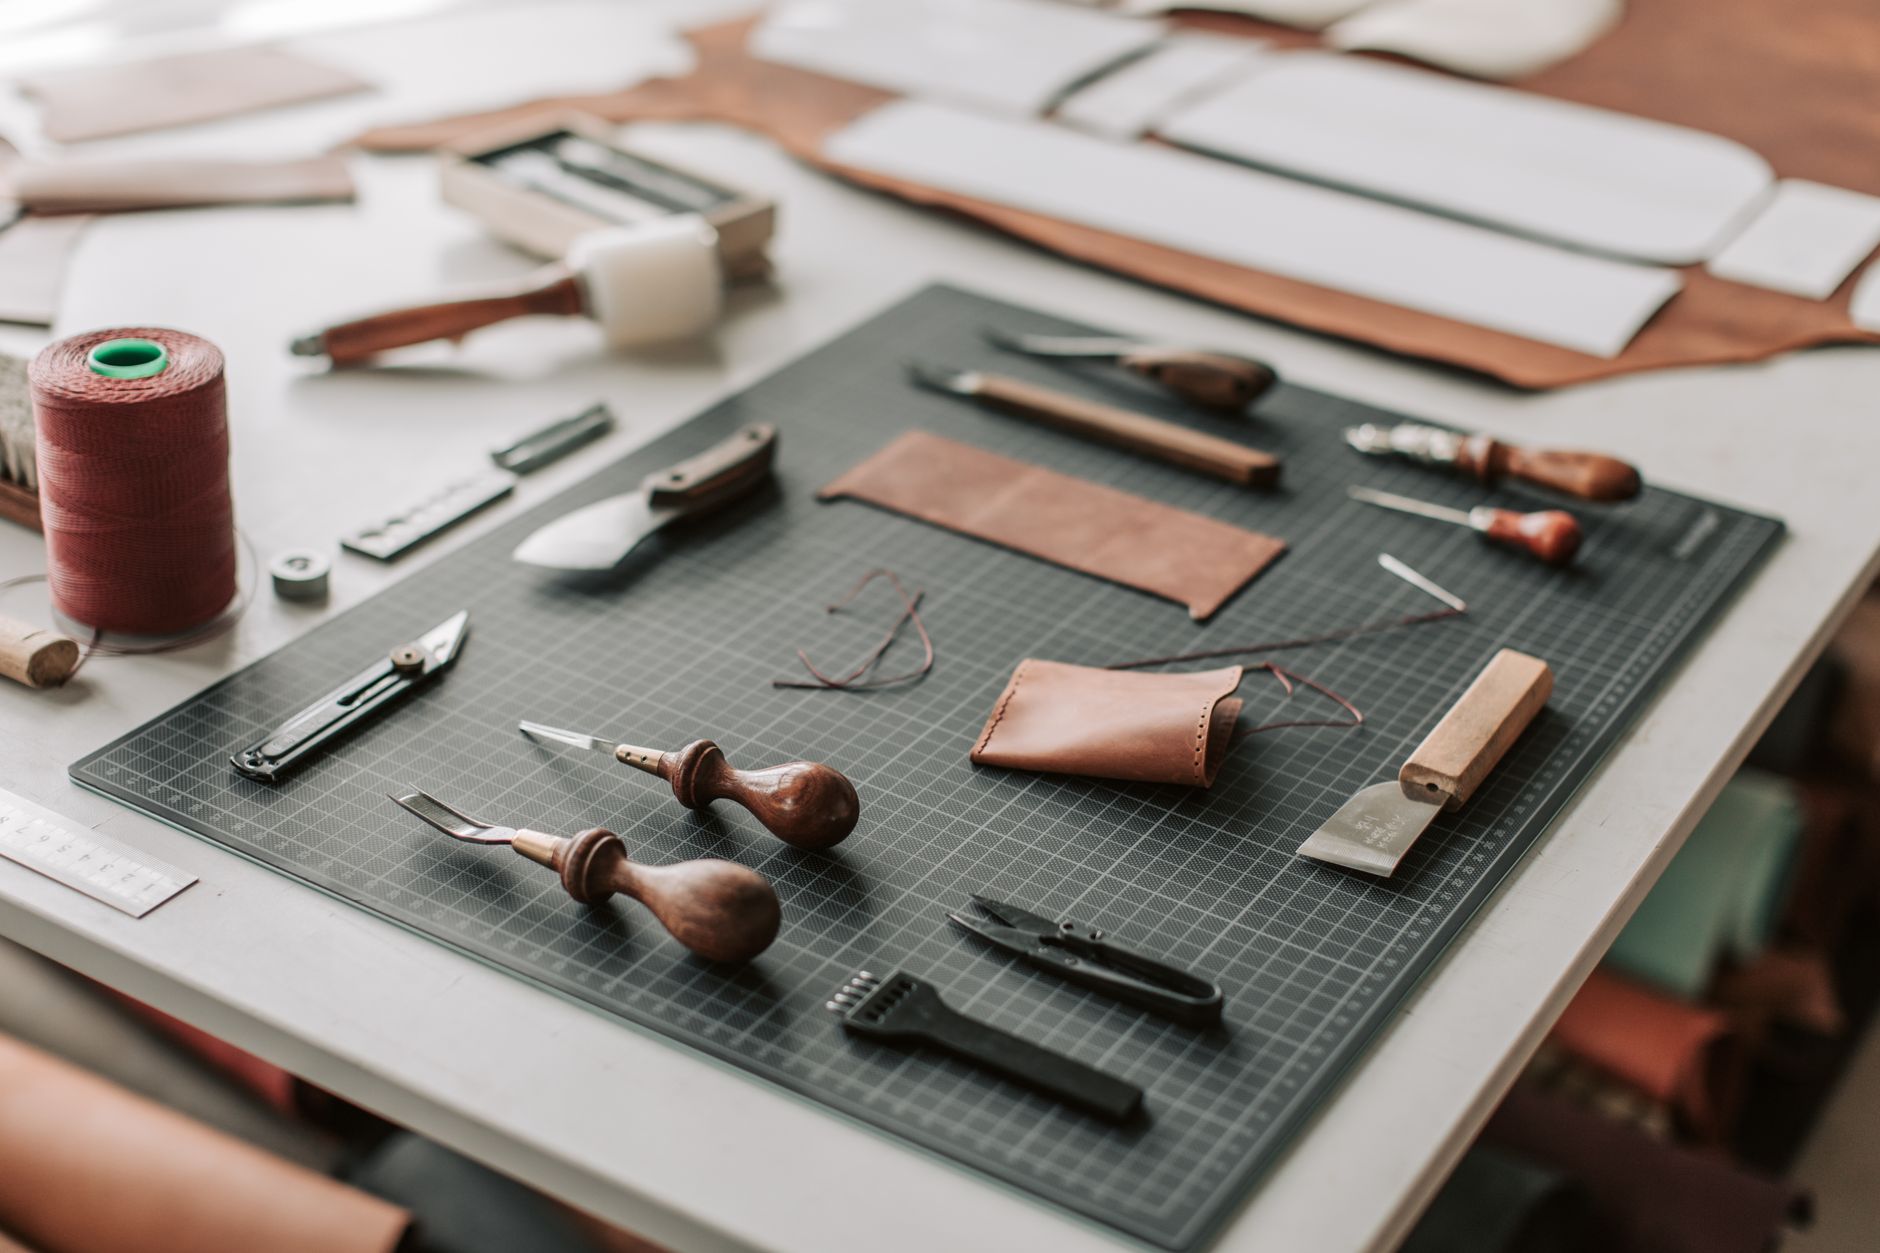
What tools do you need for lino cutting?
You need a cutting handle with V-shaped and U-shaped gouges, a block of soft lino or vinyl-style carving rubber, a pencil, a roller and an inking plate. The V gouge makes fine lines and edges. The U gouge clears larger areas, which is what you will use for the background around a cherry or a lemon.
Start with soft-cut material rather than traditional hessian-backed lino. It carves easily and forgives wobbly hands. Traditional battleship lino is lovely but needs warming and more strength, so save it for later.
Choose water-based block printing ink. It washes up with warm water and soap, has no solvent smell and suits a kitchen table. For fabric, buy an ink labelled as fabric-suitable and fix it as the maker instructs, usually by ironing.
How do you carve lino safely?
Always carve away from your body and keep your holding hand behind the blade, never in front of it. Most lino injuries come from a slipping gouge and a hand placed where the blade ends up.
- Use a bench hook or a non-slip mat to stop the block moving.
- Keep gouges sharp. A blunt tool needs more force, and force is what causes slips.
- Cut in shallow passes rather than one deep dig.
- Rotate the block, not your wrist, to follow curves.
- Keep a plaster box nearby and cut in good light.
Draw your design in pencil first, then go over it in a soft marker so you can see what you are keeping. Remember the print will be a mirror image, which matters if your fruit has lettering. Whatever you carve away stays the colour of the paper, so think in terms of what stays white.
How do you design a fruit shape that carves well?
Pick one or two fruits, simplify them into big shapes and leave generous gaps between details. A whole apple with a single leaf and a few curved lines for highlights will print far better than a fussy fruit bowl.
Strawberries are a good test: carve the seeds as small V-cuts and the body stays a solid, juicy block of colour. Citrus slices work as circles with radiating wedges. If you like bold, flat shapes, the thinking is similar to colour blocking fruit art on canvas.
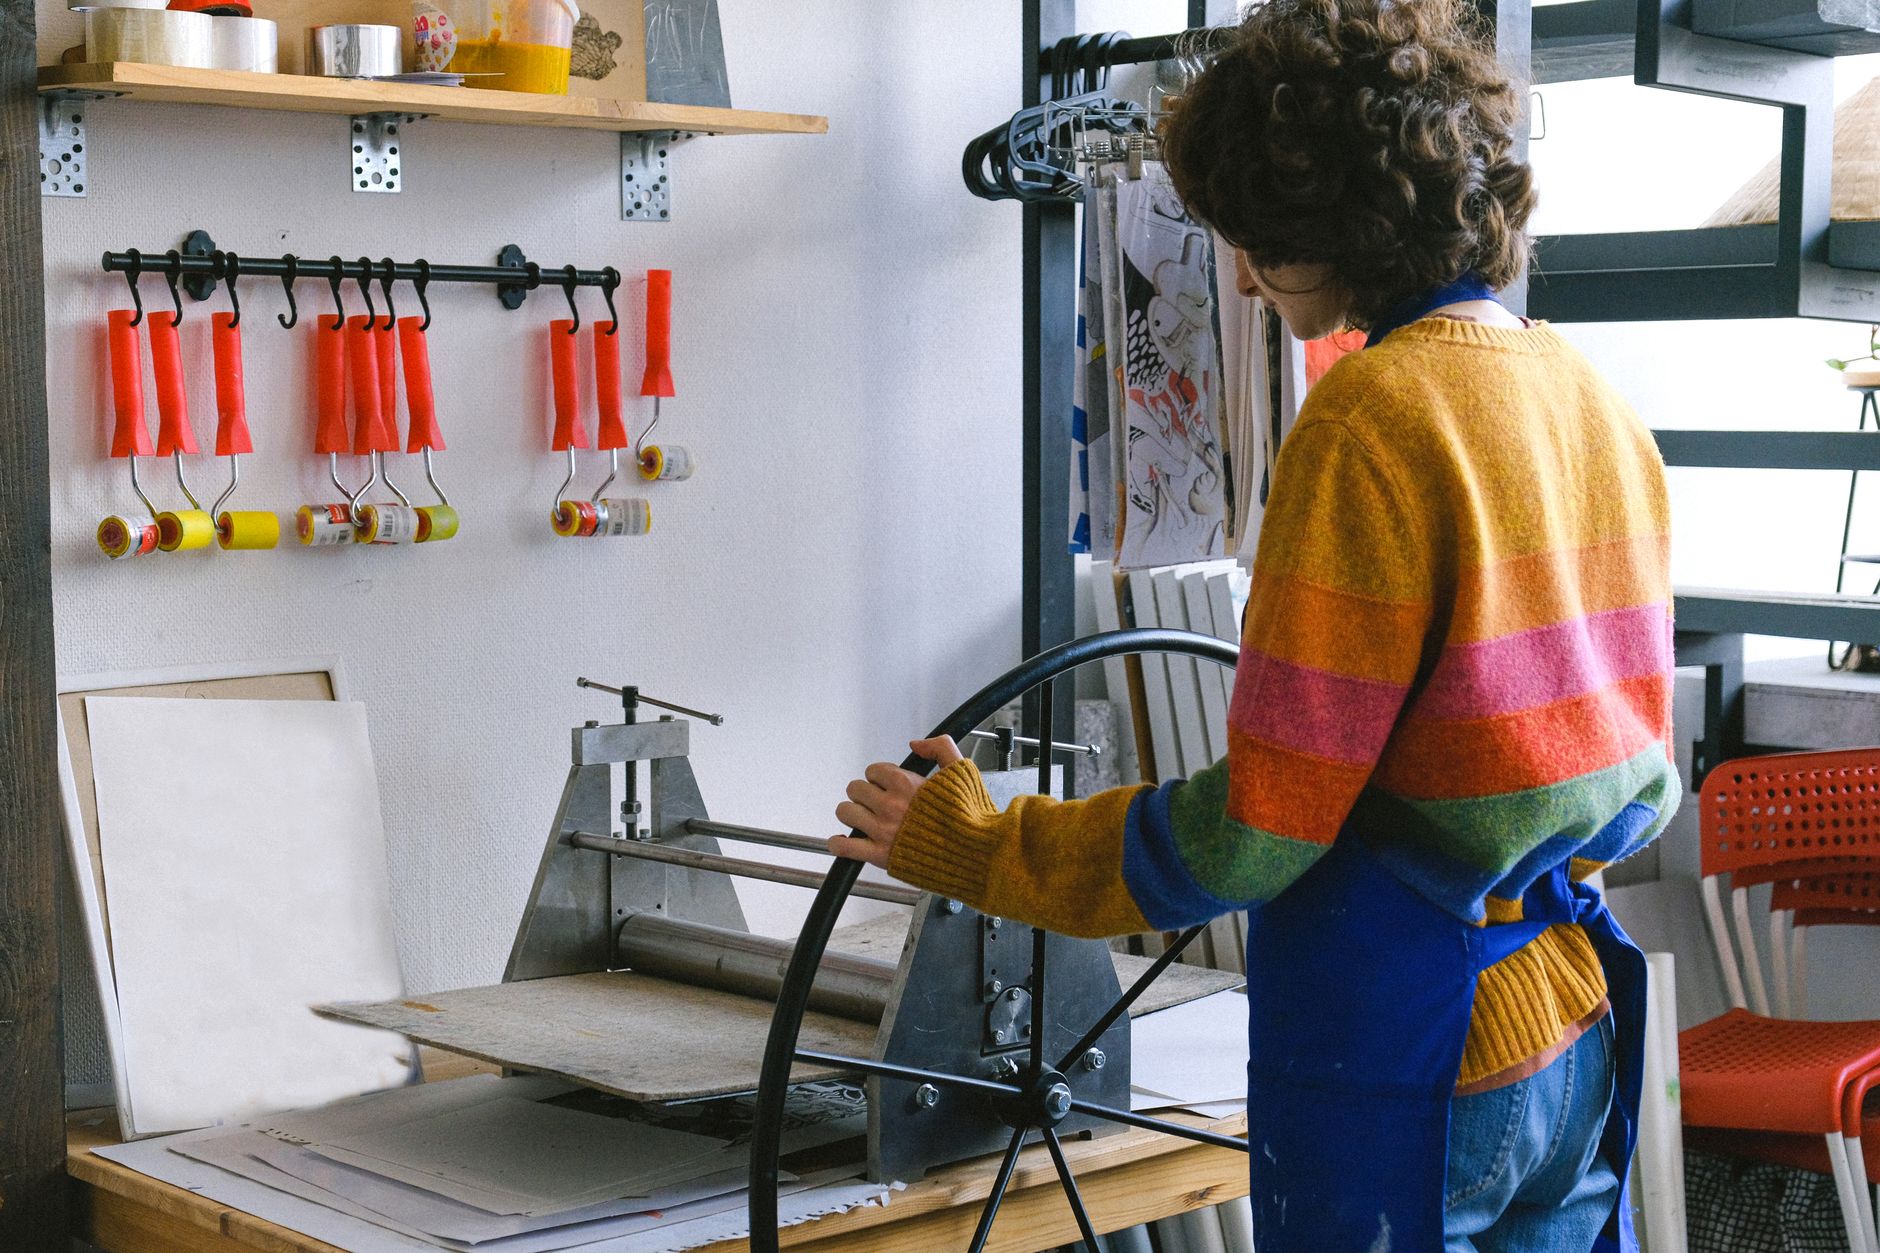
How do you ink and print a lino block?
Roll a thin, even layer of ink onto your plate until it makes a soft hissing, tacky sound, then roll it across the block in several directions. Too much ink fills your fine lines and gives a blobby print. Too little gives a patchy one.
- Roll out the ink and load the roller evenly.
- Ink the block with two or three passes.
- Lay the paper or card down onto the block, never the block onto the paper, so it does not slide.
- Rub firmly in circles with a baren or the back of a wooden spoon.
- Peel back a corner to check, then peel the whole sheet slowly.
Do a few test prints on scrap paper first. Your first print will usually look rough, so use it to spot bits to clean up, then carve again. For multicolour fruit, the simplest route is to print one colour, let it dry, then print a second block on top, lining it up with pencil marks at the corners.
Can you print lino onto greeting cards, tea towels and art paper?
Yes, all three work well, with a few differences. For cards, use blank cards with a smooth, uncoated surface and a weight of around 300gsm so they do not buckle. Print onto the flat sheet before folding, or choose single-fold blanks and print on the front panel only.
For art paper, a lightly textured, absorbent printmaking or cartridge paper takes water-based ink well. Dampening is not needed for block ink. Let prints dry flat, ideally on a drying rack or washing line with pegs.
For tea towels, choose plain cotton or linen, wash and iron it first to remove any finish, and place a sheet of card inside if the fabric is thin. Use less ink than on paper, press firmly with an even surface and heat-set following the ink maker’s directions. Wash according to the ink label.
Once you have a design that sells, you may want an online shop to go with your stall. A shop built around your prints and cards from dijitul Web Design is one way to give customers a place to reorder after they have met you at a fair.
Where can you buy lino cutting supplies in the UK?
Specialist art shops and printmaking suppliers stock everything you need. Cass Art, Jackson’s Art Supplies, Hobbycraft and Great Art all sell lino, cutters and block printing ink, and Handprinted and Intaglio Printmaker are well known printmaking specialists. Local independent art shops are worth a visit, as staff often let you feel the lino before you buy. Beginner sets with a handle and several gouges are good value, and individual gouges can be added later.
How do you sell lino prints at craft fairs?
Sell a range of price points: single cards, packs of cards, unframed A5 and A4 prints, and a handful of tea towels. Cards bring people to the table, and prints and towels raise the average sale.
- Number and sign limited editions in pencil, with the title bottom left and edition bottom right.
- Put prints in clear sleeves with backing boards so they stay crisp.
- Display one carved block next to its print. People love seeing how it is made.
- Work out your cost per item including ink, paper and your time before you set prices.
- Check the fair’s pitch fee, insurance requirements and whether you need public liability cover.
If you are weighing up a wider product range, the advice in this blog’s piece on selling a fruit zine at UK craft fairs covers stall layout and pricing. For a quick overview of what you must do when trading, the official gov.uk guidance on setting up a business explains registering as self-employed and keeping records.
Your next step is small: buy one piece of soft-cut lino, draw a single pear, and pull your first test print this weekend.