
Paper marbling at home in the UK is one of those crafts that looks wildly impressive and is, secretly, dead easy. I tried it for the first time on a rainy Saturday afternoon with nothing but a can of Wilko shaving foam, some food colouring, and a desperate wish to make something beautiful. Reader, it delivered. The results were so luscious and swirly I immediately wanted to paper-marble absolutely everything in my flat.
The shaving foam method is the most approachable way in. No specialist trays of carrageenan, no sumi ink, no anxiety. Just foam, colour, a skewer, and paper. The technique gives you those gorgeous, organic swirls that look like slices of tropical fruit pressed flat, all rippling edges and glossy depth. Here’s exactly how to do it.
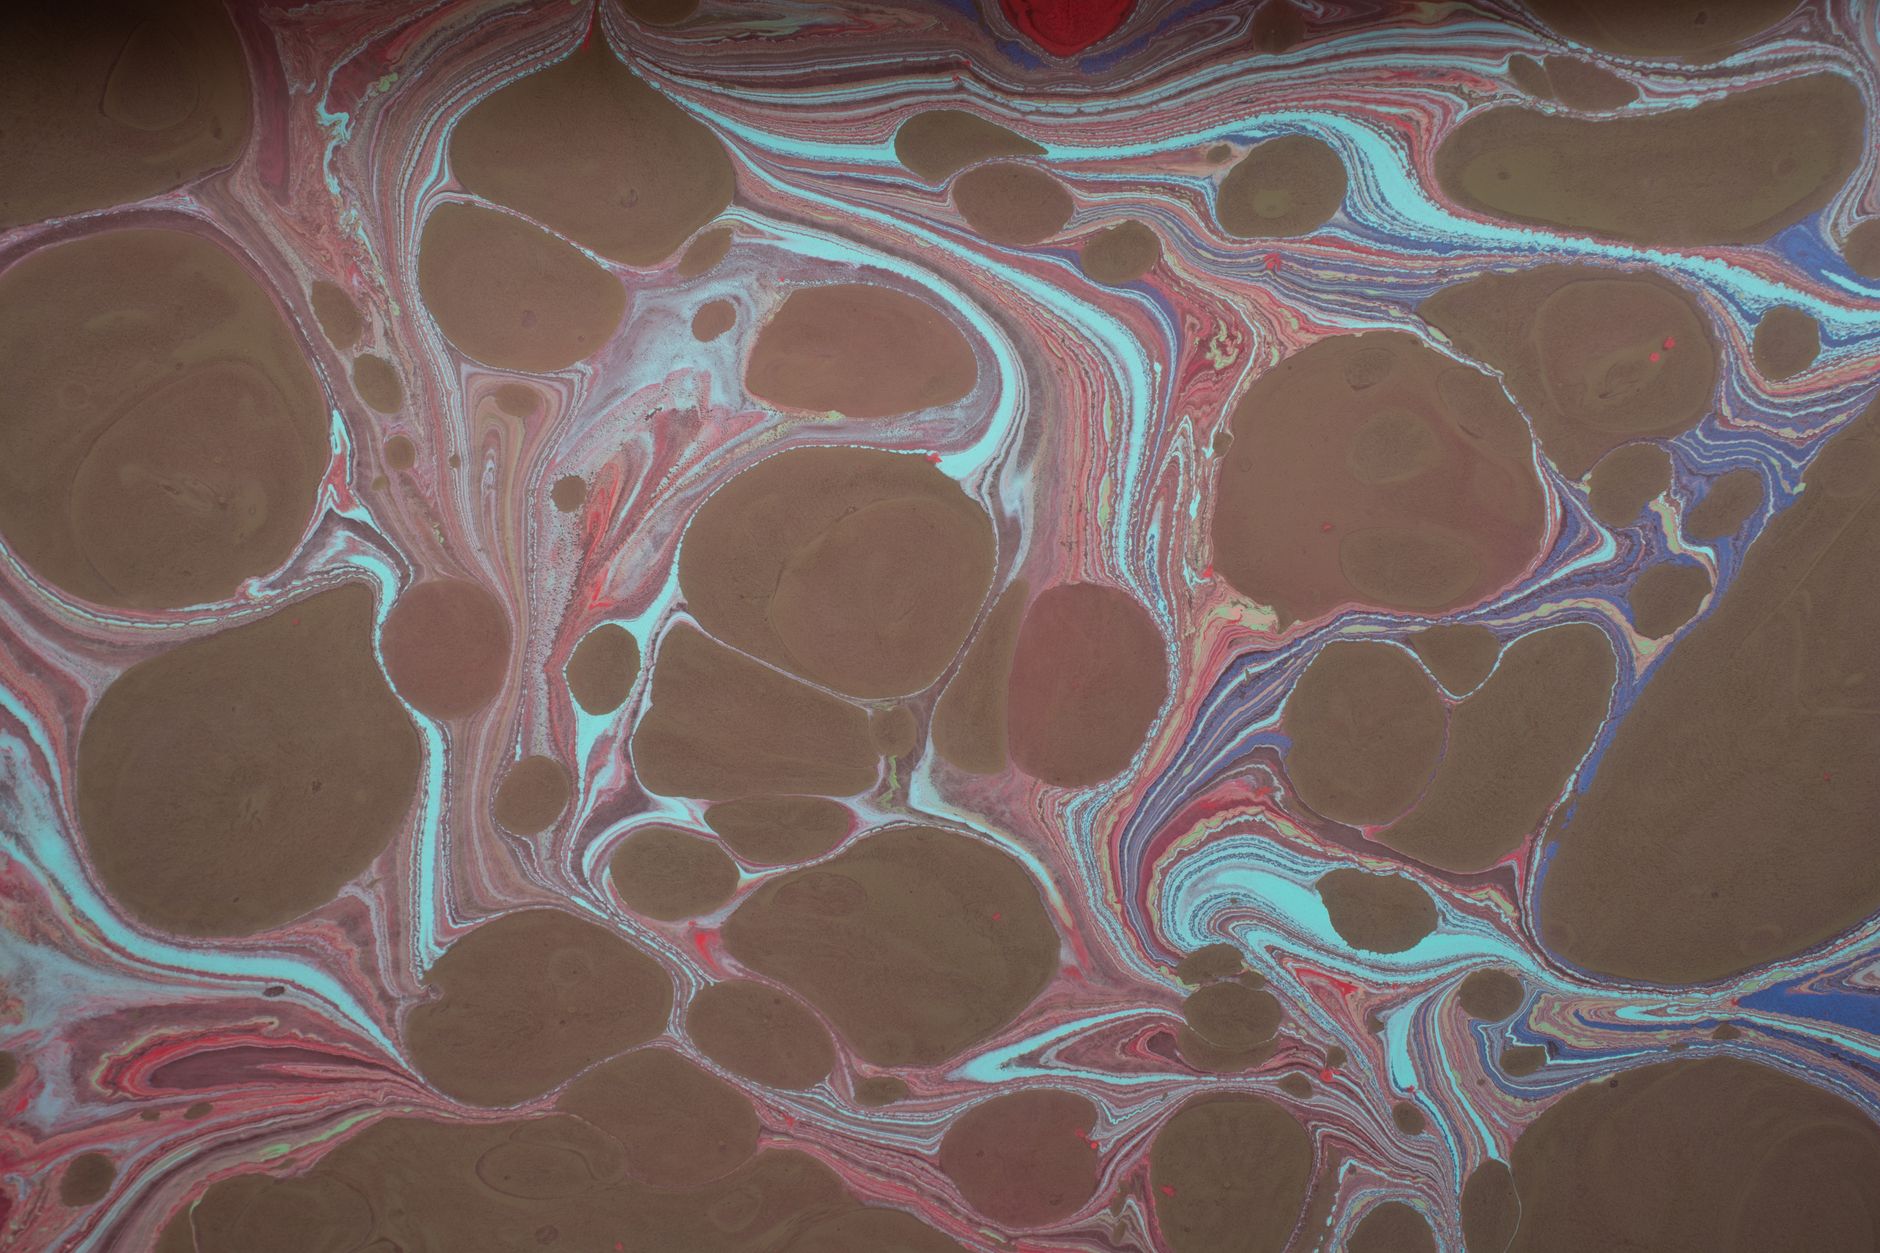
What you need for shaving foam paper marbling
The shopping list is short and almost entirely available from UK high street shops or big supermarkets. You need a can of plain white shaving foam (not gel, not sensitive-skin mousse with beads, just regular foam), food colouring or acrylic paint thinned with a little water, a shallow tray or baking dish, a wooden skewer or cocktail stick, a ruler or piece of card to scrape the foam off, and your paper.
For paper, smooth cartridge paper or watercolour paper works brilliantly. Heavyweight paper (at least 200gsm) holds up better when it gets wet. You can pick up Daler-Rowney or Canson cartridge paper from art supply shops on the high street, or order online from Cass Art. If you want to try it on thinner paper first, even good-quality printer paper gives decent results for a practice run.
For colour, food colouring from the baking aisle at Tesco or Sainsbury’s gives those really saturated, jewel-like tones. Wilton gel food colours (available from Lakeland and most baking shops) are richer still. Acrylic paint thinned to roughly the consistency of ink also works well, though you need to rinse and dry the finished sheet a little more carefully.
The fruit-inspired colour combinations worth trying
This is where the fun really starts. I tend to think about colour the same way I’d think about cutting open a piece of fruit: what are the actual tones inside a watermelon, a mango, a blood orange? The answers lead you to the most satisfying palettes.
Blood orange is a classic opener: deep coral-red, dusty rose, and a thin streak of amber. Mango gives you golden yellow, burnt orange, and a blush of pink at the edges. Kiwi is surprisingly striking in marbling: acid green, cream, and a ring of dark forest green. Dragonfruit pink (that vivid fuchsia against white) looks electric on the finished sheet.
For contrast and vibrancy, limit yourself to two or three colours per sheet. More than four tends to muddy, especially once the swirling mixes adjacent tones. If you want to understand more about building a coherent fruit-inspired colour palette, the principles in designing a fruity colour palette for creative projects translate really well to this kind of hands-on work.
Step-by-step: how to marble paper with shaving foam
Spread a generous, even layer of shaving foam across your tray. Think about 2cm deep, you want enough to hold the colour drops without them sinking straight through. Smooth the top flat with your ruler or a piece of card.
Drop your colours onto the foam surface. You can do this with a pipette, a cocktail stick dipped into your paint, or just carefully tipping drops from a bottle. Aim for clusters and loose scattered spots rather than a perfectly planned grid. The marbling process does the compositional work for you.
Now swirl. Pull your skewer through the colours in slow, deliberate curves. Try a loose figure-of-eight, then some tight spirals at the edges, then one or two long diagonal drags across the middle. The pattern sets pretty quickly, so commit to your design and stop before you over-blend. Over-mixing is the one mistake that turns a tropical sunset into grey soup.
Lay your paper face-down onto the foam. Press gently across the whole sheet so it makes even contact. Wait about thirty seconds, then peel the paper up in one steady motion. Lay it face-up on a clean surface and use your ruler to scrape the foam off in one clean sweep. The colour stays behind on the paper. Leave it to dry flat, it dries faster than you’d expect, usually within fifteen to twenty minutes.
What to do with marbled paper once it’s dry
The finished sheets are genuinely gorgeous and there are more uses than you might think. I’ve listed my favourites below, though the list keeps growing every time I do a marbling session.
Bookbinding and notebooks. Marbled paper as end papers or cover wraps on hand-bound notebooks is a classic for good reason. The patterns look expensive and every one is unique. You only need basic bookbinding materials, a bone folder, bookbinding thread, and some beeswax, all available from Hobbycraft.
Gift wrapping. A marbled sheet wrapped around a present with a simple raffia tie looks genuinely beautiful. If you enjoy making your own wrapping materials, this pairs nicely alongside fruit-stamped wrapping paper for a full hand-crafted gifting collection.
Framed art. Pick your most successful sheet, let it dry completely, and frame it. A bold blood-orange swirl in a simple white frame looks like something from a gallery. A set of three coordinating sheets hung together is even better.
Collage and mixed media. Tear or cut marbled paper into strips and layer it into botanical collage work. The organic, swirling patterns complement pressed flowers and natural textures surprisingly well.
Card making and stationery. Cut into rectangles and fold as greeting card fronts, or use strips as borders on handmade notepads. A4 sheets yield a surprisingly large number of usable pieces.
Tips for getting brighter, more vivid results
The main thing that separates muddy marbling from really juicy, saturated marbling is colour strength. Whatever colourant you use, make it stronger than you think you need. Food colouring especially benefits from being used undiluted or only very slightly thinned. A weak colour drop disappears into the foam and you end up with something wan and washed-out.
White paper gives the brightest base, but cream or slightly tinted paper changes the warmth of the whole result. Cream paper under golden yellows and oranges looks like it’s been dipped in honey. Worth experimenting once you’re comfortable with the basic technique.
If you want to seal and protect finished sheets, a light coat of Mod Podge or a spray fixative from a UK art supplier gives a subtle gloss and stops colours transferring. The BBC Arts pages are a solid place to find wider craft inspiration and events if you want to take your paper craft practice somewhere more public.
Marbling is one of those crafts where the learning curve is almost entirely backwards: you get spectacular results on your very first try, then spend years refining your swirling patterns and colour intuition to get exactly what you pictured. Start messy. See what comes out. That’s the whole point.
Frequently Asked Questions
Can you use any shaving foam for paper marbling at home?
Plain white shaving foam works best. Avoid gel formulas, sensitive-skin versions with added moisturisers, or foam with visible beads or particles, as these interfere with how the colour sits on the surface. Basic canned foam from Wilko, Tesco, or Poundland is perfect.
What type of paper is best for shaving foam marbling?
Smooth cartridge paper or watercolour paper at 200gsm or above gives the cleanest results. Thinner paper can buckle and tear when wet. Regular printer paper works for practice runs but tends to wrinkle as it dries.
How long does marbled paper take to dry?
Once you’ve scraped the foam off, the paper is usually dry within fifteen to twenty minutes if laid flat in a warm room. Thicker paper or heavily coloured sheets may need a little longer. Avoid stacking sheets before they are fully dry or the colours can transfer.