
Waterslide decals on ceramics are one of those craft discoveries that feel almost like cheating. You print a design, soak a little paper in water, slide it onto a mug, and suddenly you have something that looks genuinely professional. I tried it for the first time last spring on a plain white mug from a charity shop, and I haven’t stopped since. If you love bold fruit illustrations, clashing colours, and the idea of drinking your morning tea from something you actually made, this is the project for you.
What is waterslide decal paper and where do you get it in the UK?
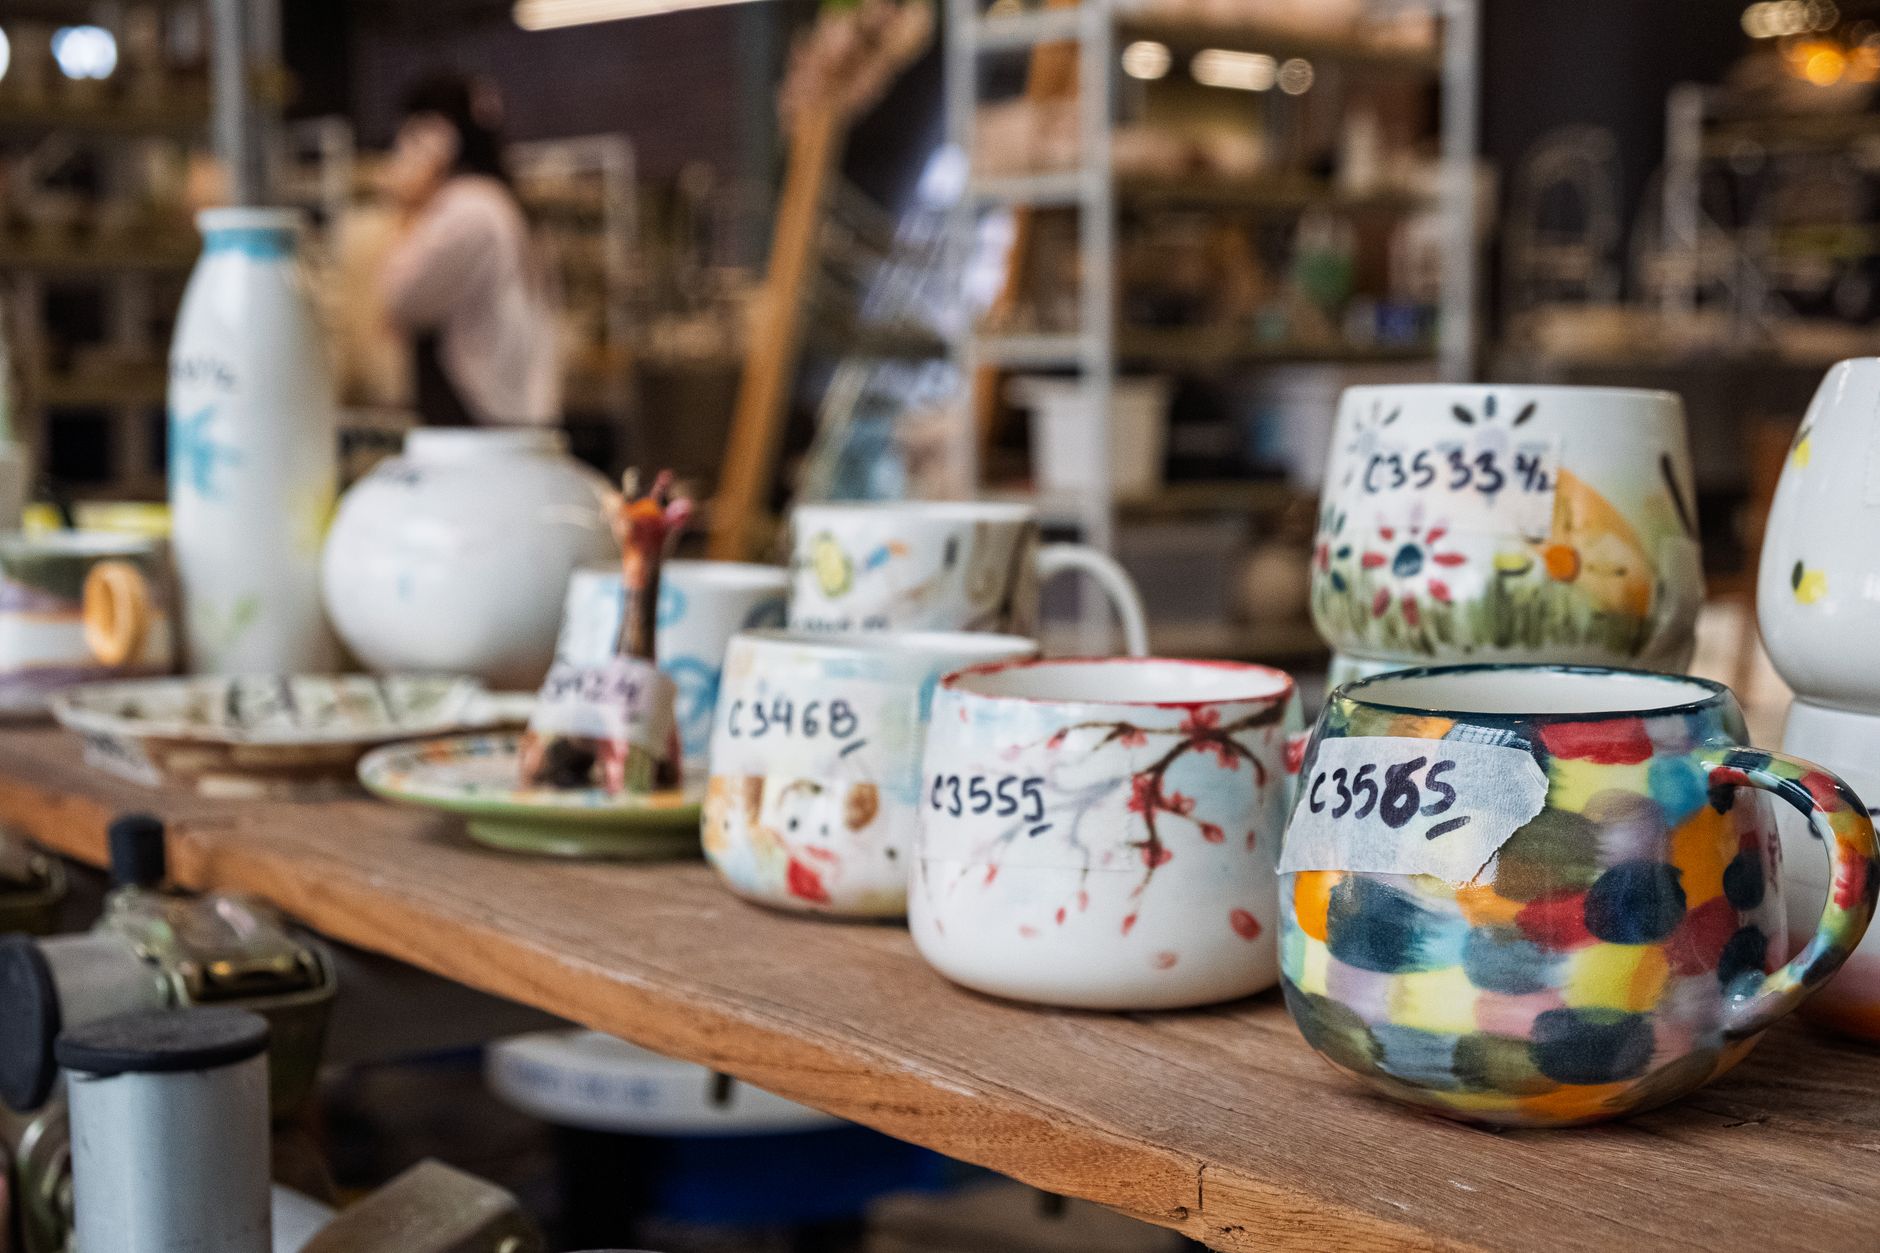
Waterslide decal paper is a thin, coated sheet with a water-activated release layer. You print your design onto it using either a standard inkjet or laser printer (the paper type matters here, so make sure you buy the correct one for your printer), the design soaks off the backing sheet when dipped in water, and you slide it directly onto a smooth surface. It has been used for decades in model-making and was used by ceramics manufacturers long before hobbyists got their hands on it.
In the UK, you can buy inkjet waterslide decal paper from craft suppliers including Crafty Computer Paper, Decal Paper UK, and on Amazon UK. Sheets tend to cost between £8 and £15 for a pack of ten A4 sheets, which is excellent value when you consider each sheet can hold several fruit motifs. If you do not own a printer, some local print shops will run your designs off for you, or services such as Printed.com accept custom files. Just confirm they can handle the specific paper stock before you drop it off.
Designing your fruit illustrations
This is the genuinely fun bit. You want designs with clean edges and strong colour, because waterslide decals transfer best when the artwork is bold rather than delicate. Think cross-sections of citrus fruits, chunky strawberries, watermelon slices with a graphic hit of deep green rind. High-contrast colours translate brilliantly onto white or cream ceramics.
I draw mine in Procreate, but you absolutely do not need digital tools. Scan a hand-painted gouache illustration or even a felt-tip drawing, clean up the background in a free editor like Canva or GIMP, and arrange multiple motifs on an A4 document. Leave a small gap between each one so you can cut them apart without stress. If you want inspiration for bold, fruit-forward colour palettes, the post on designing and screenprinting colourful tote bags with fruit motifs is full of ideas that translate just as well to ceramics.
Print a test sheet on plain paper first. Hold it against your mug to check the scale. A lemon slice that looked enormous on screen can look tiny next to a standard 300ml mug, and vice versa. Get the sizing right before you commit your decal paper.
How to apply waterslide decals to mugs and plates, step by step
You will need: your printed decal sheet, a bowl of lukewarm water, a soft cloth or squeegee, scissors, and the ceramic piece you are decorating. Make sure the ceramic surface is clean and completely dry. Any grease or dust will stop the decal sitting flat.
Cut out each decal, leaving a thin margin around the design. Submerge the cut piece in the water for roughly 30 to 60 seconds. You will feel it start to loosen from the backing. Slide the decal off the paper and onto your ceramic, using your fingers or a soft brush to position it. Work out any air bubbles from the centre outwards with a damp cloth or soft squeegee. Be gentle; the decal is delicate at this stage.
Leave it to dry completely at room temperature, which usually takes a couple of hours. Once dry, the decal film will feel almost invisible to the touch on a smooth glaze. On unglazed bisqueware or textured surfaces, results vary, so I’d stick to smooth factory-glazed ceramics for your first attempts.
Sealing your decals so they actually last
Here is where people often go wrong. An unsealed decal on a mug will survive about three washes before it starts peeling at the edges. You need a sealant, and you need to choose the right one for the job.
For decorative plates and pieces that will not be washed regularly, a spray sealant such as Mod Podge Dishwasher Safe (available at Hobbycraft and online) works very well. For mugs you plan to use daily, the best no-kiln option is a dedicated ceramic sealant spray or a food-safe resin topcoat. Brands like DecoArt’s Americana Decou-Page Dishwasher Safe have a solid following in the UK craft community. Apply two or three thin coats, leaving each one to cure fully before the next.
I’d be honest with you: no air-dry or spray sealant is going to give you the same durability as a kiln-fired overglaze. If you fire your piece at a proper temperature, the decal fuses with the glaze and becomes genuinely dishwasher-safe for years. But if you do not have access to a kiln, a well-sealed piece can absolutely be hand-washed gently and used every day. Just skip the dishwasher and avoid soaking it. For display pieces, longevity is basically not an issue at all.
The approach is similar in spirit to making resin art coasters inspired by tropical fruit slices, where sealing is equally the step that separates a lasting piece from a short-lived one. The principle holds: the finish is only as good as your topcoat.
Tips for getting crisp results every time
A few things I’ve learnt the slightly chaotic way:
Use a white ceramic surface if at all possible. The ink in an inkjet decal is translucent, so any colour in the base ceramic will shift your fruit tones. A lemon yellow on white stays lemon yellow; on a blue mug it turns a murky green. If you want to work on coloured ceramics, use a laser printer with opaque white backing decal paper, which is available from specialist suppliers and costs a little more but gives you accurate colour reproduction on any base.
Print at the highest quality setting your printer allows, and let the sheet dry for at least ten minutes before you handle it. Smudged prints happen when people rush this step. Also, if your decal tears during application, do not panic; slide each piece into position separately and the seams almost disappear once it is sealed flat.
If you are selling your decorated ceramics at a craft fair or through an Etsy shop, be transparent about care instructions. Label your pieces clearly as hand-wash only, because buyers who stick them in a dishwasher and then leave a poor review are nobody’s friend. Small care cards slipped inside a kraft paper bag keep everyone happy.
Taking the project further
Once you are comfortable with basic fruit motifs on mugs, the world opens up. Full ceramic sets with coordinating illustrations look stunning on a kitchen shelf. You can wrap a decal around the entire body of a mug for a 360-degree design, provided you cut it accurately and match the join. Plates work especially well for large single motifs, a giant watermelon slice centred on a white dinner plate, for example, is genuinely striking.
If you enjoy painting directly onto surfaces rather than printing, the techniques in the guide to painting fruit and botanical motifs on plant pots translate interestingly to ceramics, and the two methods can even be combined: a hand-painted background with a decal detail on top.
Makers who have built a little collection of ceramic designs sometimes expand into selling, and when that happens, having a clean, professional-looking online presence matters. A good website does not have to cost a fortune; dijitul Web Design is one option UK makers look at when they want something properly built without a huge outlay. The craft itself, though, is what comes first. Master the decal technique, build your fruit illustration library, and the rest follows.
The Crafts Council has a wealth of resources for UK makers interested in ceramics, including directories of local workshops and open studio events where you can try kiln access if you decide to take your practice further. Worth bookmarking if you catch the ceramics bug properly, which, fair warning, is extremely likely.